Support Fields
- HostBill (Unlicensed)
- HostBill
Overview
Thanks to Support Fields features you can now organize and manage the tickets more efficiently. Using this plugin you can create forms consisting of several steps that your customer need to go through before submitting the ticket.
Activating the module
- If the plugin is included in your HostBill edition you can download it from your client portal.
- If the plugin is not included in your HostBill edition you can purchase it from our marketplace and then download it from the client area.
- Once you download the plugin extract it in the main HostBill directory.
- Go to Settings → Modules, find and activate Support Fields plugin.
Module configuration
The module does not require any additional configuration.
How the module works
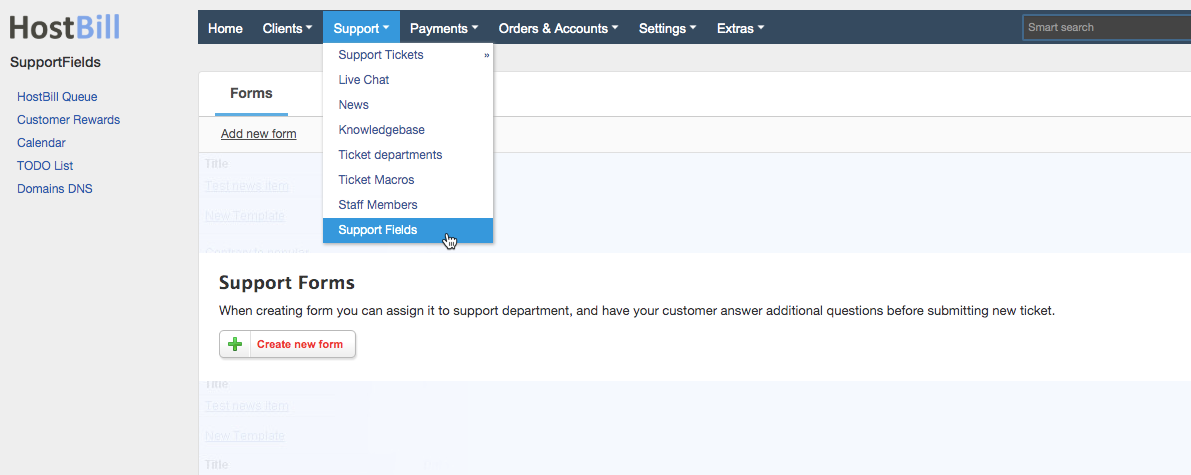
Once activated, the module is available under HostBill Admin → Support → Support Fields, where you can add new forms and assign it to the support department of your choice to have your customer answer additional questions before submitting new ticket.
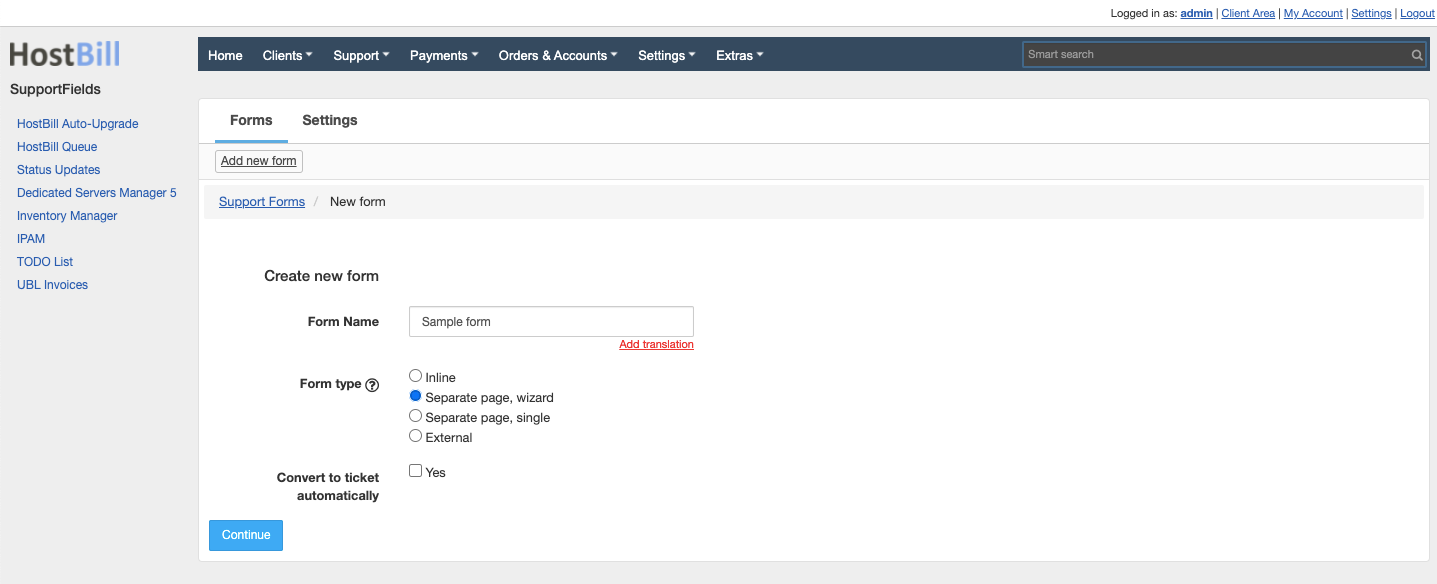
To create a new form, simply click on 'Add new form' button, enter the form name and choose form type. The form can be:
- Inline - form will appear on a page where the ticket is created
- Separate page, wizard - form will appear on a separate, wizard style page, where you can configure a number of steps the client needs to go through before submitting the ticket
- Separate page, single - form will appear on a separate page, all field types added to this form will be displayed on a single page
- External - this form will not be visible while opening the ticket. Form with this type can be sent to customers at any time after opening the ticket. This form can be completed by a client only once.
Separate page forms (wizard and single) can also be automatically converted into ticket.
Each form can be assigned to a different department. One department can have only one form assigned to it.
Once the form is created, you can start adding fields to the form. Available field types include:
- Radio boxes
- Related ticket
- Text Input
- Select priority: radio
- Related service select
- Scrollable text block
- Textarea
- Multi-input boxes
- Encrypted Input
- Select priority: dropdown
- Link / URL
- Encrypted textarea (sensitive data)
- Datepicker
- Text block
- Select box
- Single Check Box
Each field can be configured in a following way:
- Name - name for the field
- Description - optional description for the field
- Default value
- Variable
- Transfer to a ticket body - if you chose this option, after the ticket is submitted, the value of this field will be automatically pasted into the ticket body
- Required - choose if the field is required to submit the ticket
- Admin only - the filed can be available to admins only
- Auto-remove contents after ticket close
- Validation pattern - choose the RegEx to validate this field with
If you chose the option to auto convert the form into a ticket, you can set which field value should be used as a subject and which field value should be used as a ticket body.

For fields type: radio box and select box you can also:
- Enable billing - if billing is enabled then an invoice will be created for the client after opening the ticket and provided tags will be assigned to the ticket.

Form can consist of unlimited number of fields. Fields can be easily edited, rearrange by drag& drop and temporarily hidden from the form, if needed.
Once the form is created, it will be automatically displayed to clients wishing to submit a ticket to a certain department:
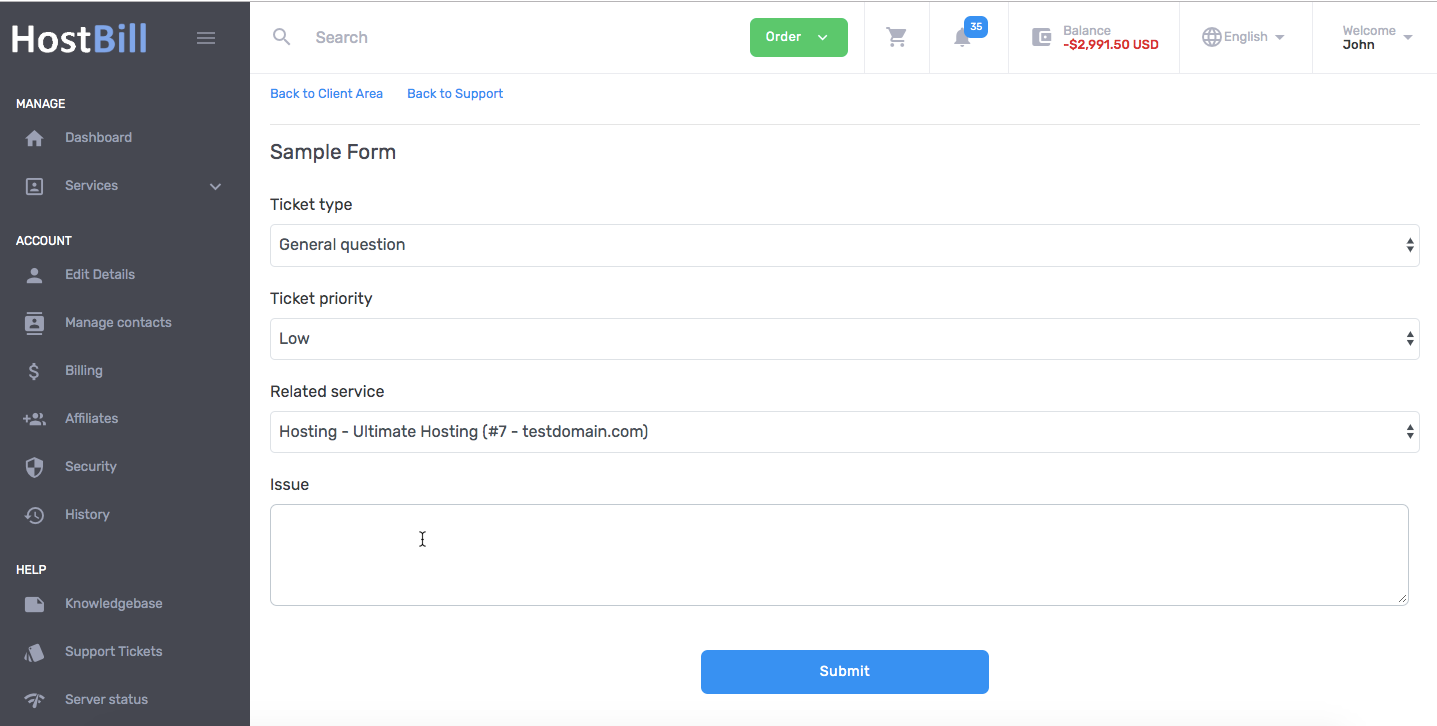
The plugin also give Admins the possibility to fill in the form when creating the ticket on behalf of the customer and to edit form that have been filled in by customers.