Status Updates
- HostBill (Unlicensed)
- HostBill
- HostBill Support
Overview
The Status Update module allows you to provide quick status updates on your site. The module features status notifications for affected clients using HostBill ticketing system and additional client area page where scheduled events are displayed on a calendar.
Activating the module
- If the plugin is included in your HostBill edition you can download it from your client portal.
- If the plugin is not included in your HostBill edition you can purchase it from our marketplace and then download it from the client area.
- Once you download the plugin extract it in the main HostBill directory.
- Go to Settings → Modules, find and activate Status Updates plugin.
Module configuration
- Choose module display name
- Select if you want the plugin to be accessible for all staff members or only selected staff members
- Tick Use Public Tickets if you want the customers not to receive separate support tickets but one public ticket to be opened for all of them

New Status Updates can be added in Extras → Plugins → Status Updates.
How to use the module
Once activated the module is accessible in Extras → Pluings. The dashboard will display the list of all added events.
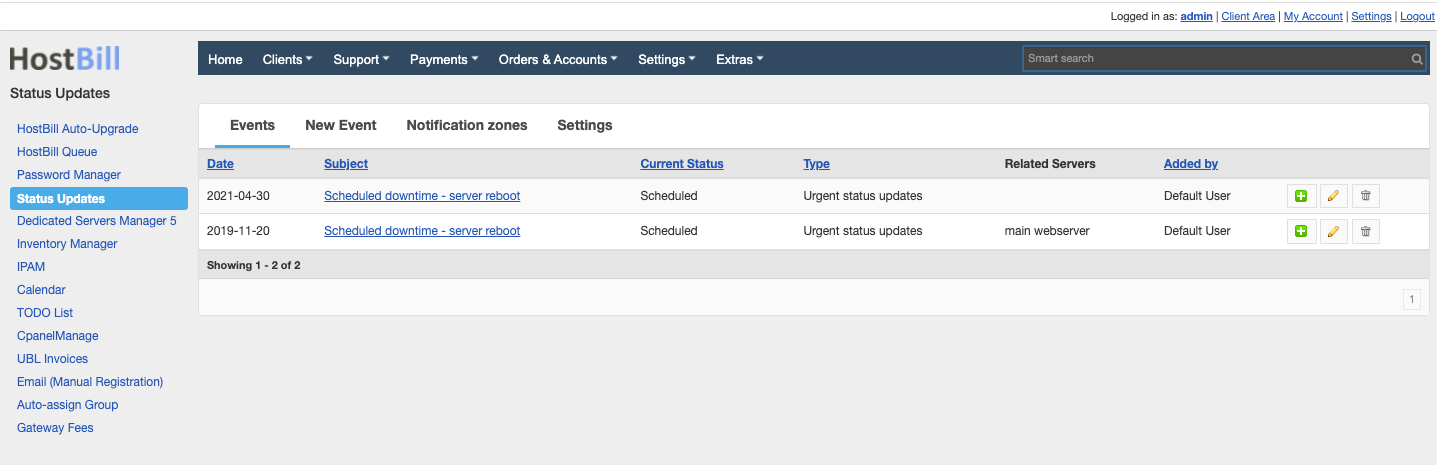
To add a new event click on New Event button and enter the event's details:
- Template
- Name / Subject
- Date
- Status
- Start time
- Finish time
- Description
- Related servers information
- Show notification - choose if and when to show notification
- Type
- Notify

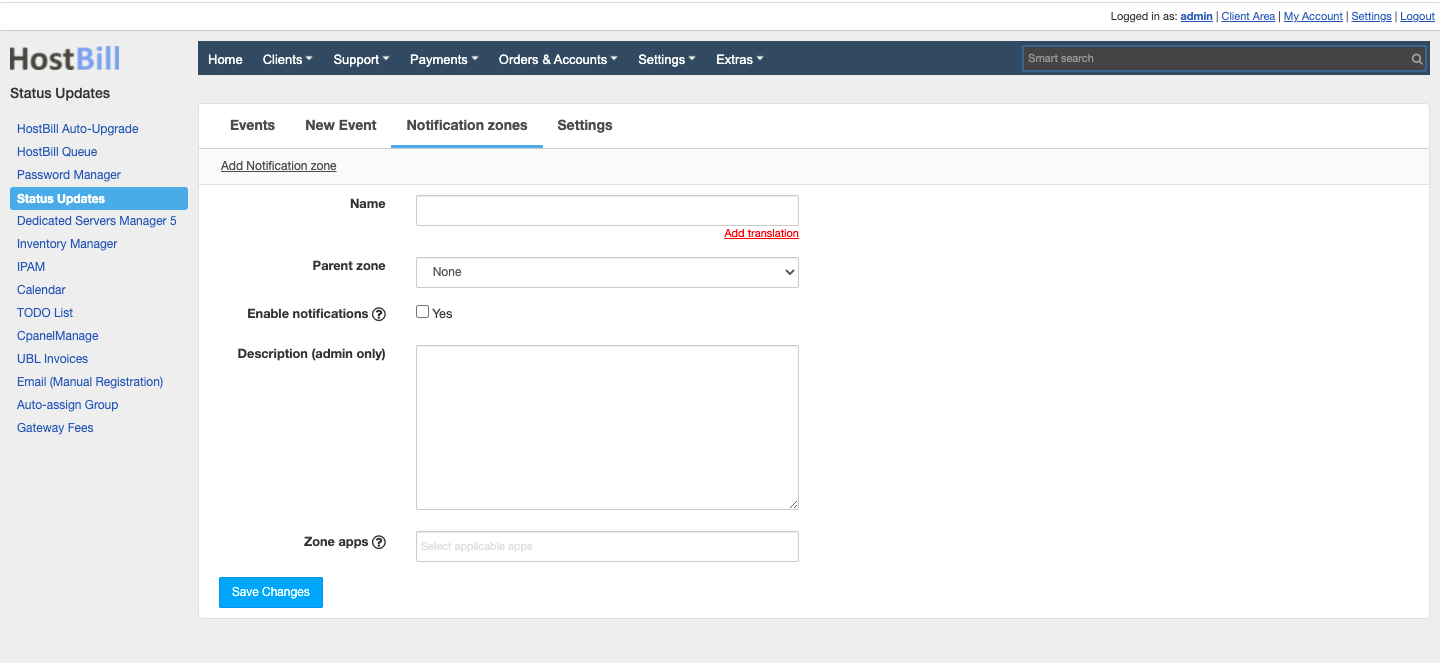
You can create various notification zones and create zones hierarchy. When configuring new notification zone enter:
- Name
- Parent zone
- Enable notifications - choose whether customers should receive notifications within zone when new event is added with "zone" notification". It can be later overriden by admin/client in service detail settings.
- Description
- Zone apps - all current and future services using selected App connections will be auto-added to this zone
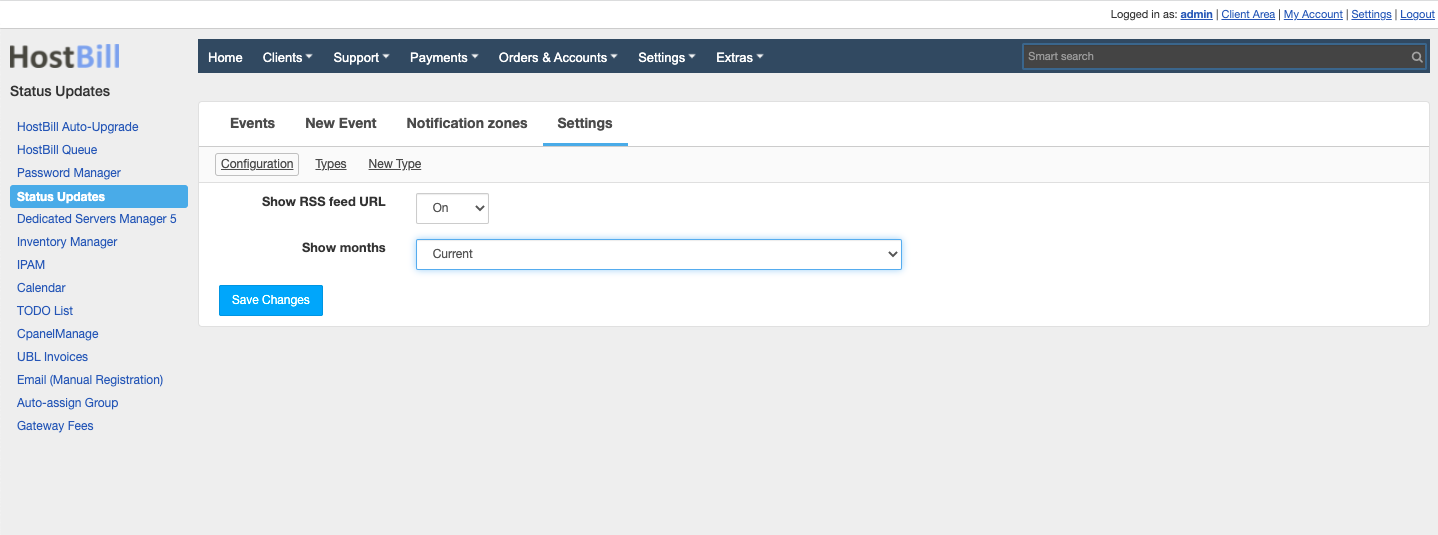
In Settings → Configuration you can choose the following options:
- Show RSS feed URL
- Show months - choose the range
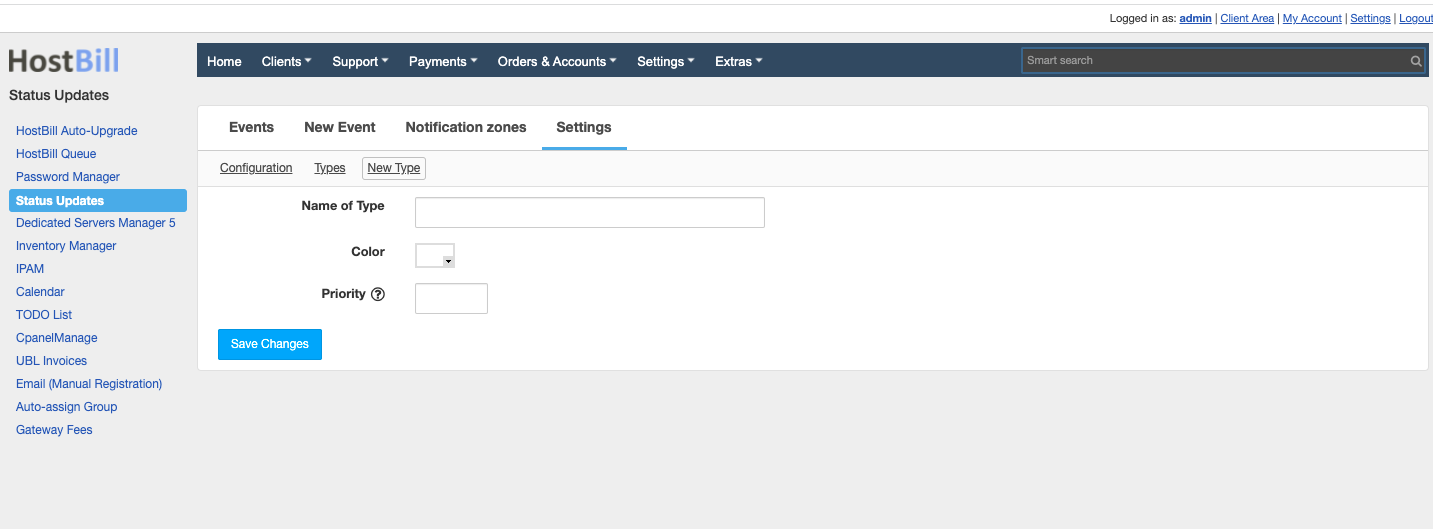
In Settings you can also create types of the notifications. Click on New Type and enter:
- Name of Type
- Color
- Priority
FAQ
Question: I installed the module but the status bar does not display. Why?
Answer: You probably use the custom template. To make the status bar display correctly, add the code to the template:
{clientwidget module="status" section="bar" wrapper=""}
Watch the video with plugin overview:
Adding new status update with automated support ticket created for impacted customers: