/
Admin DNS Zone Editor
Admin DNS Zone Editor
- HostBill
- HostBill
Owned by HostBill
Last updated: Dec 17, 2018 by HostBill
Overview
DNS Zone Editor is a free plugin shipped with most of HostBill DNS modules. It allows your staff members to manage zones from Admin interface, without the need of any third party tools, or logging-into client portal.
Note: HostBill DNS modules provides client area zone editor with functionality similar to described below out of the box.
Activating the module
- The module is a part of HostBill DNS modules, select one you have access to within your HostBill Editions
- Once you download the DNS module extract it in the main HostBill directory.
- Go to Settings → Modules → Plugins, find and activate DNS Zone Editor module.
Using Module
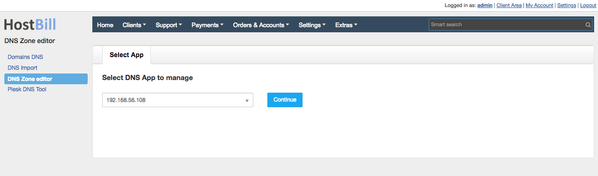
- Proceed to Extras → DNS Zone Editor
- Select DNS App configured in Settings → Apps Connections that you wish to manage zones for:
- Module will list all available zones found in selected DNS server:
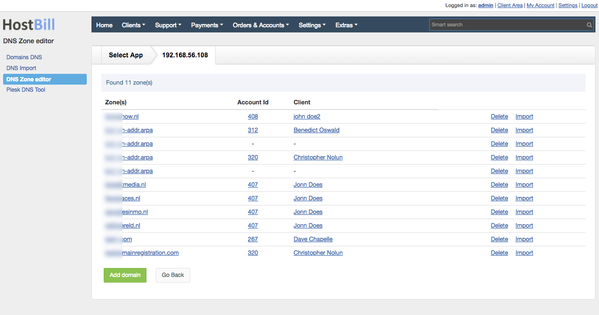
- You can:
- Click Delete to remove given zone and all its records
- Choose Import to move to DNS Import tool for selected App
- Click Account ID to visit related DNS account (if there is any)
- Click Client details to see details of a customer attached to given zone
- Click Add domain to add new zone for this DNS app.
- Click Zone name to proceed to managing zone records
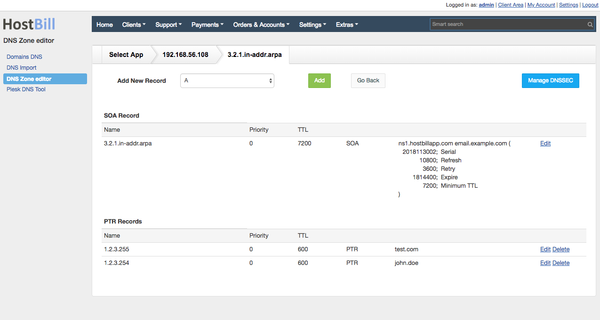
- In Zone management you can:
- Add new record
- Edit existing record
- Remove records
- Enable/disable DNSSEC (if supported by DNS app)
- When adding New Zone you can:
- Add empty zone (with SOA record auto-added)
- Clone entries for zone from other domain managed by this DNS app
- Use pre-made DNS template, defined in DNS products

Related content
DNS Settings
DNS Settings
Read with this
Domain DNS Automation
Domain DNS Automation
More like this
Domain settings: Other
Domain settings: Other
More like this
Hetzner DNS
Hetzner DNS
More like this
Direct Admin
Direct Admin
More like this
PowerDNS
PowerDNS
More like this