/
Plesk Dedicated IP
Plesk Dedicated IP
- HostBill Support
Owned by HostBill Support
Apr 20, 2022
Overview
Plesk Dedicated IP comes with the Plesk Module - a configurable Addon that allows the client to assign a Dedicated IP from an IPAM module.
Creating HostBill / Plesk Dedicated IP
Once you've configured your Plesk packages you can proceed to configuring addons. Make sure that you've created your addons in your Plesk in Plesk Admin → Service Plans → Hosting Plans → Add an Addon
- Proceed to HostBill Admin → Settings → Product Addons
- You should see auto-created addon using Module: Plesk Dedicated IP, as per screenshot below:

- Click Duplicate to make a copy of this addon, so you can re-use it.
- Save your new Addon name, setup pricing, make sure to click on "Make this addon unique", as per screen below:
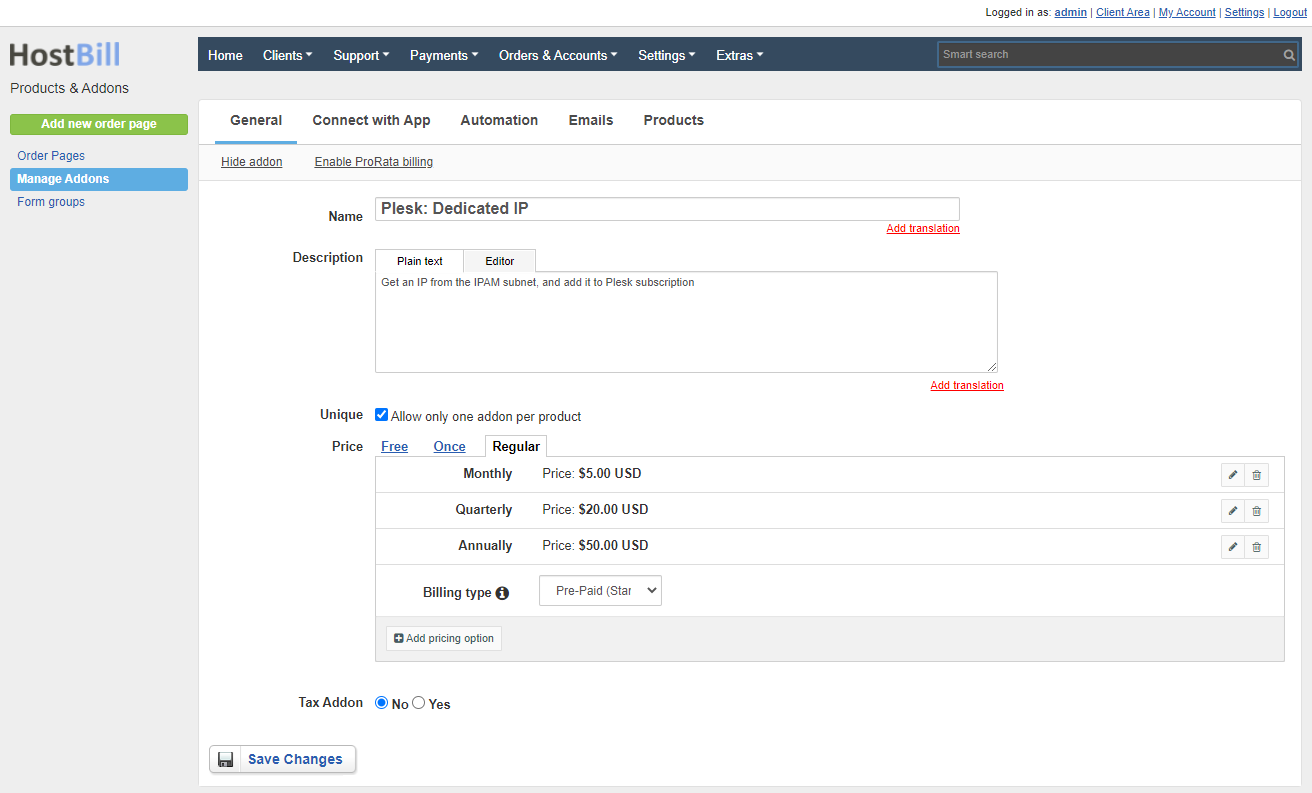
The add-on must be unique as Plesk does not allow to assign more than one IPv4 and one IPv6 to the subscription. - Proceed to "Connect with App" in addon management section
- Enter:
- IPAM subnet: This is the subnet from which new IPs will be added. IPAM module is required.
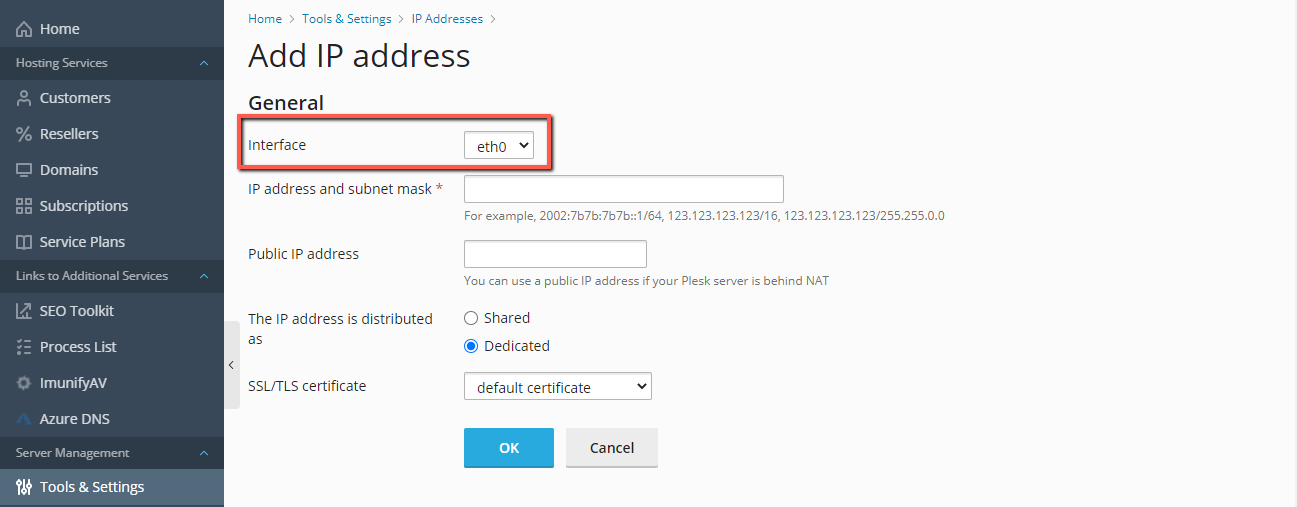
- Plesk IP Interface: This is the Plesk Interface that is used when adding a new IP. Plesk → Tools & Settings → IP Addresses → Add IP Address → Interface

Repeat steps 2-6 for any addons you wish to offer for your customers.
, multiple selections available,
Related content
Plesk
Plesk
More like this
Plesk Key Administrator
Plesk Key Administrator
More like this
Private Network
Private Network
More like this
Online.net Dedicated Servers
Online.net Dedicated Servers
More like this
ISPConfig
ISPConfig
More like this
PowerDNS
PowerDNS
More like this