Plesk
- HostBill (Unlicensed)
- HostBill
- HostBill
- HostBill Support
Overview
Plesk is a multi-functional and multi-level control panel with a wide range a features to easily manage all aspects of a hosting business. With Plesk module for HostBill you can build a complete hosting platform and give your customers the opportunity to manage all aspects of Plesk hosting directly from a single pane of glass billing interface, without the need to login separately.
Activating the module
- If the module is included in your HostBill edition you can download it from your client portal.
- If the module is not included in your HostBill edition you can purchase it from our marketplace and then download it from the client area.
- Once you download the module extract it in the main HostBill directory.
- Go to Settings → Modules → Hosting Modules, find and activate Plesk module.
Connecting HostBill with Plesk
- Proceed to Settings → Apps → Add new App
- From Applications list select Plesk
- Enter:
- Hostname - is the full hostname of the server to which Plesk will connect. This can be a domain name (e.g. server.example.com) or a direct IP address.
- IP Address - is the IP address of the server on which Plesk runs. The IP address is used to communicate with the server and manage the resources assigned to this IP.
- Max No. of Accounts - is the maximum number of user accounts that can be created on this server managed by Plesk. This limitation can be used to control resources and prevent server overload.
- Server Status Address - is the URL or IP address used to monitor the status of the server. Plesk uses this address to check the availability and performance of the server.
- Username - is the username used to log into Plesk. Typically, this is an administrator account or a user with server management privileges.
- Password - is the password assigned to the Plesk user account, used to authorise access to the administration panel and server resources.
- Private IP - is a private IP address assigned to the server that can be used on internal networks instead of the public IP. Private IP is often used in cloud or virtual environments.
- Secret for DNS tool - is a secret key used to integrate DNS tools with Plesk. It is a secure token that allows remote management of the server's DNS zones.
- Attempt to re-use customer account - this is an option that allows Plesk to attempt to re-use an existing customer account instead of creating a new one. This is useful when the same customer is to be reassigned to a new service or hosting plan.
- Force API version - allows you to force the use of a specific API version when communicating with Plesk. This is useful when there is a need to use an older or specific API version for compatibility reasons.
- Connection account type - admin/reseller specifies whether the account used to connect to Plesk has administrator (admin) or reseller (reseller) privileges. If wrong type is selected (ie you are using reseller and picked admin) you may encounter issues with account suspensions
4. Verify entered credentials by clicking Test Connection to check if HostBill can connect
5. Save Changes

Adding Plesk Cloud Hosting product
- In HostBill go to Settings → Products & Services, and Add new order page
- From Order Types select Shared Accounts
- After creating order page add new product in it, provide its name and Save changes
- In product configuration section proceed to Connect with App, select Plesk module and App server created in previous steps.
- Proceed to configuration wizard and set your package limit.
- Template Plan - is a predefined plan or resource template that is used to quickly create user accounts or services in Plesk.
- IP v4 - is an IP version 4 address that can be assigned to a user account or service in Plesk.
- IP v6 - is an IP address in version 6 that can be assigned to a user account or service in Plesk.
- WWW Prefix - determines whether Plesk will automatically add the prefix www. to the domain name when creating a site.
- No Hosting - is an option that allows you to create domains without assigning hosting resources to them. This is useful if the domain is only used for email or DNS management, without hosting the site.
- Packet Extension Call - this is a special feature or extension in Plesk that allows additional procedures or scripts to be called when managing service packets. This can be used for automation or integration with other systems.
- ipv4_ipam_subnet - is an option that allows a specific IPv4 subnet to be assigned to a server or account in Plesk. Subnets are used to organise and manage larger blocks of IP addresses.
- ipv6_ipam_subnet - is the equivalent of a subnet for IPv6 addresses, allowing blocks of IPv6 addresses to be assigned to specific resources in Plesk.
- ip_interface - is an option that allows you to select the specific network interface with which an IP address (IPv4 or IPv6) will be associated in Plesk. This is useful in advanced network configurations where the server has multiple network interfaces.
- Submit changes, your package is ready.

For more generic product configuration details including price, automation, emails settings refer to Product Configuration article.
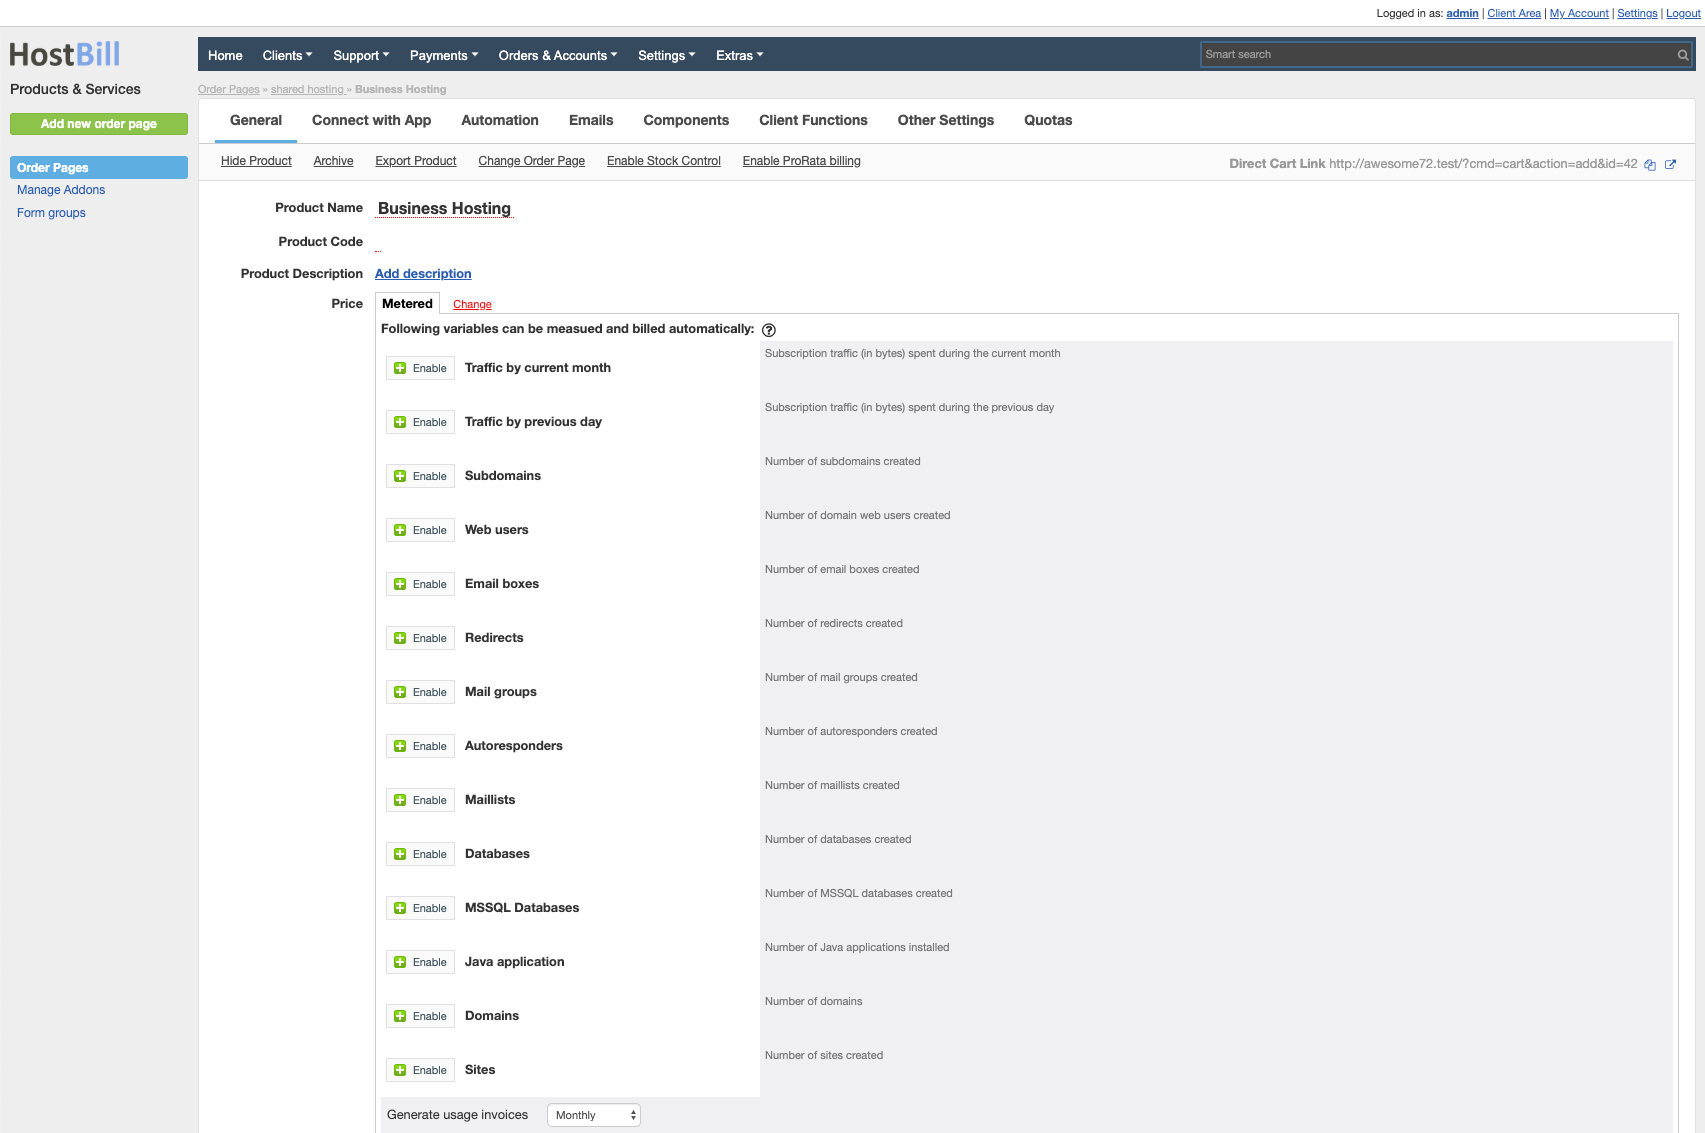
Configuring Metered Billing
Plesk module supports metered billing feature. To configure your metered billing package in product configuration in "General" tab select "Metered" under Price. Following variables can be measured and bill automatically:
Traffic
Subdomains
Emails
Redirects
Mail groups
Autoresponders
Mailing lists
Databases
Domains
Sites
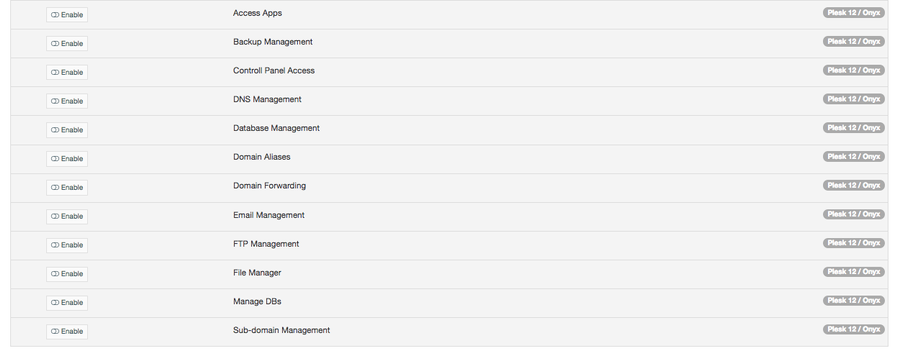
Configuring Client Functions
In Products & Services → Your Order Page → Your Product → Client Functions you can control what features customer will have access to in client portal, by clicking Enable/Disable next to the given option.
Use Edit button to adjust function appearance in the client portal.
For Plesk you can enable the following client functions dedicated to this module:
- Access Apps - access apps through auto-login iframe
- Backup Management - The 'backup-manager' element is used for Plesk 17.5 (XML API up to 1.6.9.0). If you have a higher version, unfortunately you will not be able to use this client function because the API with the backup-manager element is deprecated.
- Control Panel Access
- DNS Management
- Database Management
- Domain Aliases
- Domain Forwarding
- Email Management
- FTP Management
- File Manager - access filemanager through auto-login iframe
- Manage DBs - access database management through auto-login iframe
- Sub-domain Management
Note about Plesk Obsidian
Please note
Since Plesk Obsidian release some of client functions listed above may not function properly due to Plesk sending too strict CORS headers after SSO made from HostBill.
To solve this:
- login to your Plesk Obsidian installation using SSH
- Edit /usr/local/psa/admin/conf/panel.ini
- Append following lines:
[security]
sameOriginOnly = false
sameSiteCookie = "None"
trustedRedirectHosts = your.hostbill.domain
As well as number of standard client functions, such as
- Change Billing Cycle
- Change Label
- Change Ownership
- Edit Forms
- Graphs
- Login Details
- Manual Service Renew
- New Direct Link
- Related Services
- Service Auto Renewal
Accessing account-related variables in email templates
During account creation Plesk module stores additional informations related to accounts in HostBill db. You can access those informations in welcome/automated emails using following variables:
- Username - {$service.username}
- Password - {$service.password}
- Plesk User ID: {$service.extra_details.user_id}
- Plesk Subscription ID: {$service.extra_details.webspace_id}
- Web access login: {$service.extra_details.web_login}
- Web access password: {$service.extra_details.web_password}
Timeout during account creation
If one of the slave Nameservers is unavailable, Plesk waits for a connection, which causes a timeout.