Password Manager
- HostBill (Unlicensed)
- HostBill
- HostBill
Overview
Password Manager module lets you manage your passwords from HostBill and share them with selected staff members in a secure way. The module gives you control over who can view, edit and delete password at the per-password level.
This module requires:
Note that openssl is preferred, as mcrypt was removed in php 7.2
Activating the module
- If the plugin is included in your HostBill edition you can download it from your client portal.
- If the plugin is not included in your HostBill edition you can purchase it from our marketplace and then download it from the client area.
- Once you download the plugin extract it in the main HostBill directory.
- Go to Settings → Modules, find and activate Password Manager plugin.
- Once the plugin is activated you will be directed to Settings→ Modules→ Plugins to configure the plugin.
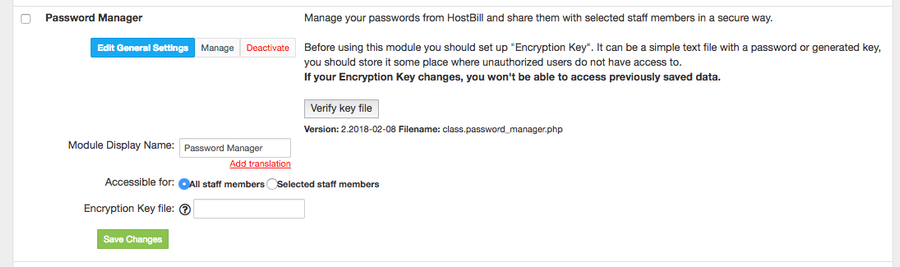
Module configuration
Choose module display name
Select if you want the widget to be accessible for all staff members or only selected staff members
Enter Encryption Key file - a path in your HostBill's server filesystem to a text file that holds an alphanumerical string (relatively long, possibly without whitespaces). This string will be used as a key when encrypting your passwords in the database. After saving the key file location, click on Verify key file button to check if HostBill can read this file. Make sure that your encryption key file is stored securely on your server, somewhere outside web-accessible directories, but with permissions (user/group) allowing HostBill to read from it.
Important: If you will loose or change your encryption key file (or its contents) you would not be able to access previously saved data.
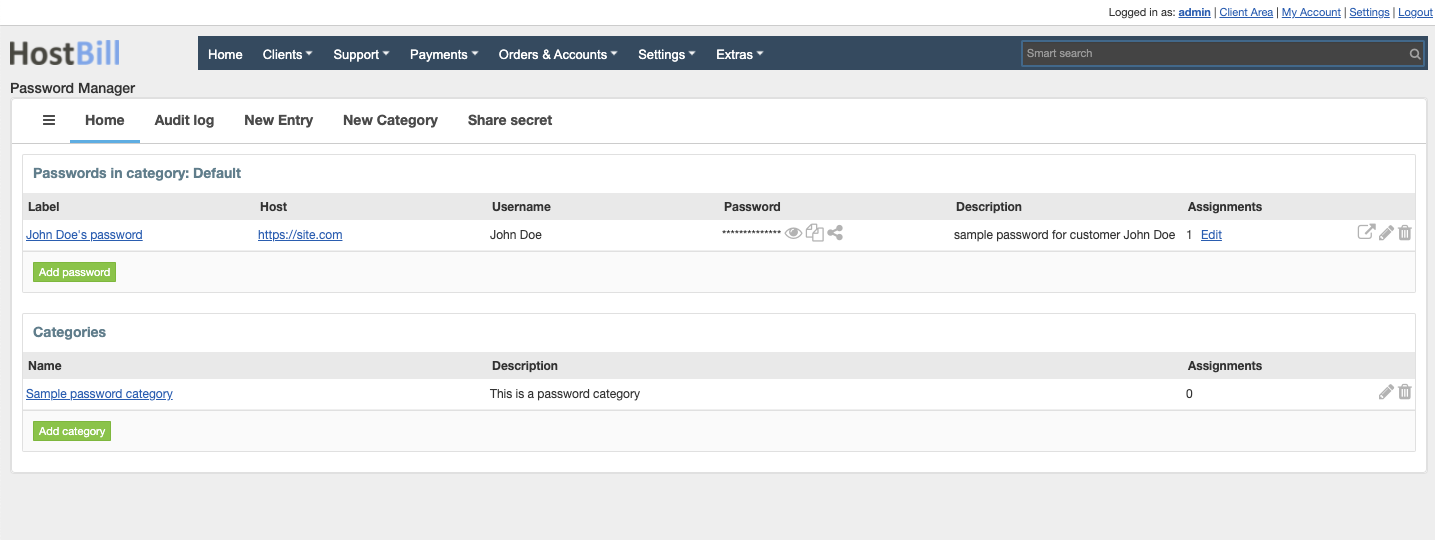
How the module works
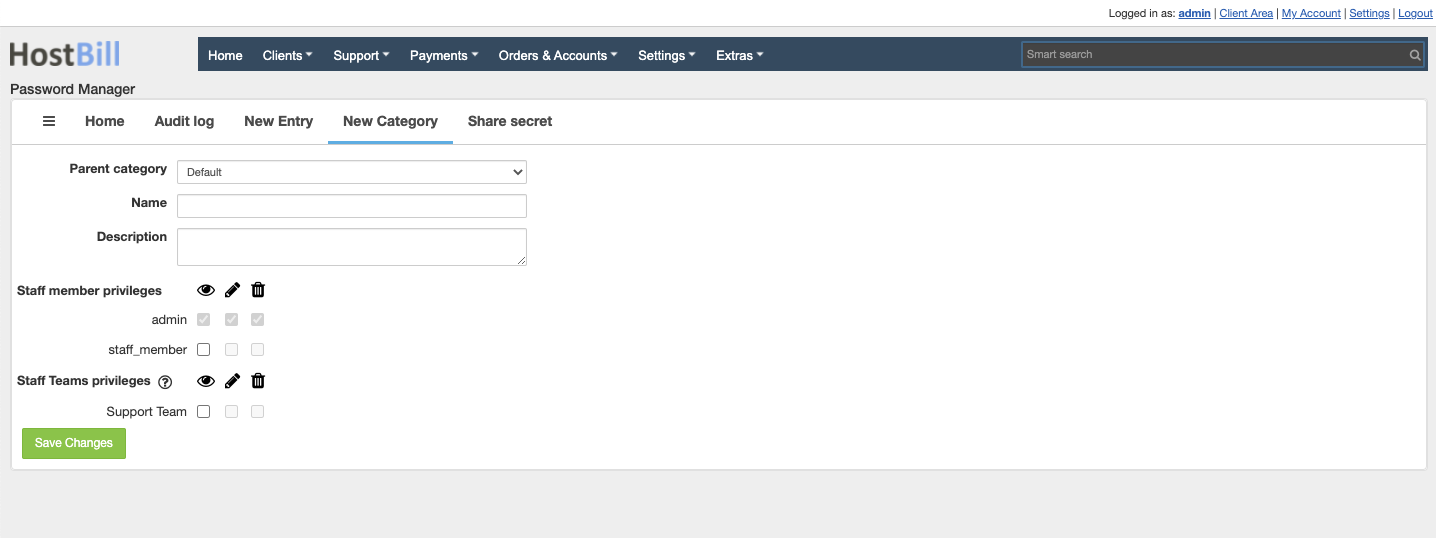
Password categories
In Password Manager passwords can be divided into categories. To create a category click on "New Category button" and enter:
- Parent category
- Name of the category
- Description
- Set privileges (to view, edit, delete) per staff members
- Set privileges (to view, edit, delete) per staff teams
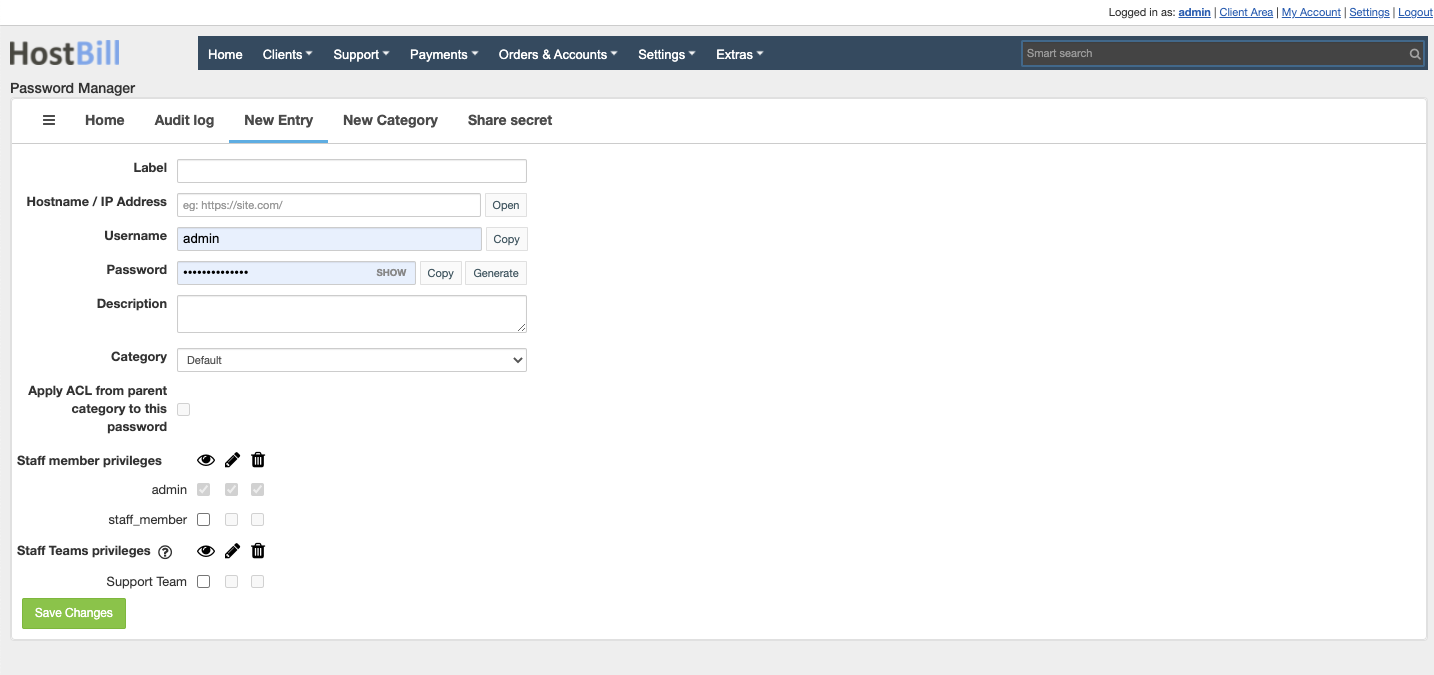
Adding new entires
To add new entry click on "New entry" button in the top menu and enter:
- Label
- Hostname / IP Address
- Username
- Password
- Description
- Category
- You can choose to Apply ACL from parent category to the password, or
- Set privileges (to view, edit, delete) per staff members
- Set privileges (to view, edit, delete) per staff teams
Replacing plain-text passwords in emails with URLs to password
Sending passwords over email is always risky, especially when emails are logged. Since 2020-08-21 release of Password Manager new template/smarty function is available in email templates to hide passwords, and replace them with special, secret URL.
Secret URL will show your client a page to reveal his password, and once displayed the link will expire within 24hrs from revealing.
To use it, add |secretlink to any email template variable you wish to "hide" under secret link, ie:
Password: {$service.password}
replace with:
Password: {$service.password|secretlink} (click to reveal)
Once customer receives email and clicks on the link to reveal the password, he will see page to retrieve it:
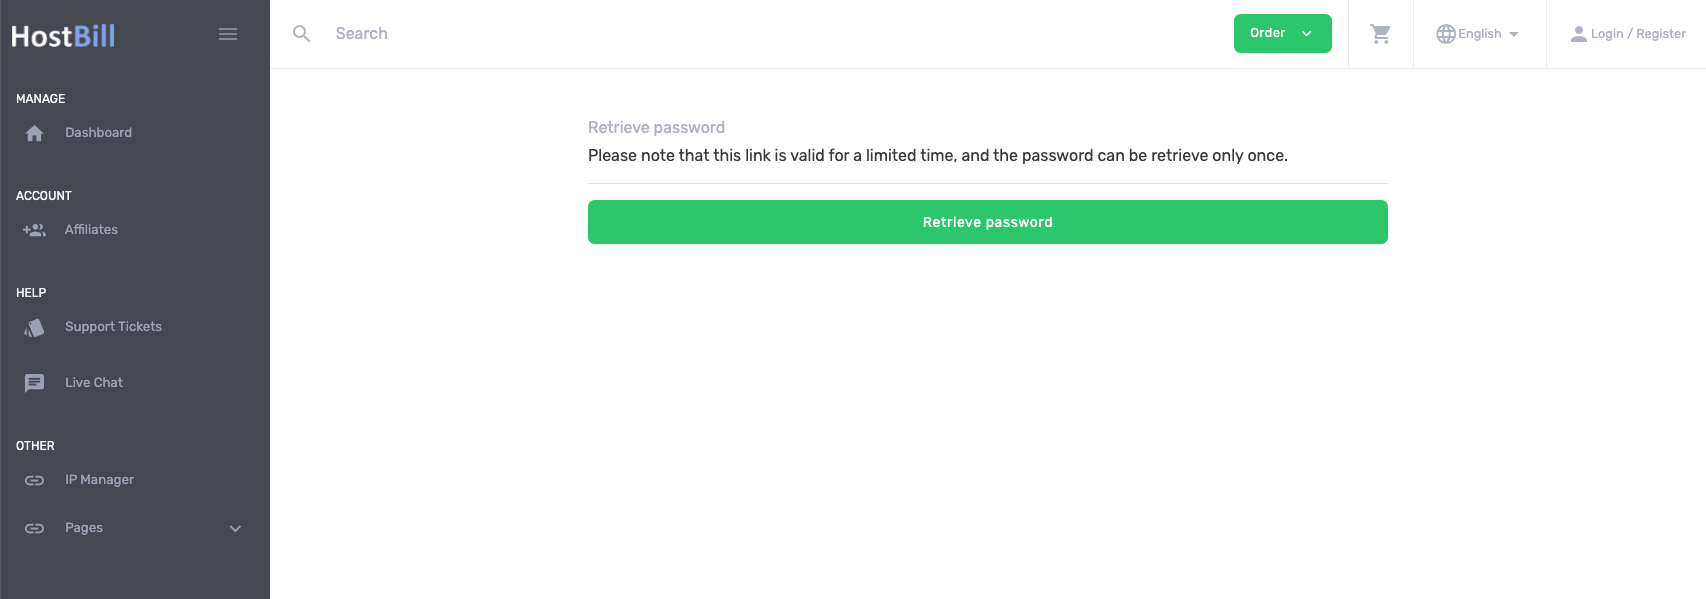
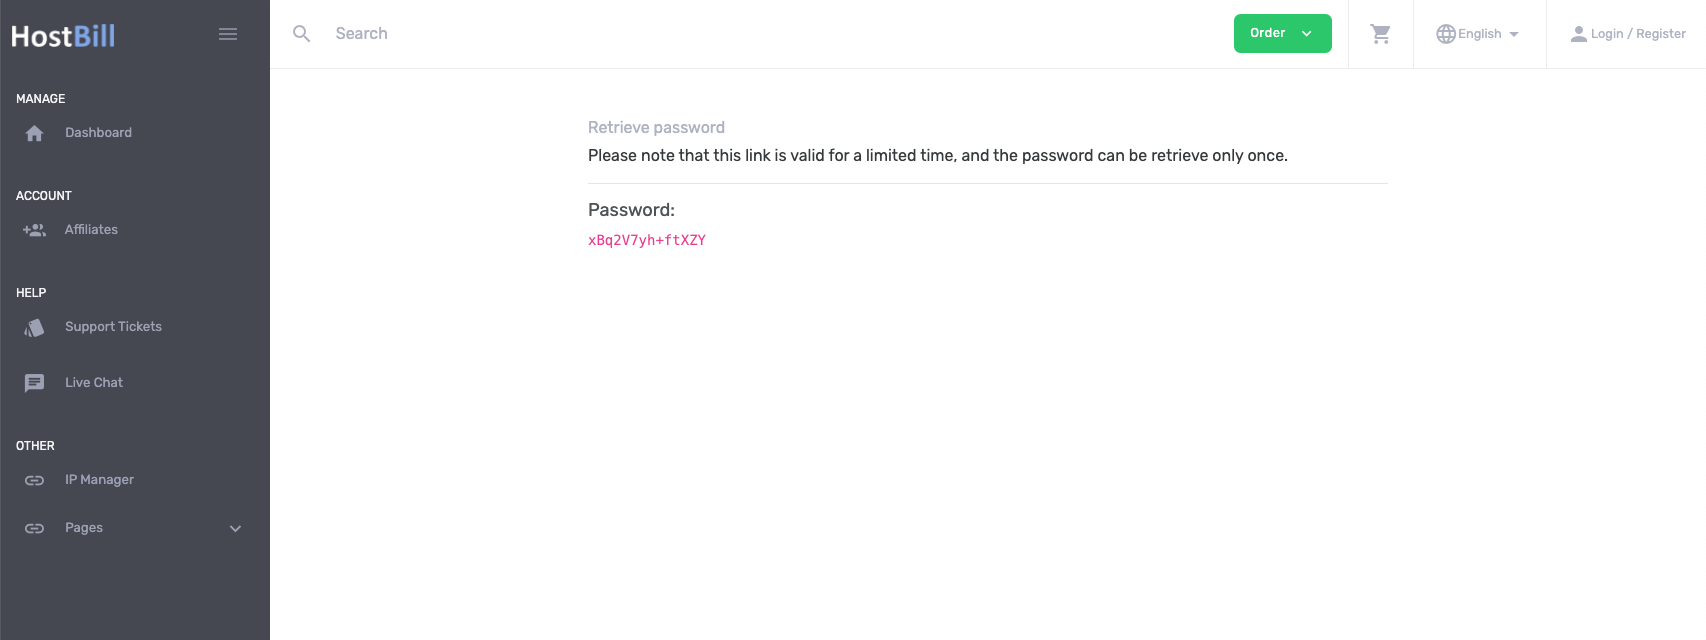
Once the link is clicked, visitor IP is logged in database, and password is presented to the customer:
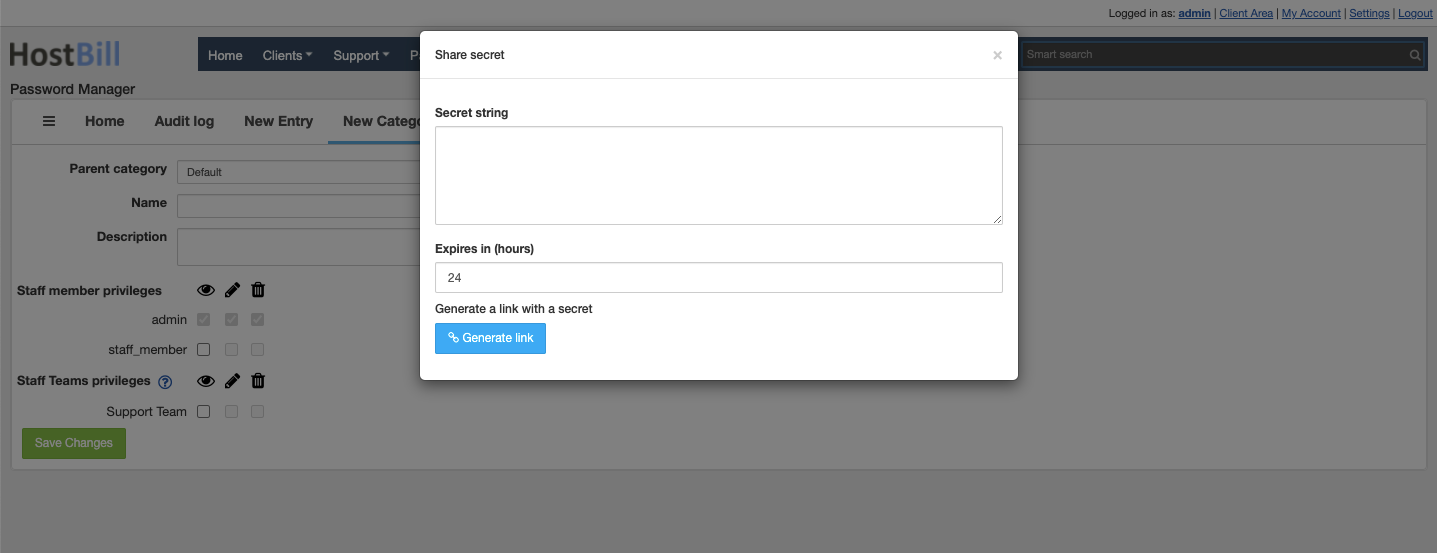
Share secret
The module allows to share any custom secret through an expirable link. Click on "Share secret" button and enter:
- Secret string
- Expires in (hours)
Once you click on "Generate link" button, the link will be generated. Please be aware that the secret link will be active for a predefined time period, and can be retrieved only once.
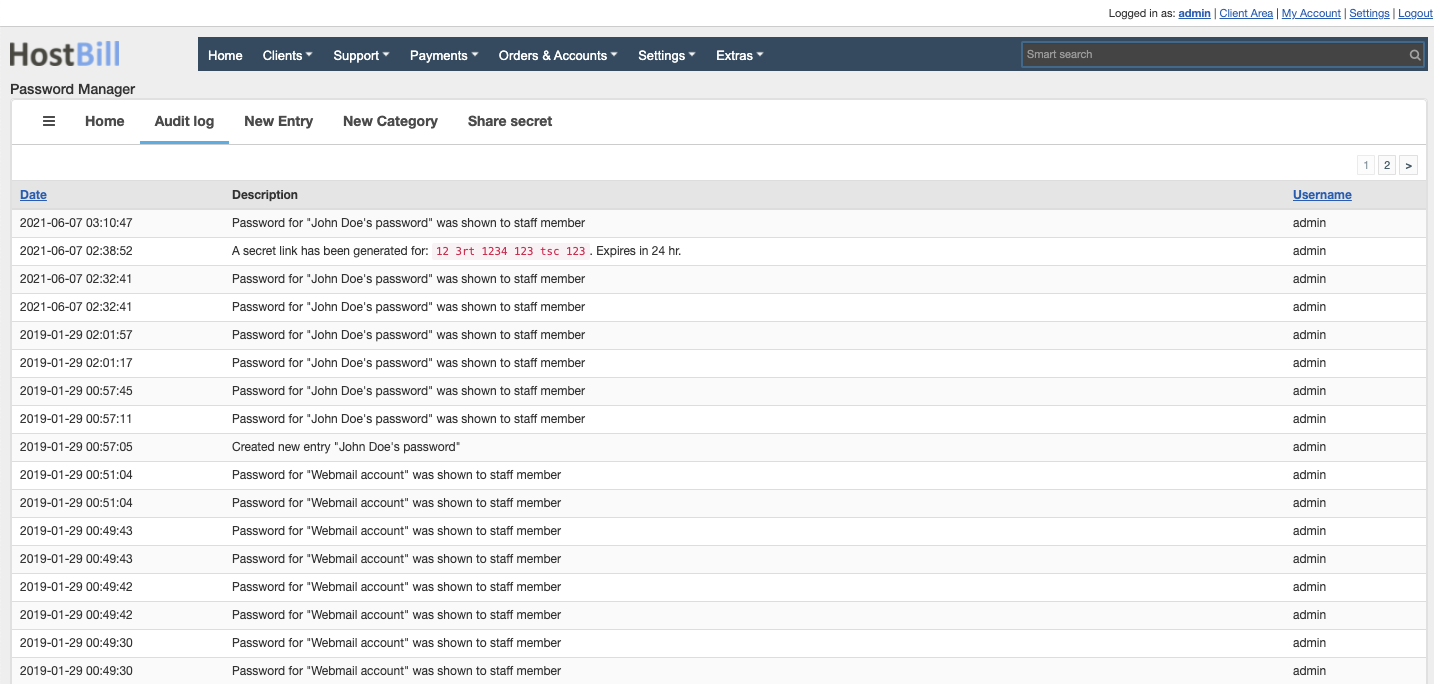
Audit log
The Audit log section lists all actions taken from Password Manager"
Video Overview
Watch our video to see the plugin overview: