RushFiles
Notice: This module is deprecated and no longer supported by HostBill
Overview
RushFiles is the premier secure file sharing solution for you to sell your customers. HostBill allows you to resell and automate Rushfiles services. HostBill automatically creates accounts and handle account lifecycle. Customers can display Rushfiles login details directly in your client area and you have the control over the billing cycle and account details.
Activating the module
- If the module is included in your HostBill edition you can download it from your client portal.
- If the module is not included in your HostBill edition you can purchase it from our marketplace and then download it from the client area.
- Once you download the module extract it in the main HostBill directory.
- Go to Settings → Modules → Hosting Modules, find and activate RushFiles module.
Connecting HostBill with RushFiles
- Proceed to Settings → Apps → Add new App
- From Applications list select RushFiles
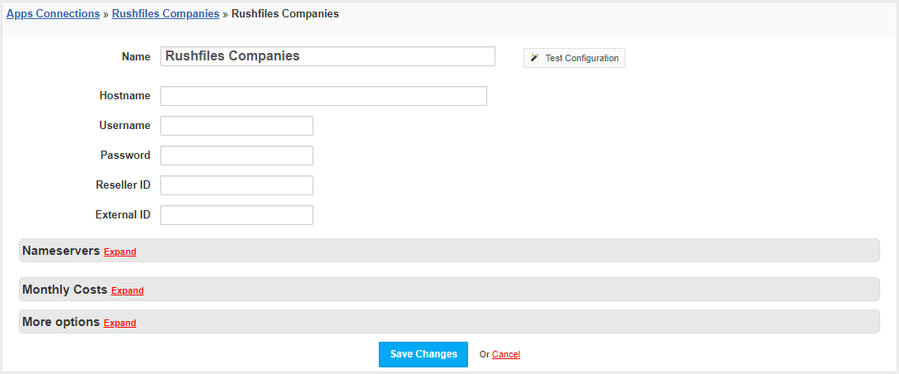
- Enter:
- Name - Name of this connection
- Hostname - Available in dashboard rushiles in the My Account → API Information → Client API
- Username -The username you login to the Rushfiles dashboard
- Password -The password you login to the Rushfiles dashboard
- Reseller ID - Available in dashboard rushiles in the My Account → My Account → Reseller ID
- External ID - Available in dashboard rushiles in the My Account → My Account → External ID
4. Verify entered credentials by clicking Test Connection to check if HostBill can connect
5. Save Changes
Adding RushFiles package
- In HostBill go to Settings → Products & Services, and Add new order page
- From Order Types select Other Services
- After creating order page add new product in it, provide name & Save changes
- In product configuration section proceed to Connect with App, select RushFiles module and App server created in previous steps.
- Set the maximum number of users and the maximum disk space (in GB) for companies.
- Submit changes, your package is ready
If you want to enter the company name during the order, you must enable the Require hostname for this product option (Components → Domains).
For more generic product configuration details including price, automation, emails settings refer to Product Configuration article.
Configuring Client Functions
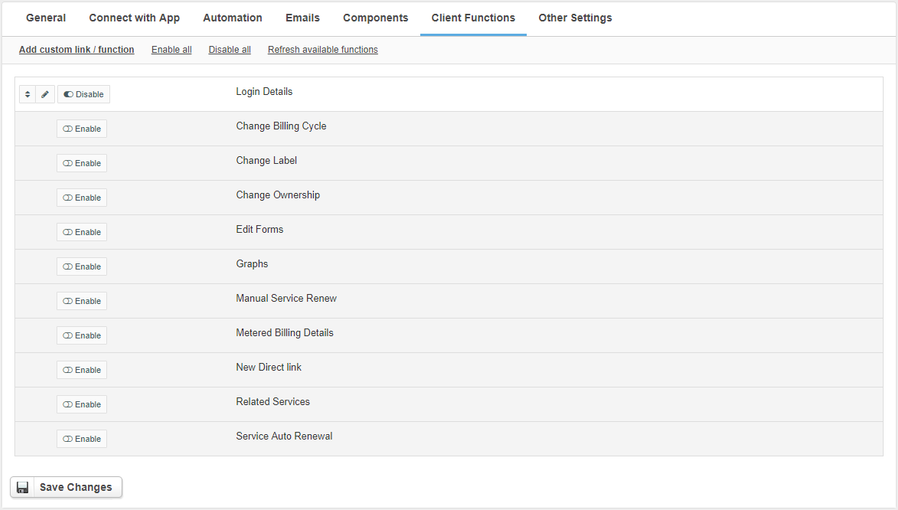
In Products & Services → Your Order Page → Your Product → Client Functions you can control what features customer will have access to in client portal, by clicking Enable/Disable next to the given option.
Use Edit button to adjust function appearance in the client portal.
Login Details
When creating an account, one user with administrator privileges is automatically created. Enabling the Login Details client function will display necessary data to be able to log in to that account.


