DotNetPanel
- HostBill (Unlicensed)
- HostBill
- HostBill Support
Owned by HostBill (Unlicensed)
Last updated: Apr 19, 2018 by HostBill
Notice: this module was deprecated in favor of the new WebsitePanel module.
Activating the module
- If the module is included in your HostBill edition you can download it from your client portal.
- If the module is not included in your HostBill edition you can purchase it from our marketplace and then download it from the client area.
- Once you download the module extract it in the main HostBill directory.
- Go to Settings → Modules → Hosting Modules, find and activate DotNetPanel module.
Connecting HostBill with DotNetPanel
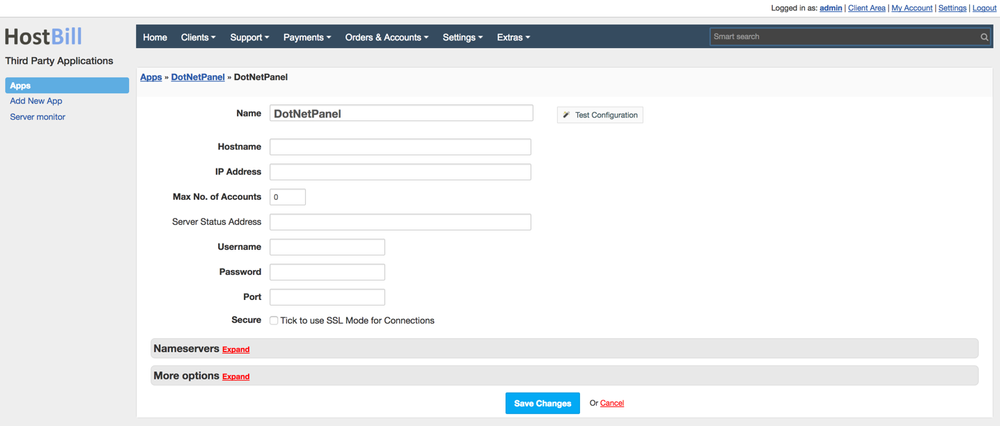
- Proceed to Settings → Apps → Add new App
- From Applications list select DotNetPanel
- Enter:
- Name - Name of this connection
- Hostname
- Ip Address
- Max no of accounts
- Server Status Addres
- Username
- Password
- Port
4. Verify entered credentials by clicking Test Connection to check if HostBill can connect
5. Save Changes
Adding DotNetPanel Product
- In HostBill go to Settings → Products & Services, and Add new order page
- From Order Types select "Other Services"
- Enter your orderpage name, select orderpage template. Save Changes
- Add new product in the new orderpage. Provide product name and setup price and then Save Changes.
- In product configuration section proceed to Connect with App, select DotNetPanel and App server created in previous steps
- You will be presented with following configuration options.
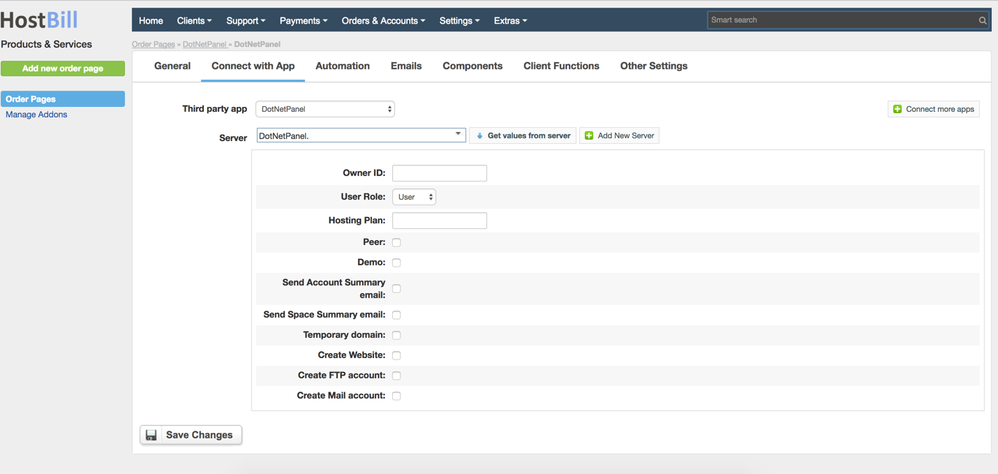
For more generic product configuration details including price, automation, emails settings refer to Product Configuration article.
, multiple selections available,