OVH
- HostBill (Unlicensed)
- HostBill
- HostBill
- HostBill Support
Overview
OVH provides its 1 million worldwide customers with simple yet powerful products and services revolving around three areas: Web (Domains, Web Hosting, Exchange), Dedicated (Servers) and Cloud (Public and Private Cloud, VDI, VPS). HostBill allows you to automate OVH domain provisioning and management.
Activating the module
In order to activate the module login to your HostBill admin panel, go to Settings → Modules → Domain Modules, find and choose OVH module and click Activate.
Module configuration
Once you activate the module you will be redirected to module configuration page. To configure the activated module you can also go to Settings → Apps → Add New App.
Make sure to obtain API credentials from OVH as described in their documentation
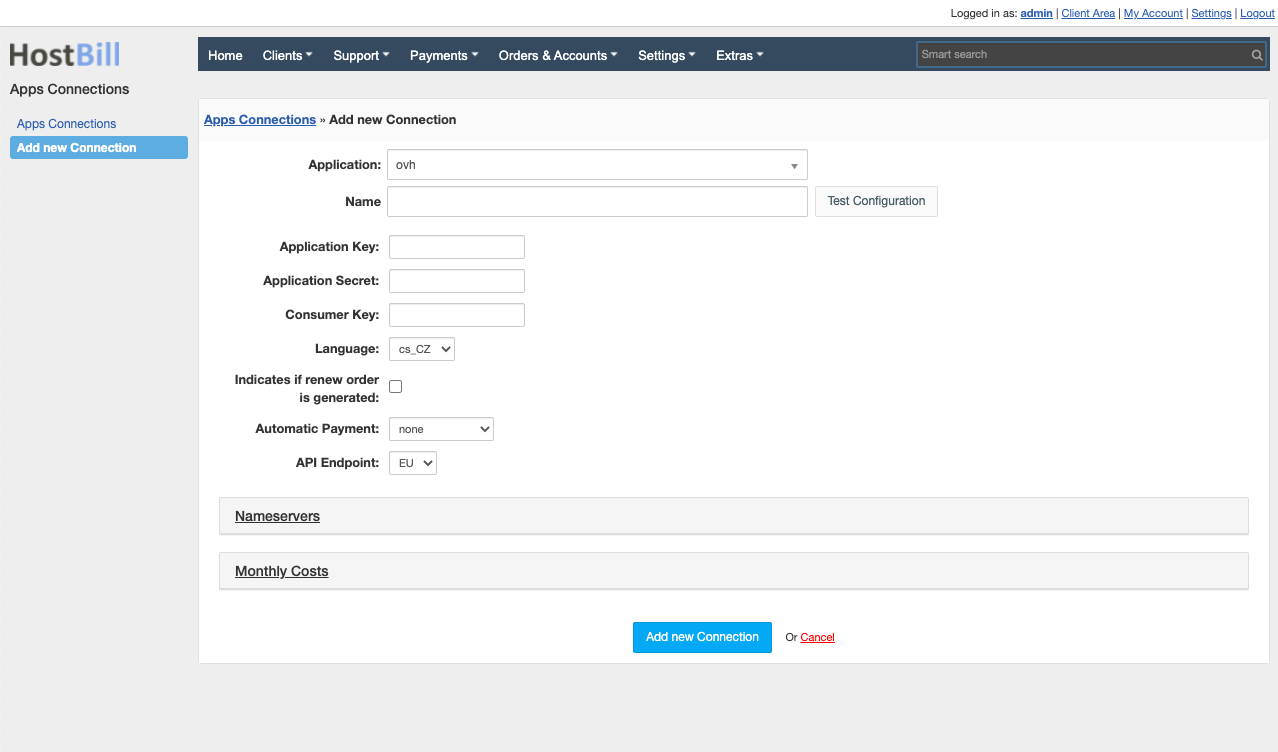
Fill in the configuration fields:
- Name of the application
- API Application Key
- API Application Secret
- API Consumer Key
- Choose the Language (used for API responses/errors/messages)
- Tick Indicates if renew order is generated option to decide whether renews should be sent to API
- Set Automatic Payments source for domain operations
- Select API Endpoint (EU/CA)
- Tick if you want to Use OVH DNS
Then proceed to adding your nameservers:
- Primary Nameserver
- Primary Nameserver IP
Use Test Configuration to check if HostBill can connect.
Click on Add New App.
Note:
When registering some domain extensions, additional fields are required for the registrant contact.
If you register a domain that requires one of the following fields, you will have to add this field to Registration Fields
Clients -> Registration Fields -> Add new field -> (enter Field Name) -> Advanced -> Variable name
Additional Variable name:
- birthcity
- birthcountry
- birthday
- birthzip
- companynationalidentificationnum
- nationalidentificationnumber
Configuring TLD & domain prices
Please see external article to learn how to configure TLDs and domain prices.
Configuring customer domain management features
Please see external article to learn how to configure client domain management features.