NORid
Overview
Norid runs the registry for Norwegian domain names. All domains directly under .no are registered Norid. In addition to processing applications the company develops the domain name policy according to the needs of society. HostBill allows you to automate NORid domain provisioning and management.
Activating the module
In order to activate the module login to your HostBill admin panel, go to Settings → Modules → Domain Modules, find and choose NORid module and click Activate.
Module configuration
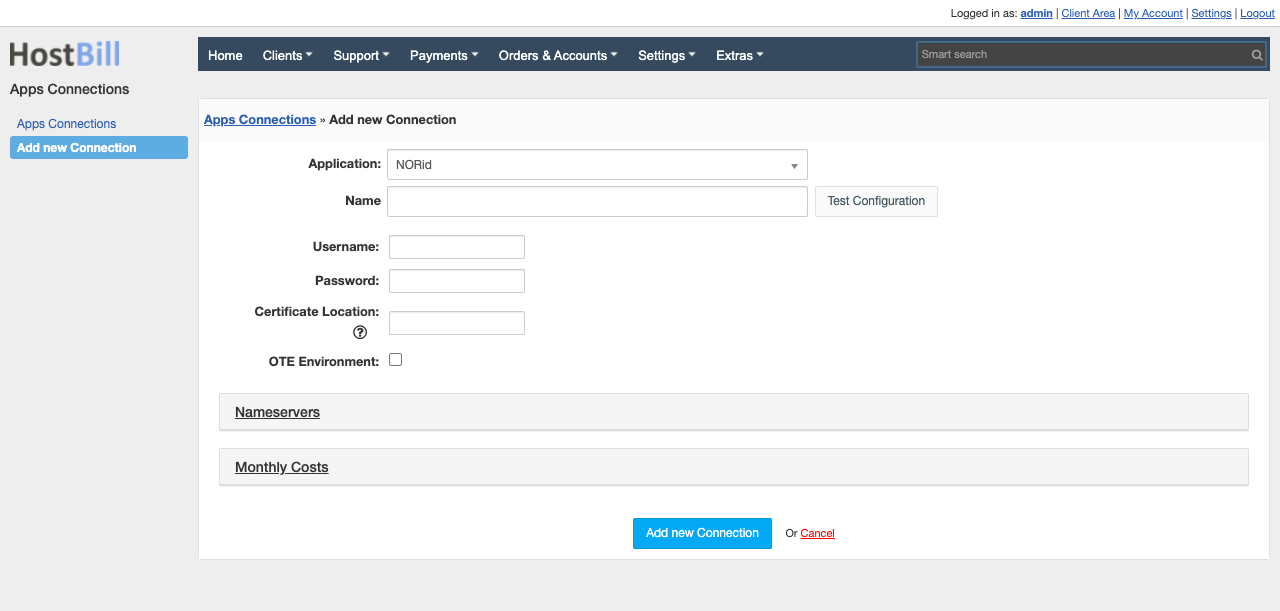
Once you activate the module you will be redirected to module configuration page. To configure the activated module you can also go to Settings → Apps → Add New App.
Fill in the configuration fields:
- Name for the connection
- Username - EPP interface username of NORid registry obtained from them
- Password - EPP interface password of NORid registry obtained from them
- Certificate location - absolute path in your HostBill filesystem to certificate in PEM format used for connection, learn more about obtaining it
- OTE Environment - tick this checkbox if you're using test/OTE interface
Then proceed to adding your nameservers:
- Primary Nameserver
- Primary Nameserver IP
Use Test Configuration to check if HostBill can connect.
Click on Add New Connection.
Applicant Declaration
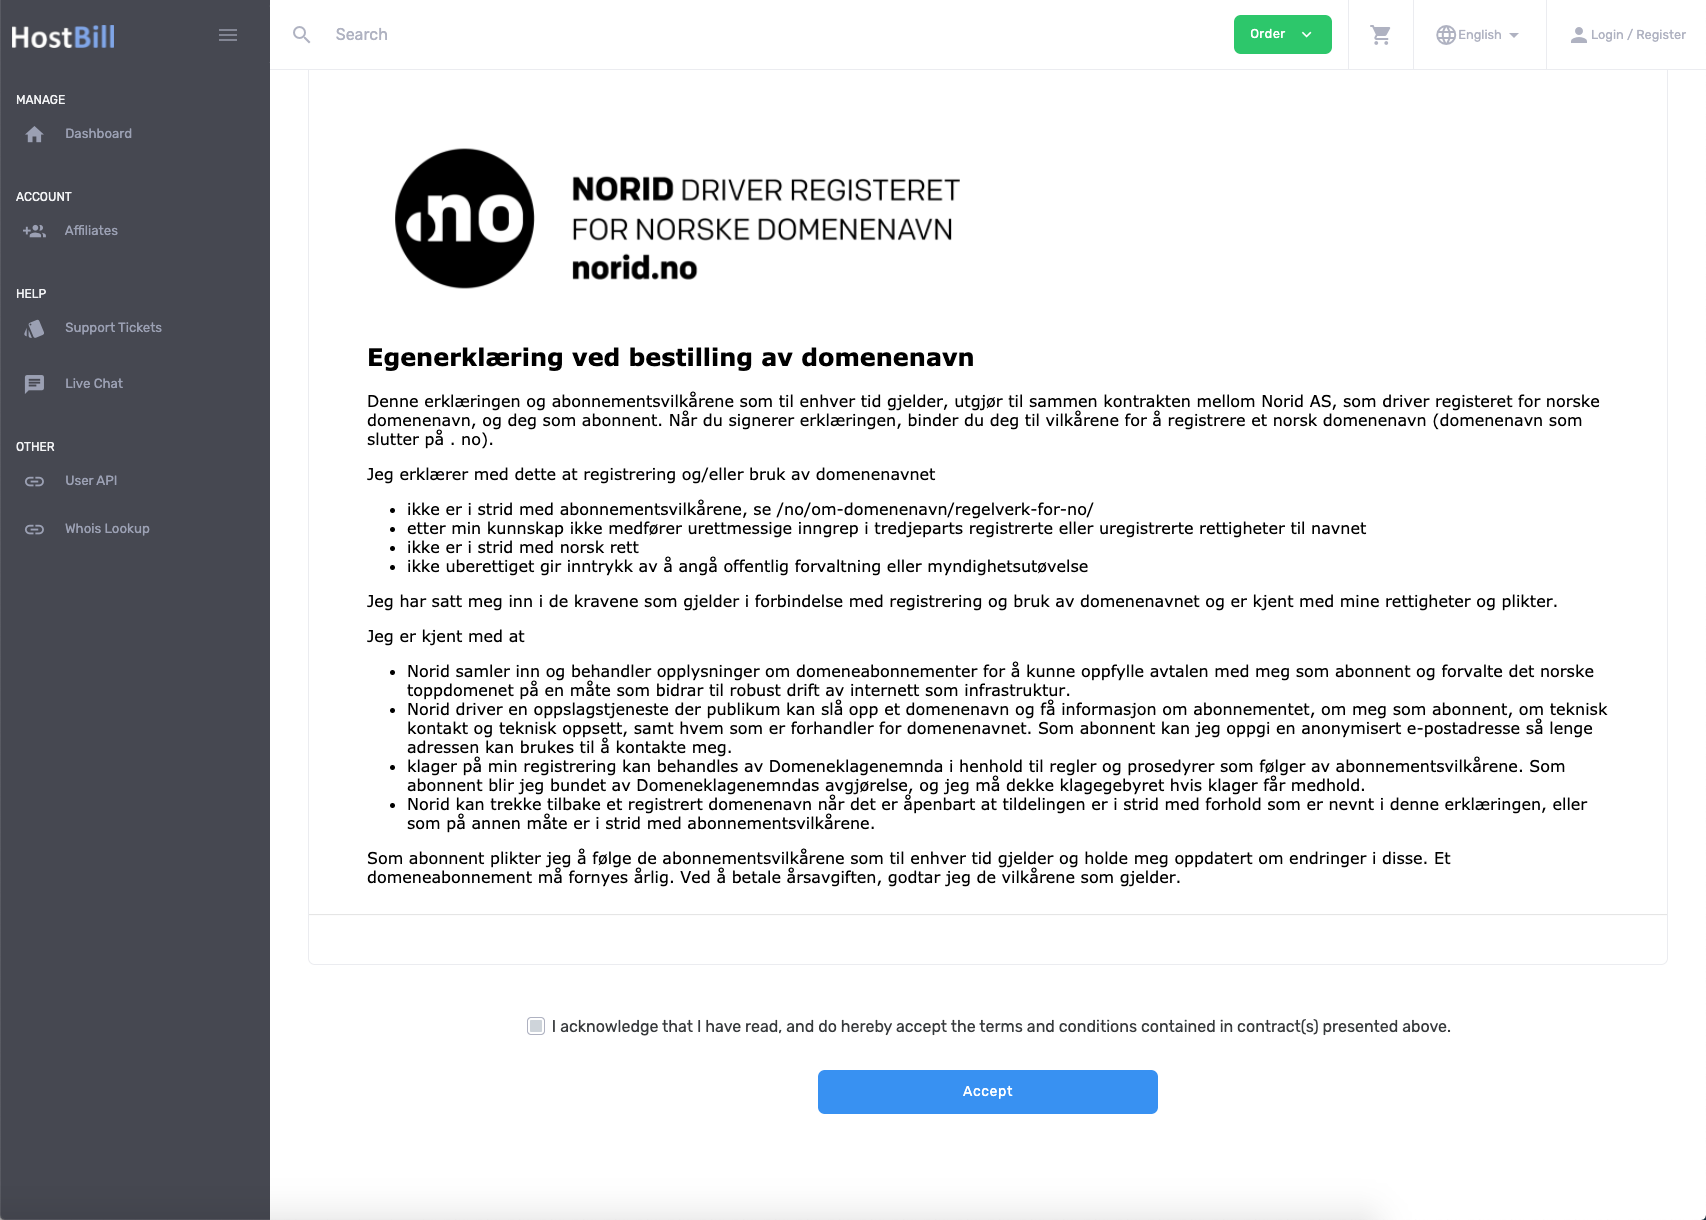
Norid requires applicant to confirm/sign declaration prior to domain registration. With HostBill its possible to generate such agreement "on-the-fly" with cart data for customer to agree before domain purchase.
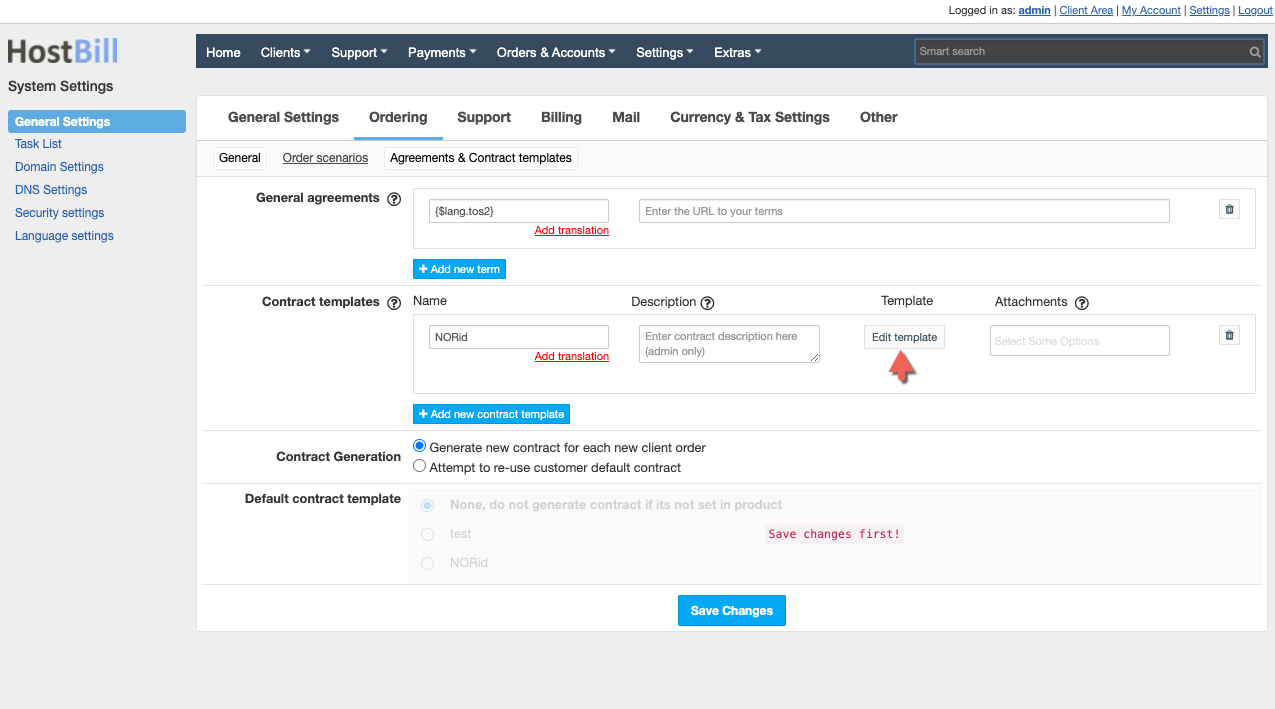
During module installation new Agreement template will be auto-added under Settings→Ordering→Agreements & Contract templates
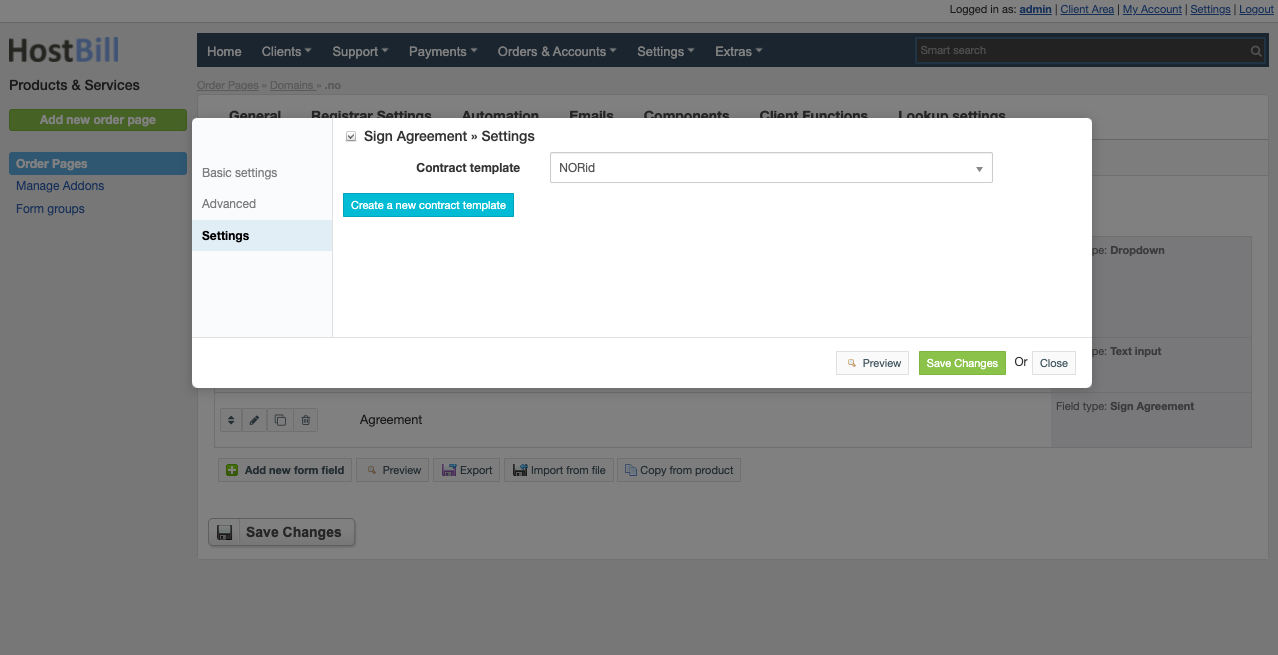
When configuring domain/tld product in HostBill, you can make use of mentioned agreement template with Components → Forms → Sign Agreement form component
Configuring TLD & domain prices
Please see external article to learn how to configure TLDs and domain prices.
Configuring customer domain management features
Please see external article to learn how to configure client domain management features.


