Using Google Oauth in HostBill for sending emails
- HostBill
- HostBill
- HostBill Support
Create Google Application
To create Google Application go to the Google Cloud Console. In the Navigation menu, select APIs & Services.
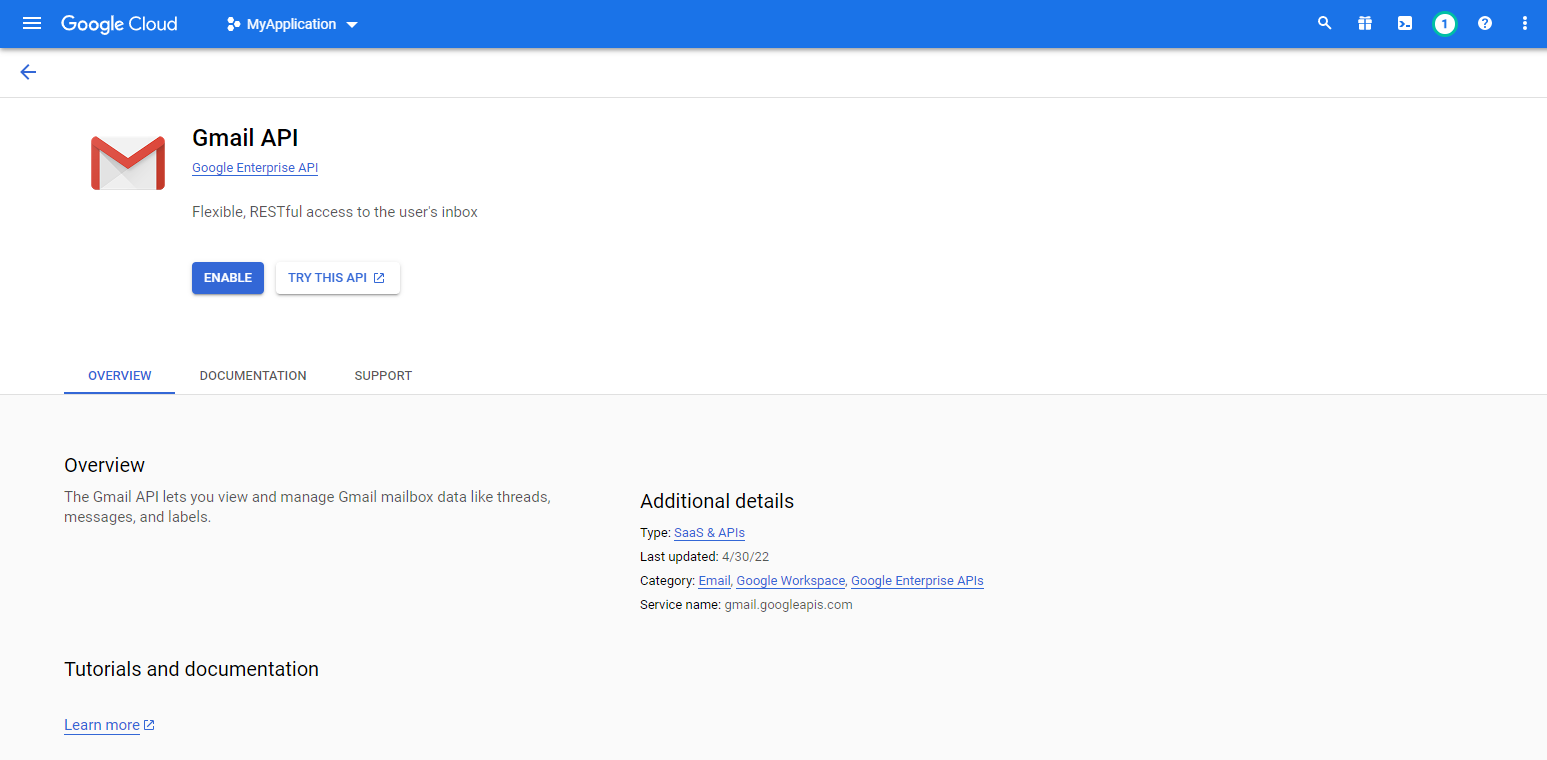
From the Menu, select Library and then search for Gmail API and enable API.
Then select My Application and create a new project. Set the Project Name and Location.
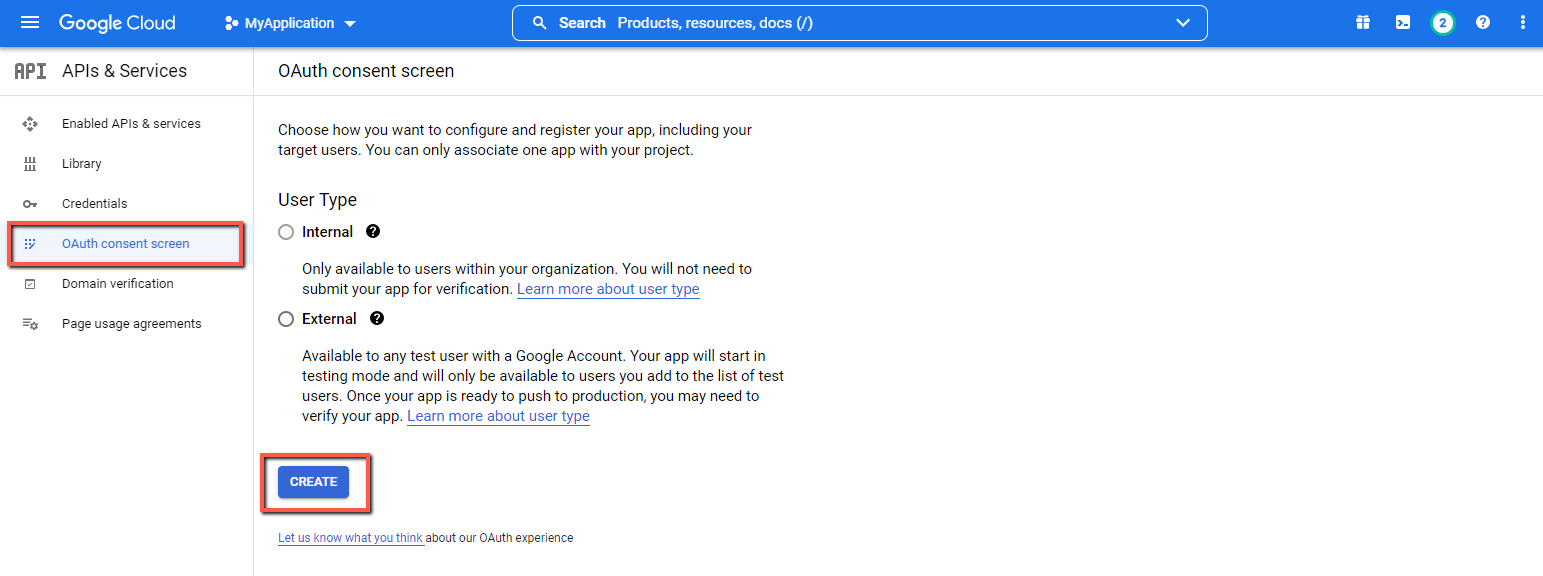
In the side menu select OAuth consent screen, select User Type and click on Create button.
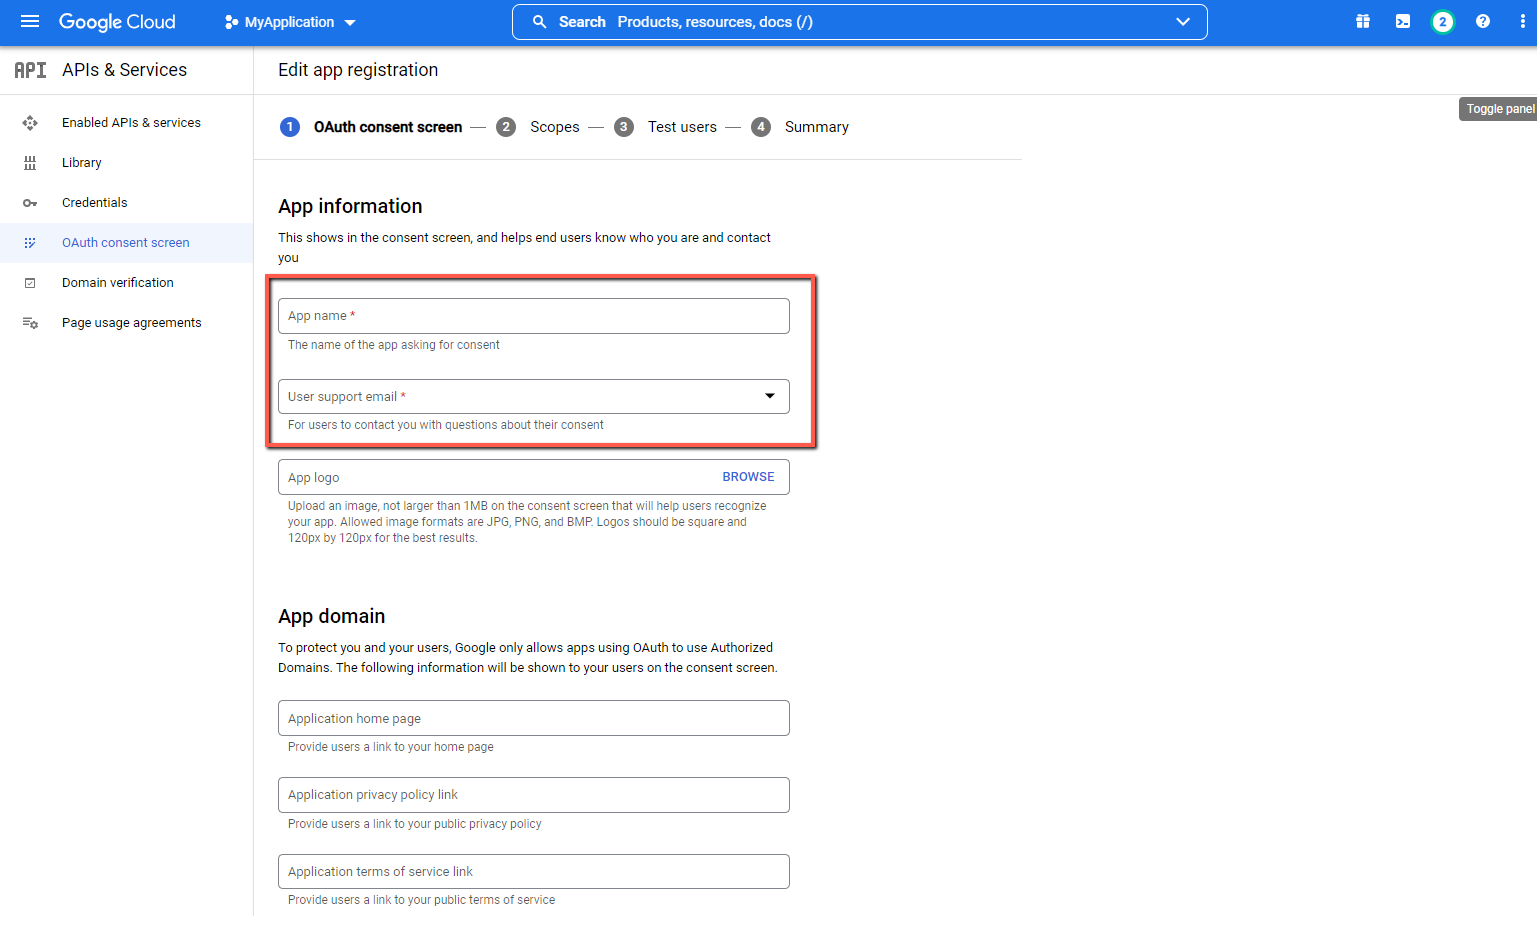
In App information, set App name and User support email. For Developer contact information set Email address.
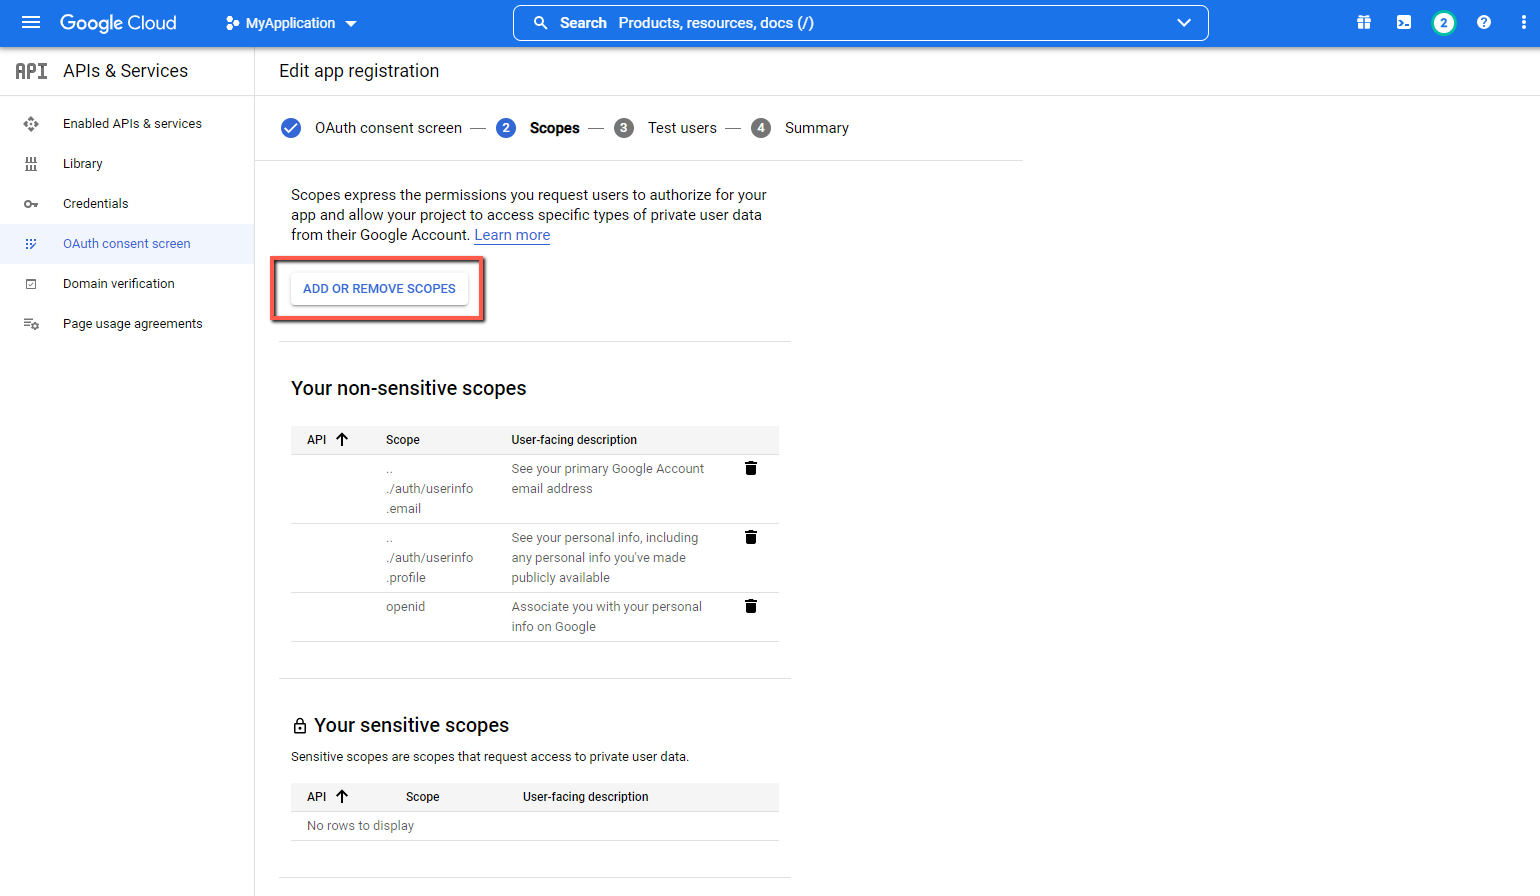
Add the following Scopes:
- ./auth/userinfo.email
- ./auth/userinfo.profile
- openid
- https://mail.google.com/
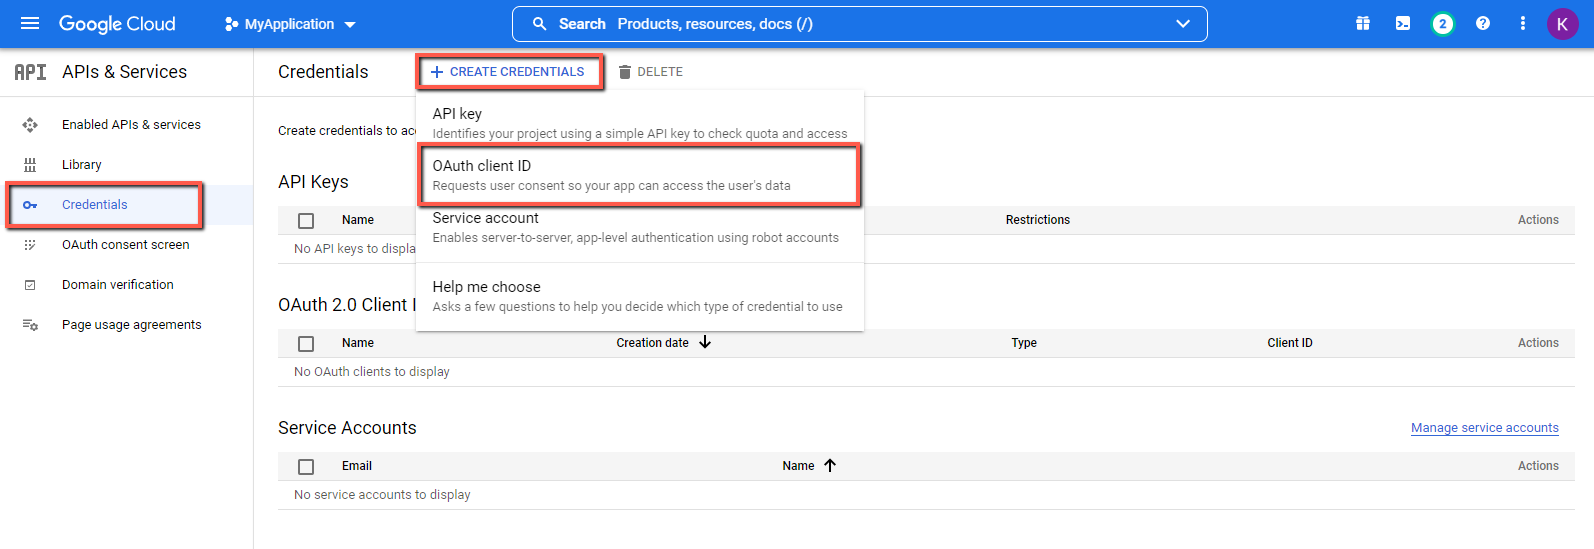
In the menu, select Credentials, then Create Credentials and OAuth client ID.
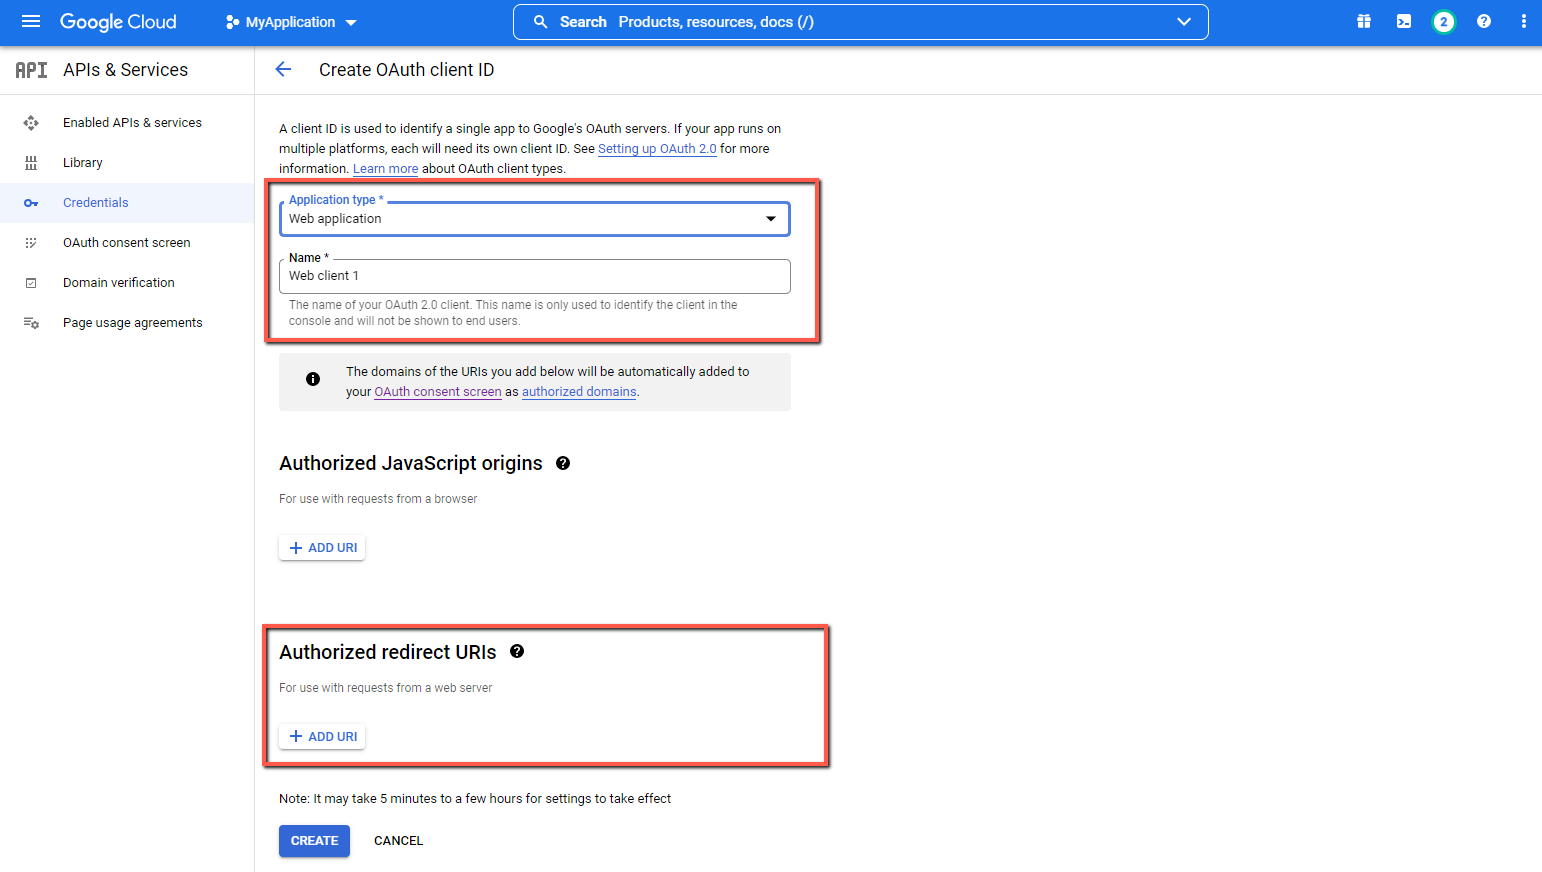
Enter Name and then set Application type to Web application. In Authorized redirect URLs add Redirect URL from HostBill (Settings → Mail)
Set up Gmail in HostBill
After creating Credentials, Client ID and Client Secret will be returned. These values must be set in HostBill in Mail Settings or in Additional mail senders.
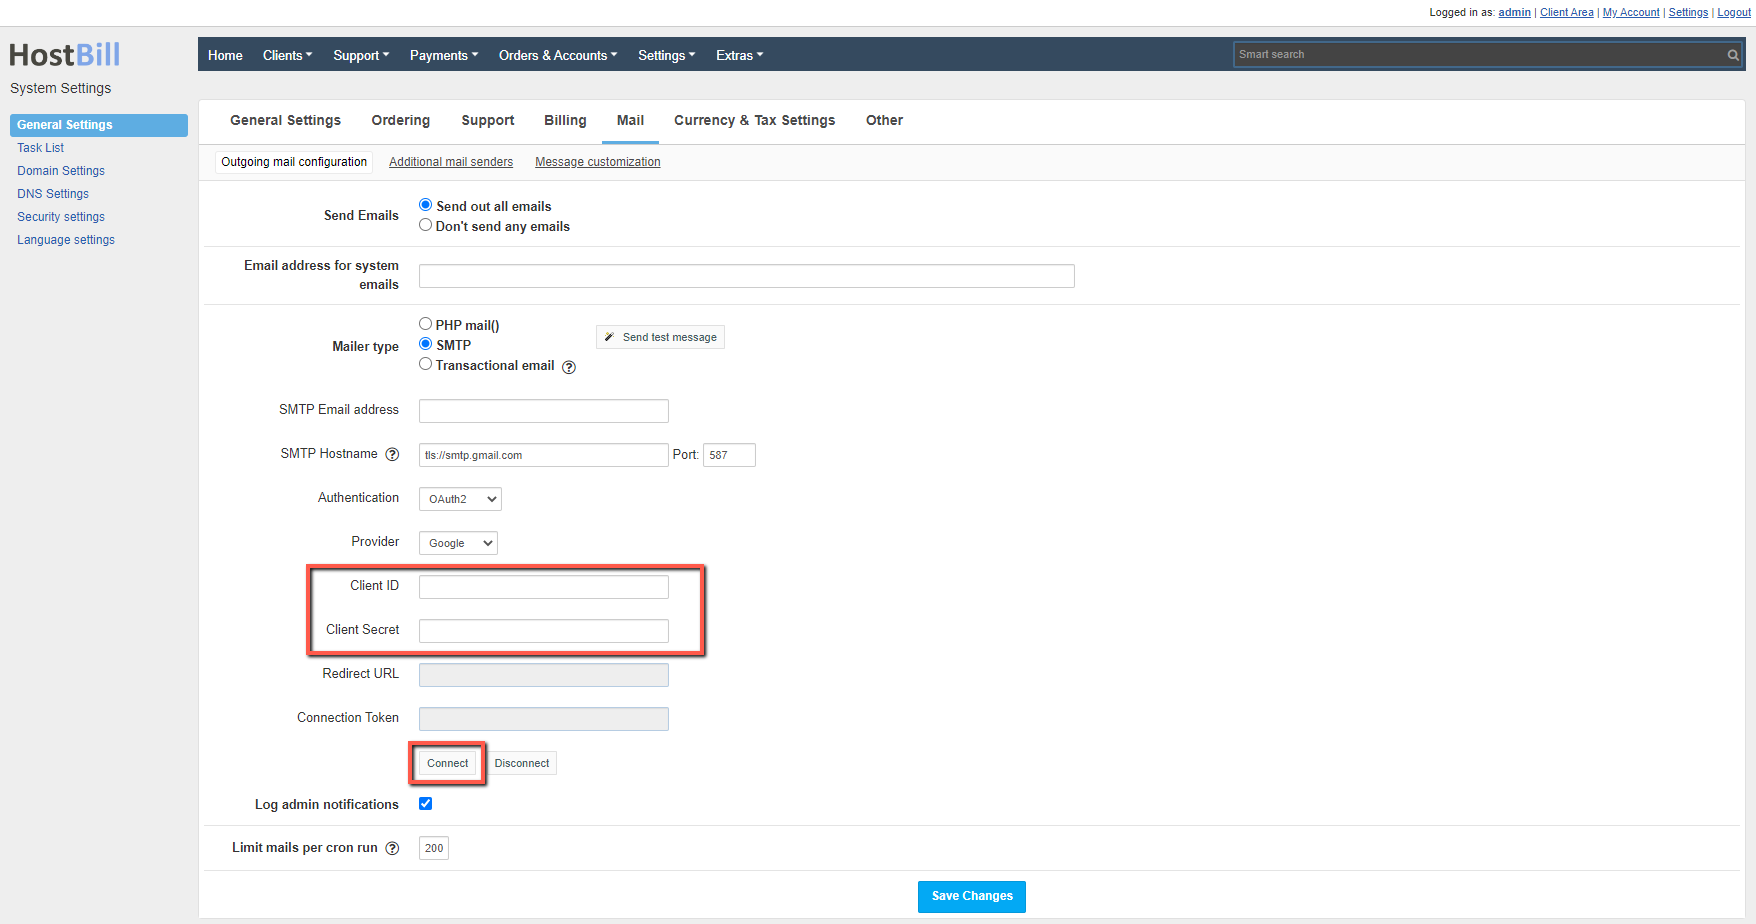
Set:
- SMTP Email address
- SMTP Hostname
- Port
- Authentication to OAuth2
- Provider to Google
Then save the changes and press Connect. After successful Authorization, the Connection Token should be set.
SMTP Hostname should contain ssl:// or tls://