Client Area Template Editor
- HostBill
- HostBill
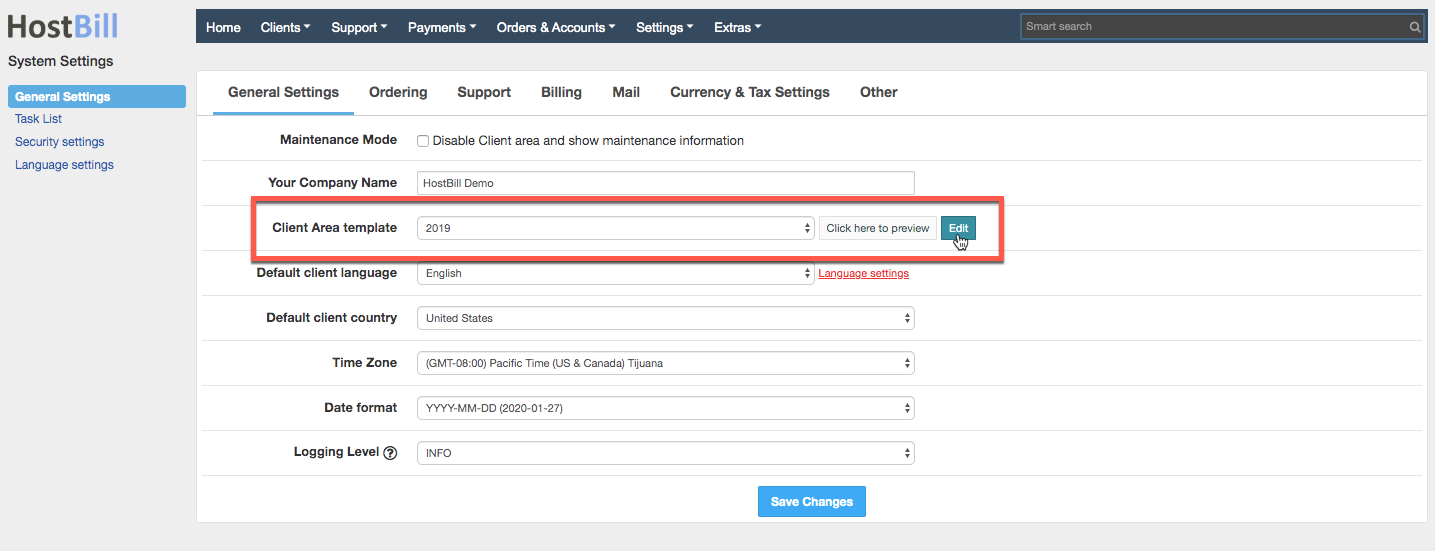
You can find this section in HostBill Admin → General Settings → Client Area Template → Edit.
Edit Client Area Template
To edit client area template go to General Settings → Client Area Template and click on "edit" button:
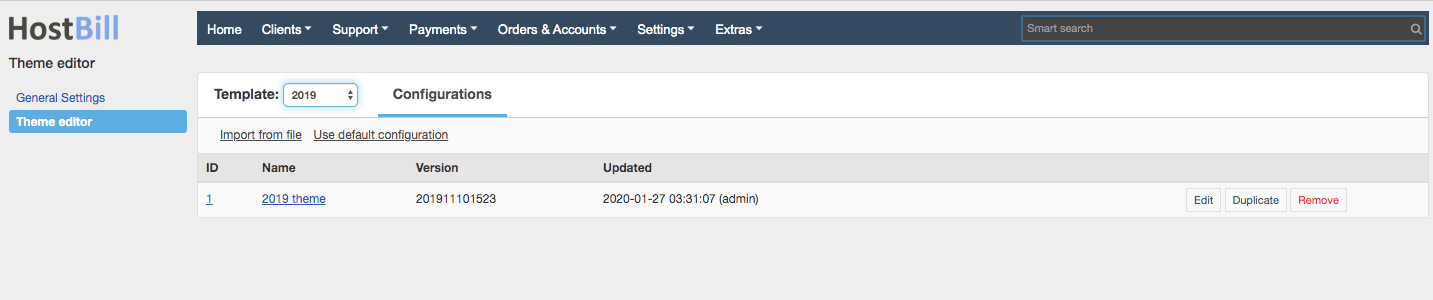
You will be redirected to the Theme Editor, where you will be able to choose themes available to edit and customize:
2019 Theme Editor
2019 Theme can be easily customized to fit to your brand style and your individual needs.
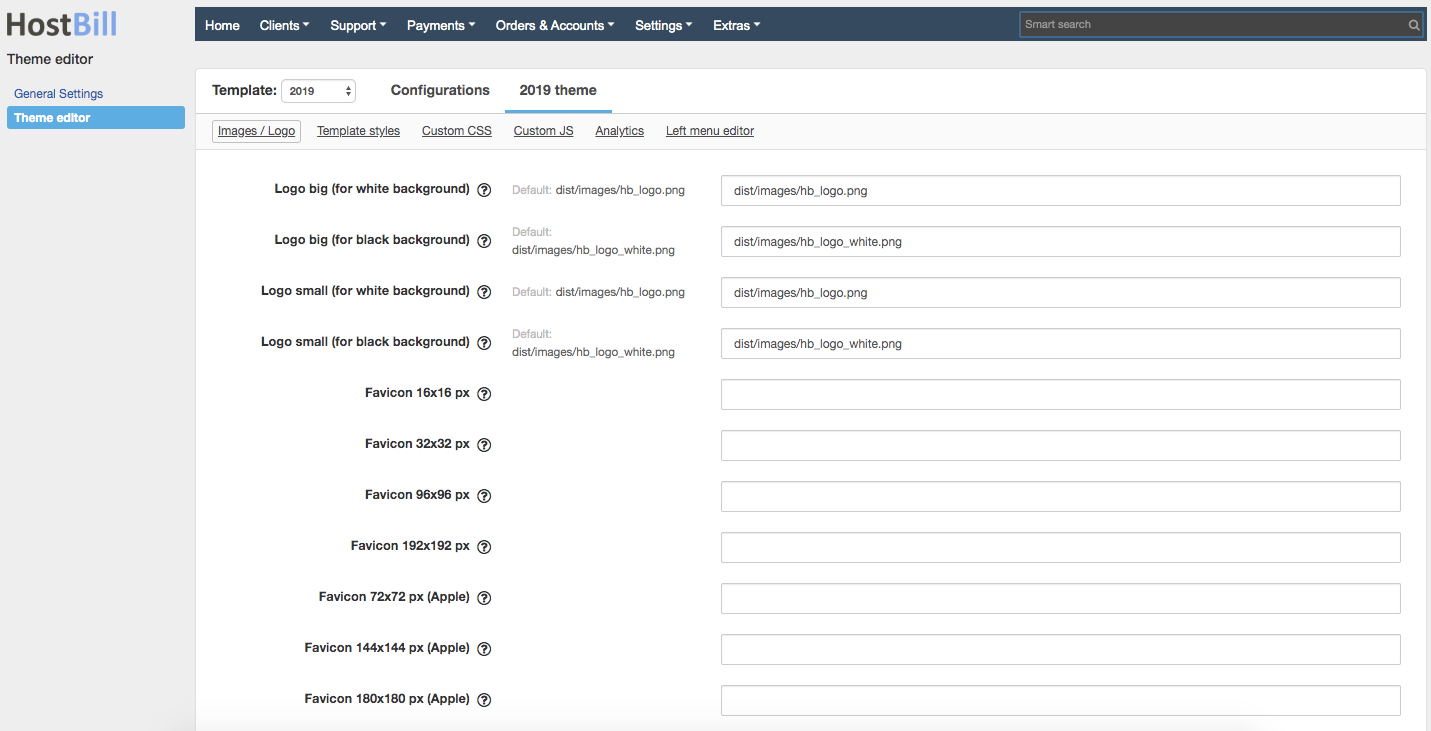
Images / Logo
This section allows to choose logos and images that appear in client area. You can enter the location of the following files, to make sure they are displayed correctly on all pages and on different devices
- Big logo (for white background)
- Big logo (for black background)
- Small logo (for white background)
- Small logo (for black background)
- Favicon 16x16 px
- Favicon 32x32 px
- Favicon 98x98 px
- Favicon 192x192 px
- Favicon 72x72 px
- Favicon 144x144 px
- Favicon 180x180 px
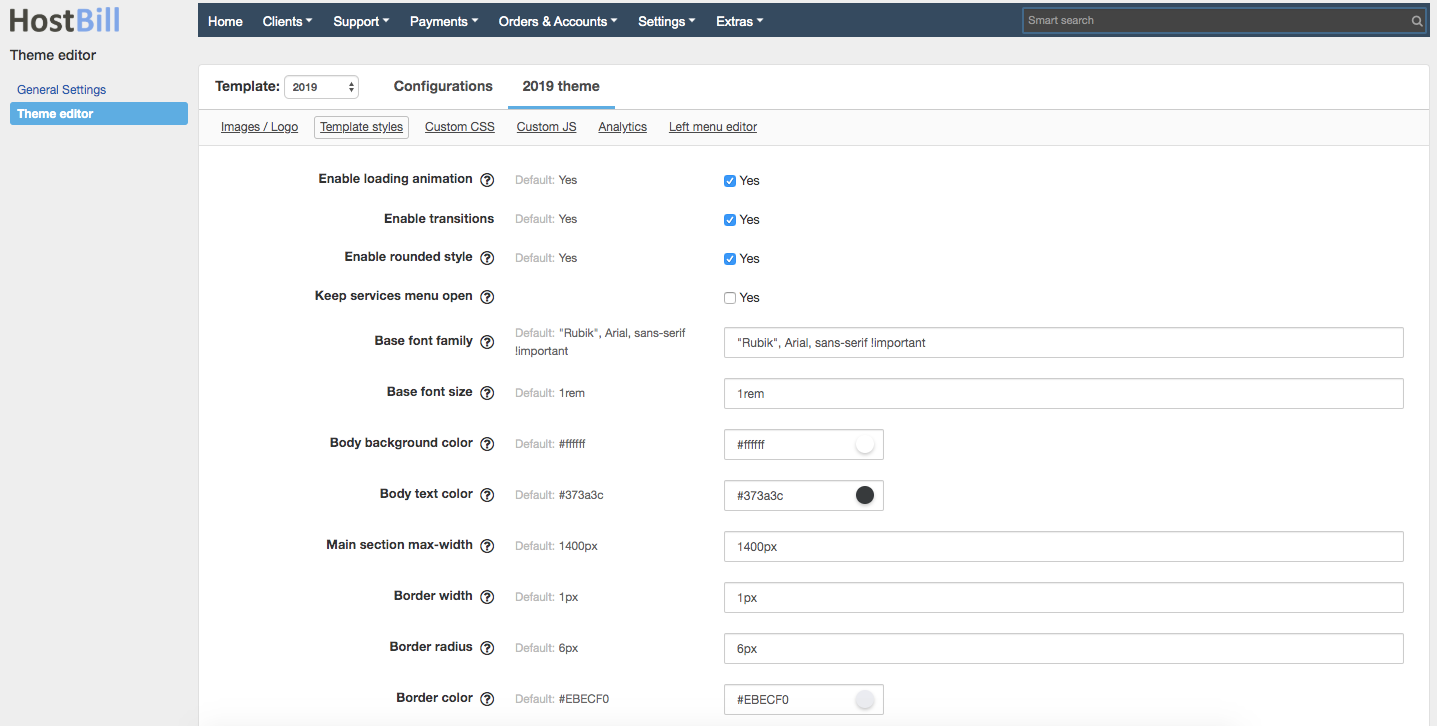
Templates styles
This section allows to customize the whole template layout: fonts, colors, menu position and much more. The elements available to edit include:
- Enable loading animation
- Enable transitions
- Enable rounded style
- Keep service menu open
- Base font family
- Base font size
- Body background color
- Body text color
- Main section max-width
- Border width
- Border radius
- Border color
- Brand primary color
- Brand secondary color
- Brand success color
- Brand info color
- Brand warning color
- Brand danger color
- Link color
- Navbar height
- Navbar background color
- Navbar border color
- Navbar border width
- Navbar text color
- Left menu width
- Left menu background color
- Left menu items color
To see the preview of the element simply hover the mouse over the question mark.

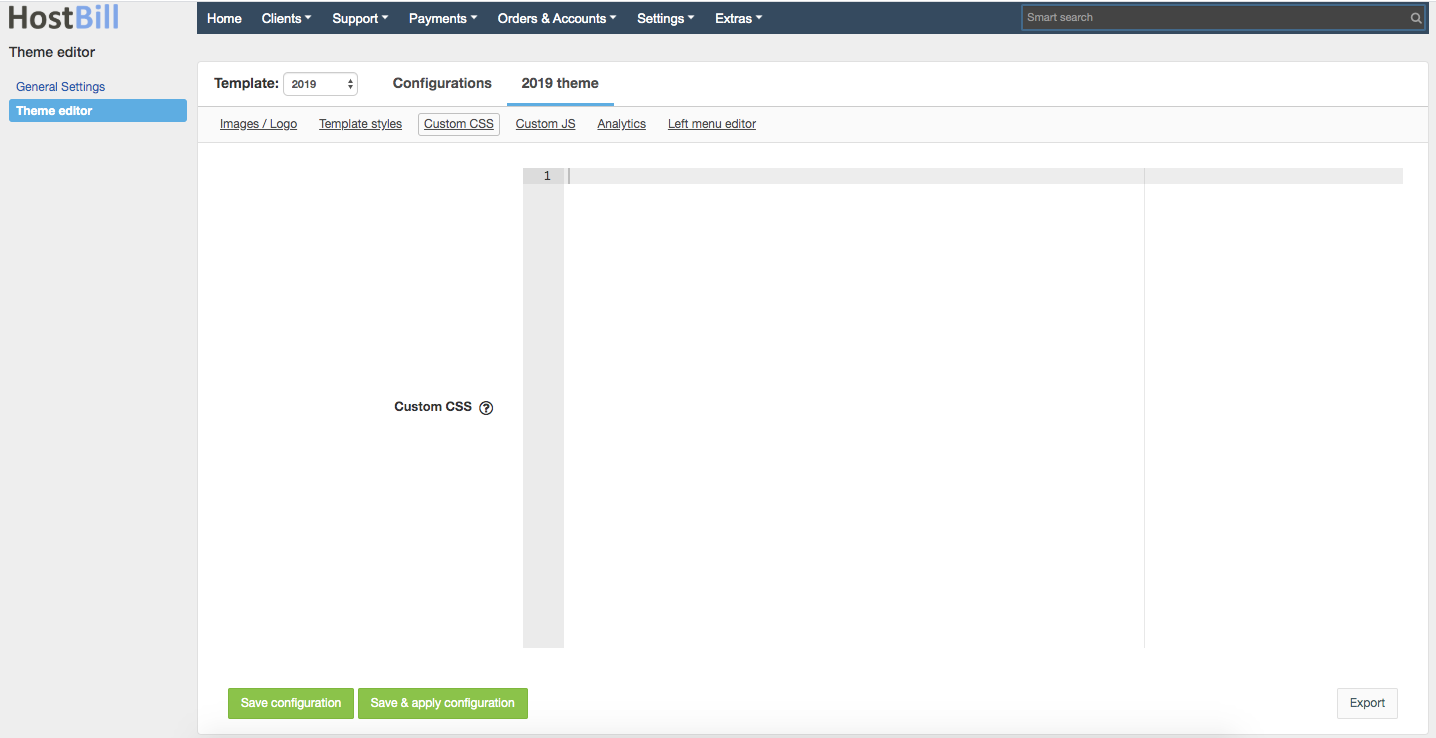
Custom CSS
In this section you can enter your custom CSS, which will be added to all theme pages.
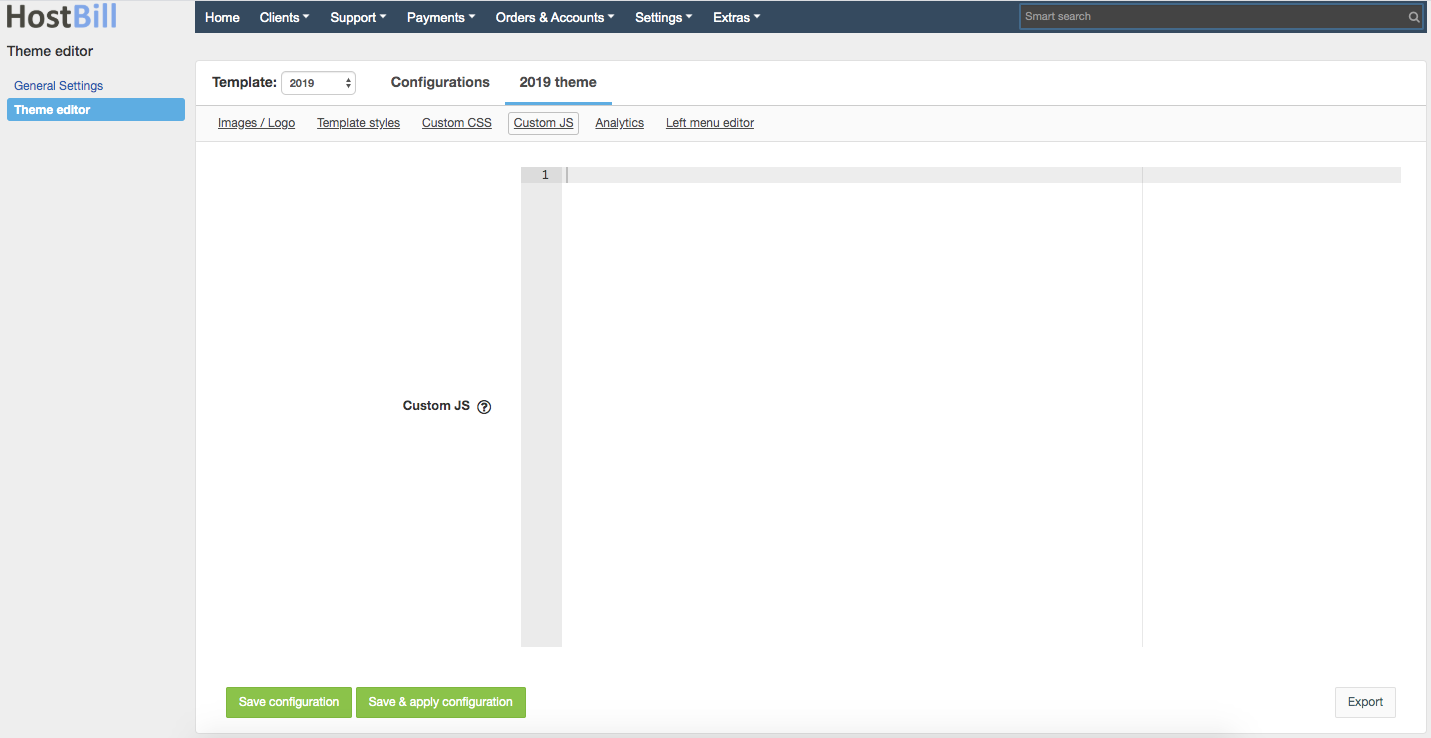
Custom JS
In this section you can enter your custom JS, which will be added to all theme pages.
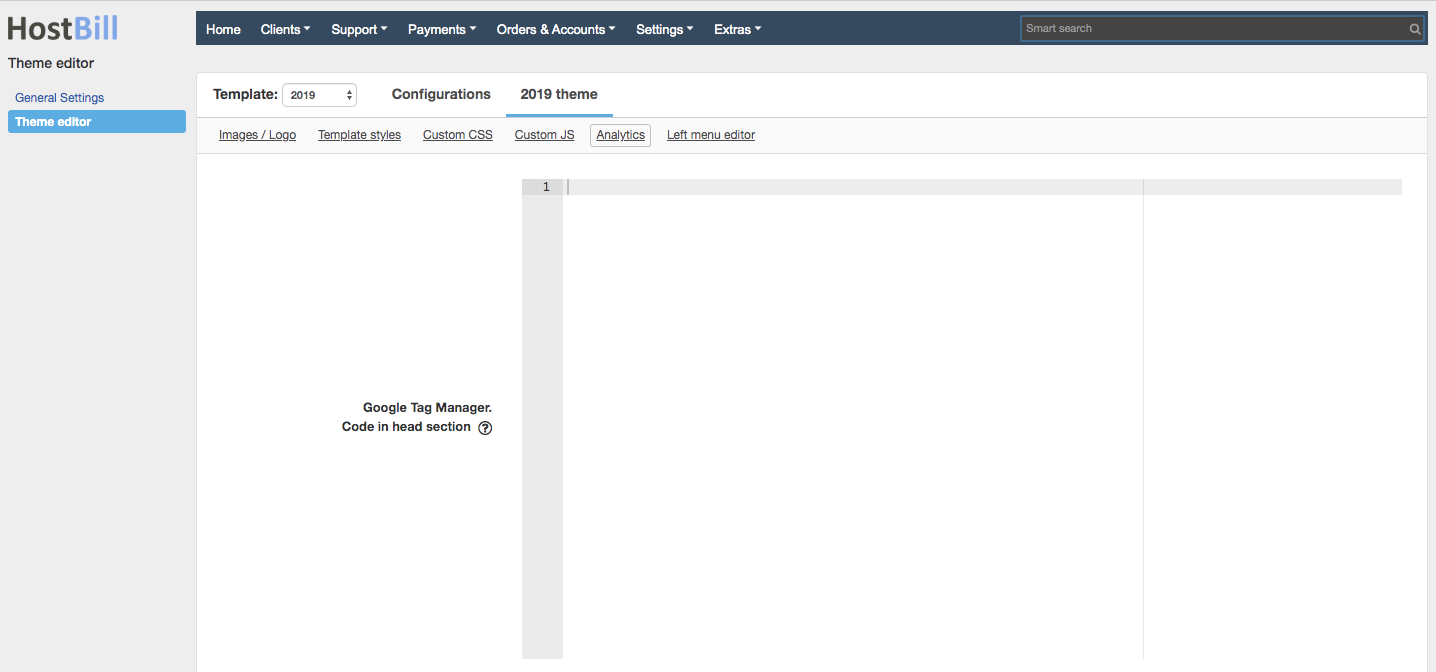
Analytics
In this section you can add your Google Tag Manager code to the head section and the body section.
Left menu editor
This section allows to customize the left menu: add, remove and edit menu sections and elements.
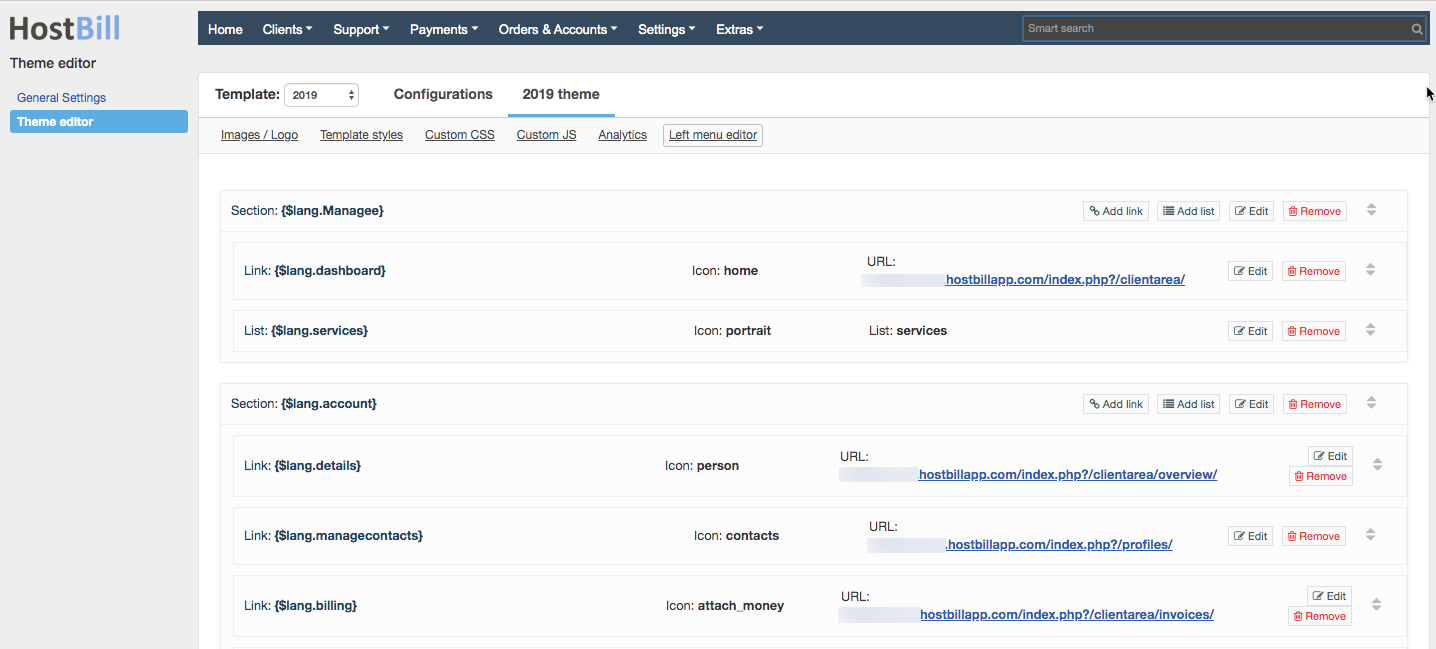
Add / Edit new menu section
To add new menu section click on "Add menu section" button on the bottom of the page. Provide the name which will be displayed in client area. You can then add new elements to the section.

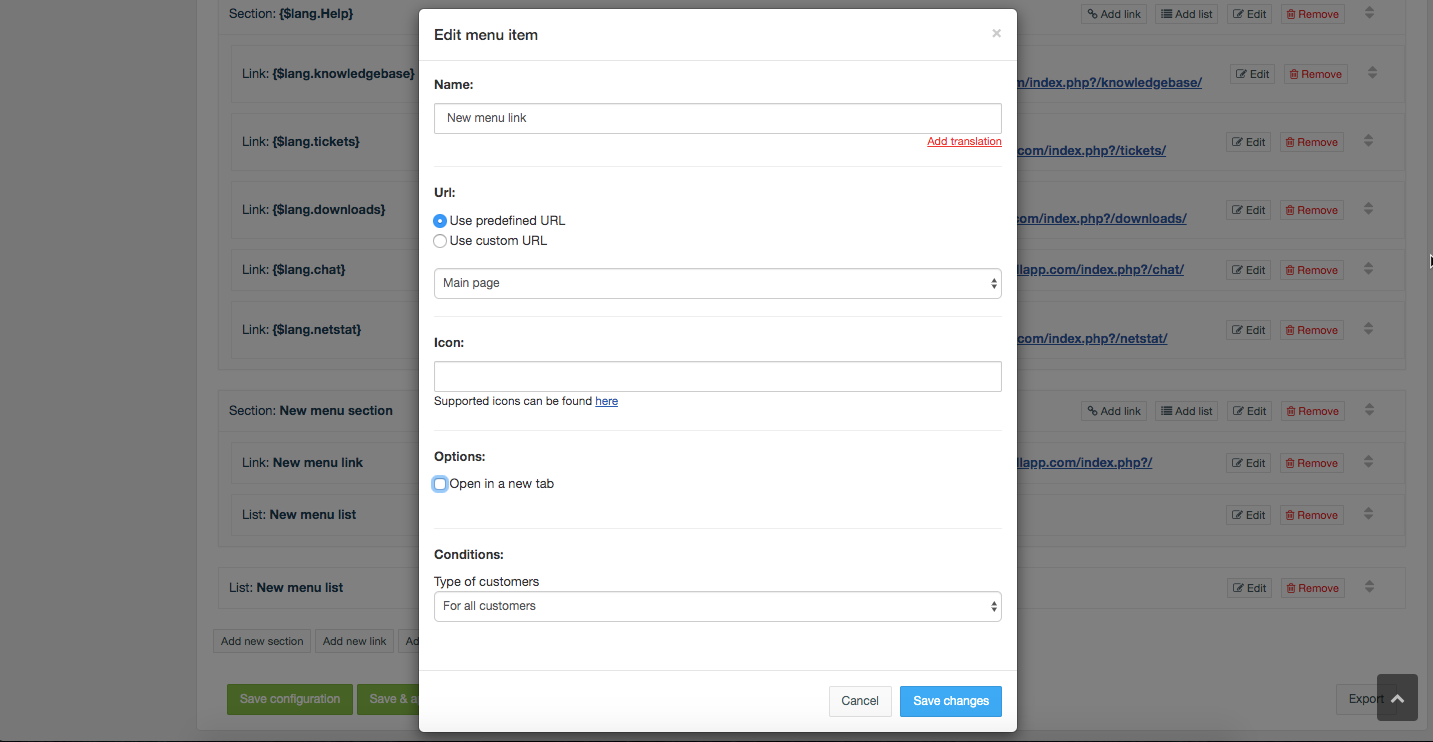
Add / Edit new link (menu item)
You can new menu item (new link) to the given menu section and edit it according to the following options:
- Provide the name for the element which will be displayed in client area
- Provide URL. You can either use predefined URL (choose from the drop down menu) or use a custom URL
- Provide icon for the element (optional)
- You can choose the option to open the link in a new tab
- Choose Condiditions. Different elements can have different conditions available. In all elements you can choose the type of customers for whom the element will be visible:
- For all customers
- Only for authorized customers
- Only for unauthorized customers
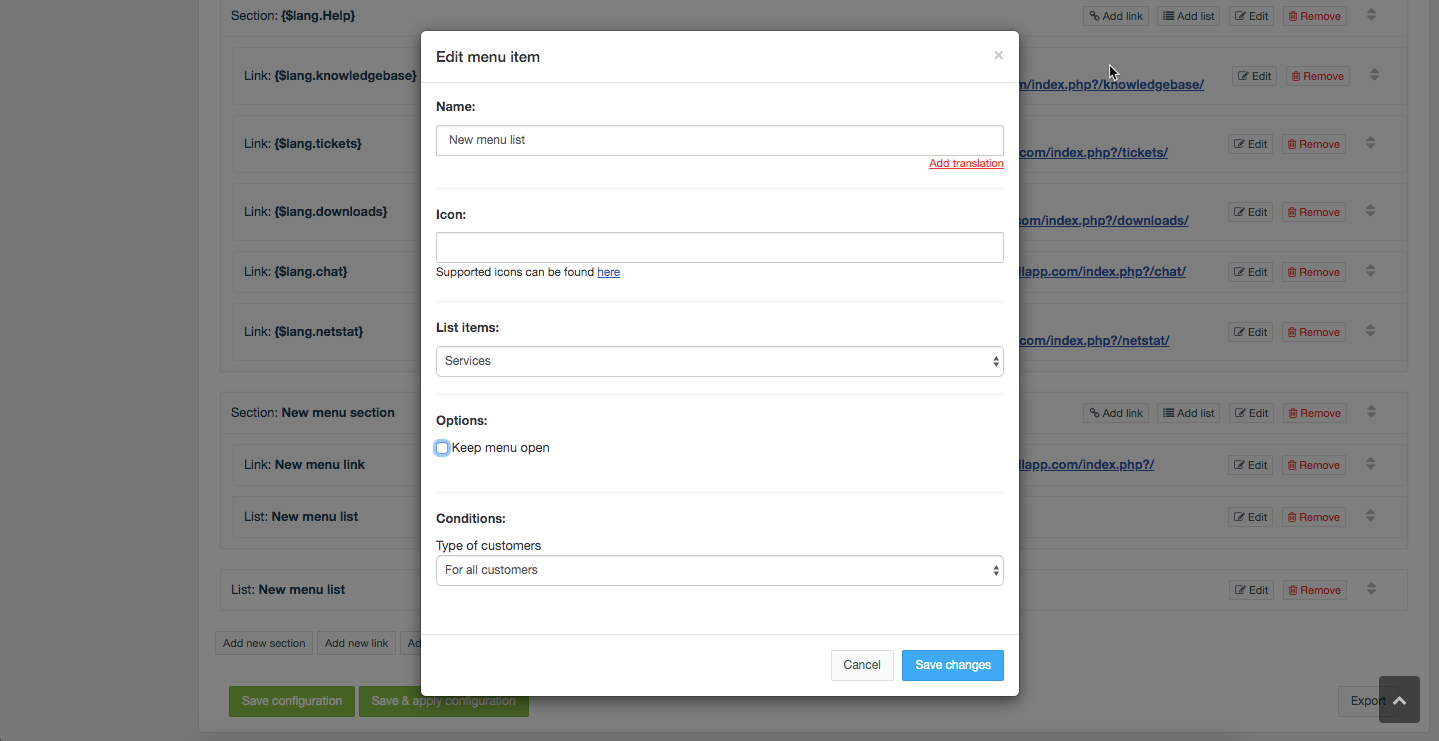
Add / Edit new list
You can new list to the given menu section and edit it according to the following options:
- Provide the name for the list which will be displayed in client area
- Provide icon for the list (optional)
- From the drop down menu choose List items
- In Options section you can choose to keep the menu open
- Choose Condiditions. Different elements can have different conditions available. In all elements you can choose the type of customers for whom the element will be visible:
- For all customers
- Only for authorized customers
- Only for unauthorized customers
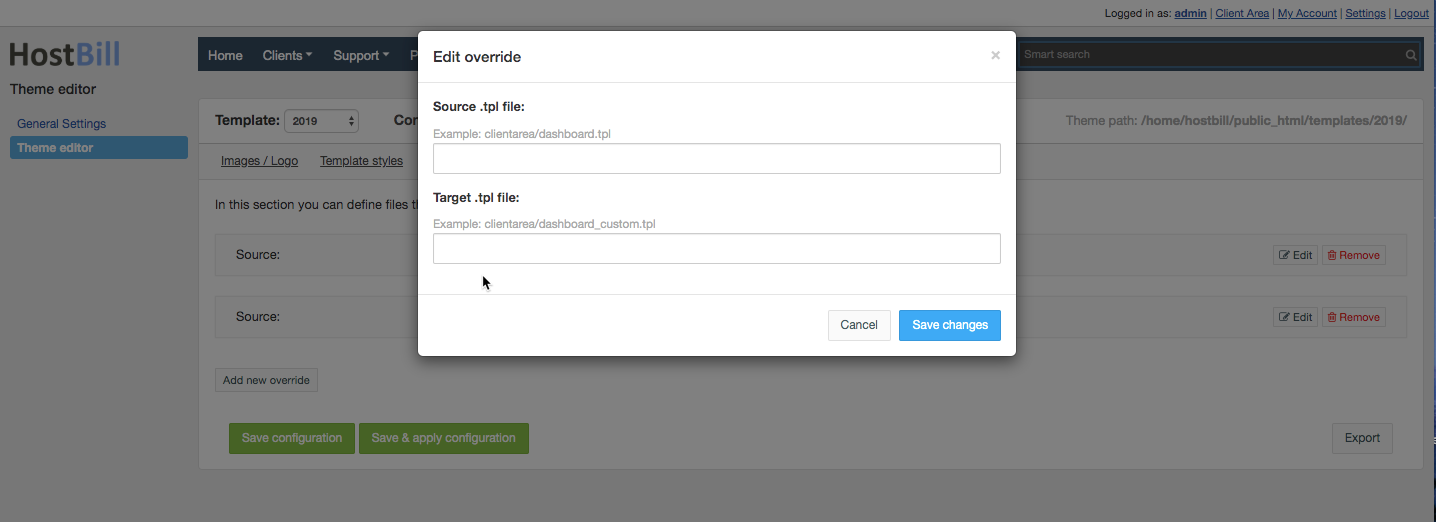
File overrides
In this section you can define files that will override default .tpl files
Simply click on Add new override button and provide source .tpl file and target .tpl file: