Upgrading to new version
- HostBill (Unlicensed)
- HostBill
Upload new files
First, you need to download new HostBill package from HostBillApp Client Area Website.
Then upload it and overwrite the files in your installation directory.
Warning
Do NOT remove includes/config.php file which is necessary to perform upgrade. This file is required for upgrade process and to get your HostBill working.
Finish the update
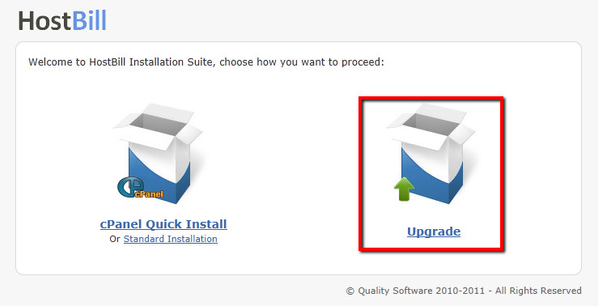
After placing all the files at the correct place, you need to access http://YOUR_HOSTBILL_URL/install/ .
Then proceed with upgrade in HB installation page.
Perform little cleanup
After successfully finished upgrade, please remove /install directory.
You can now replace template files with your customized templates and verify if everything works as it should.
Weekly releases and auto-update
FAQ
Problem:
I have renamed my HostBill adminarea folder from /admin to /[CUSTOMNAME].
I have performed manual update to the new version.
After upgrade new features/bug fixes are not available in admin panel.
Solution:
1. Please download new version of HostBill package downloaded from HostBill Licenses Portal
2. Please copy contents of /admin/ folder from downloaded package to your /[CUSTOMNAME] admin folder,
3. Make sure it's updated like that with each update you perform.
Admin folder contains template files that need to be overwritten with updates for new features/bug fixes.