Overview
...
Amazon EC2 module for HostBill gives you the opportunity to broaden your business offer and sell Amazon Elastic Compute Cloud resources with multiple billing options available. With this module you can sell EC2 instances as regular, white-labeled, monthly-billed VMs or bill your customers for hourly flavor use, hourly elastic IP use or charge for monthly AMIs usage, depending on you preferences.
...
| Info | ||
|---|---|---|
| ||
This module was built to work strictly with Cloud Flavour Manager module. Its require to enable this module and setup Flavors you wish to provide your customers with (EC2 instance types) |
...
- in Resources - max virtual machines
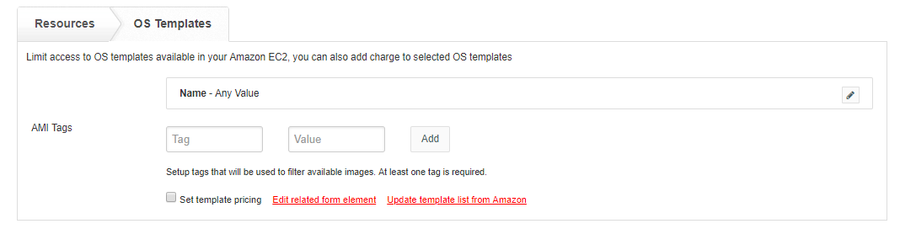
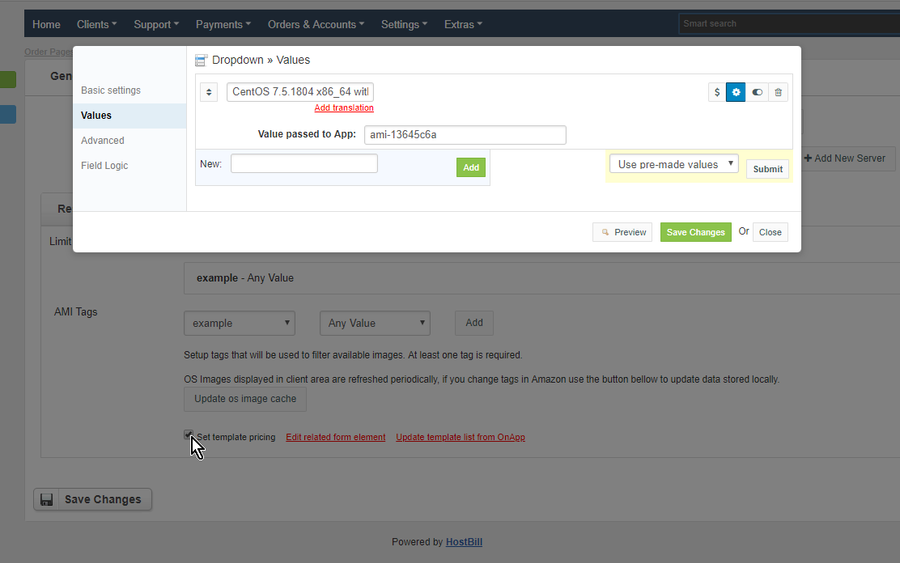
- in OS templates - setup AMI filters tags that will be used to filler available images
For more generic product configuration details including price, automation, emails settings refer to Product Configuration article.
| Note | ||
|---|---|---|
| ||
AMI tags are separate for each region, please make sure that you set it on the same region that is used for app connection. You should also use root account when setting it up event if you use IAM account credentials for API connection. |
How to setup tags and add them to HostBill
...
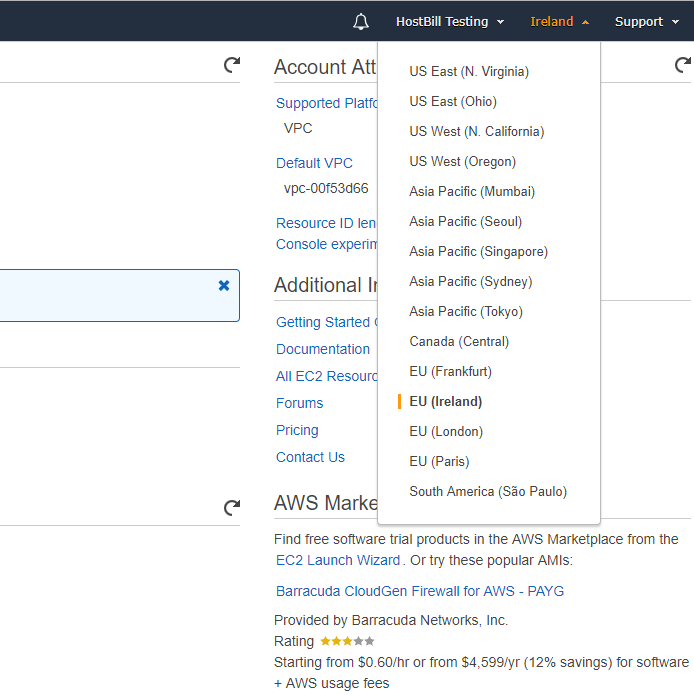
- Login to your AWS account; navigate to EC and verify that you are using the same region as your HostBill app.
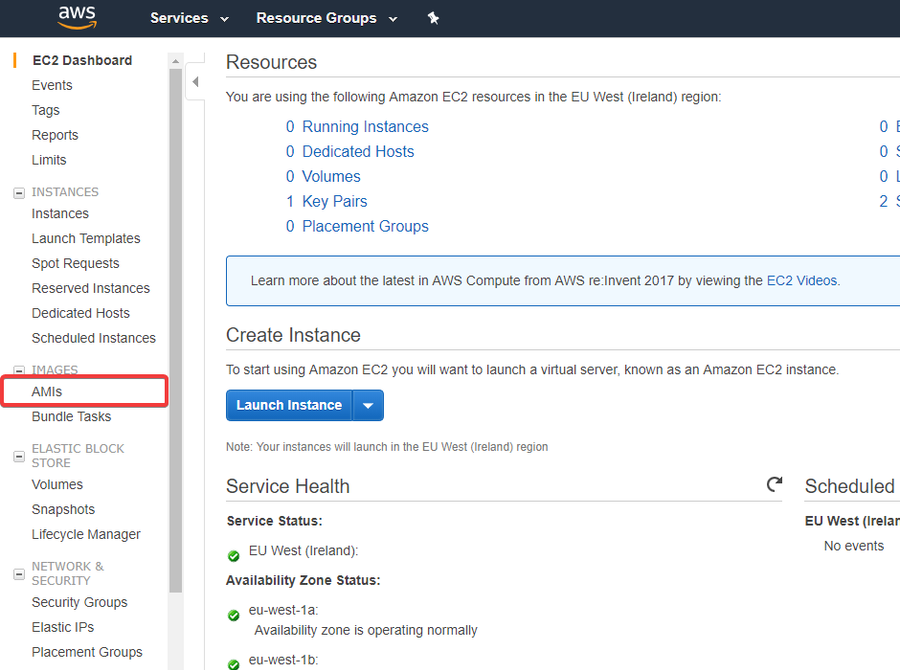
- Navigate to AMI images (on the left menu)
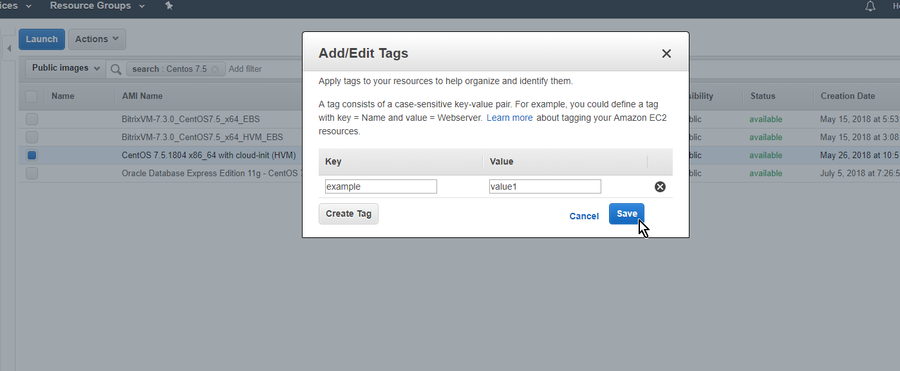
- Find the image that you want to offer in HostBill - it has to be "machine" type and with "available" status. Right click it and select Add/edit tags
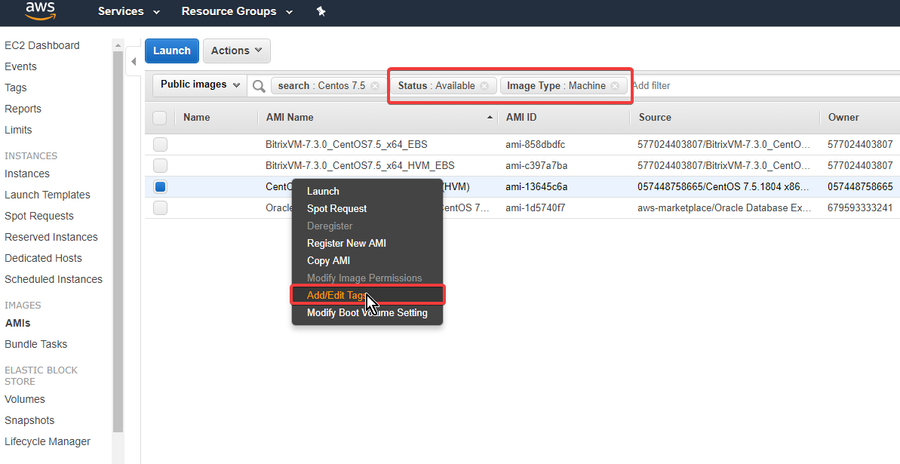
- Enter your tag name and value, click on Save button to update image tags.
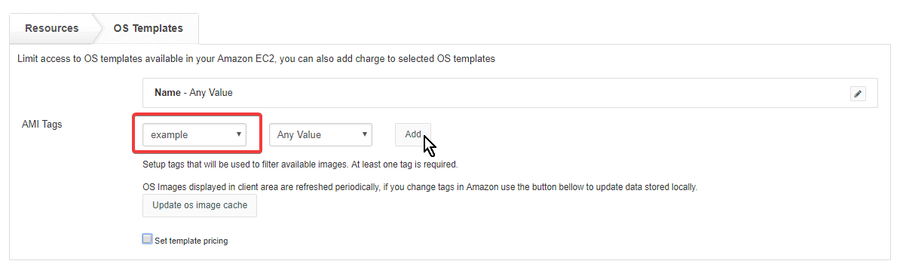
- In your HostBill navigate to EC2 product configuration → Connect with app - it should load available tags and values from Amazon. Select the one that you added before and click on 'Add' .
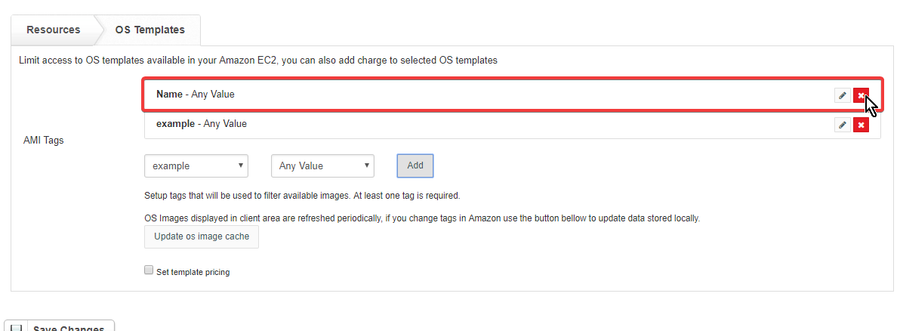
- Remove tags that you do not want to use as filters .
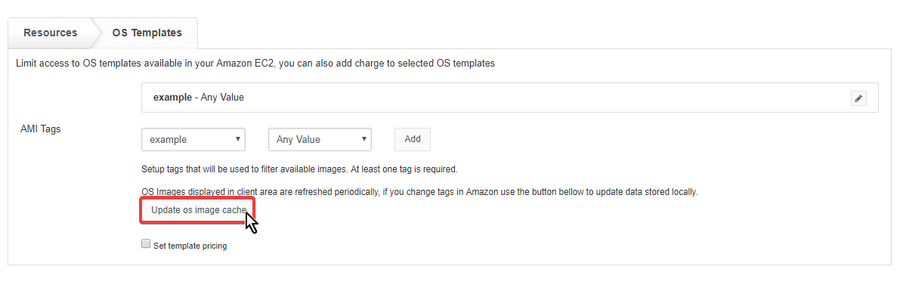
- Save product configuration and go back to "Connect with app" tab.
- Click on "Update os image cache" and wait for a minute or two. You can check the status of this task in /wiki/spaces/DOCS/pages/407961742.
- Selected images should now be available when generating OS form and in client area
Configuring Client Functions
...
In Products & Services → Your Order Page → Your Product → Client Functions you can control what features customer will have access to in client portal, by clicking Enable/Disable next to the given option.
Use Edit button to adjust function appearance in the client portal.
For Amazon EC2 you can enable a number of standard client functions:
...