Overview
Some routers have the ability to configure custom Dynamic DNS URL in their configuration to be used for setting up A/AAAA DNS records automatically on IP-change. Dynamic DNS module gives you ability to use your existing HostBill DNS modules and provide/sell your own Dynamic DNS service to your customers
Activating the module
- If the module is included in your HostBill edition you can download it from your client portal.
- If the module is not included in your HostBill edition you can purchase it from our marketplace and then download it from the client area.
- Once you download the module extract it in the main HostBill directory.
- Go to Settings → Modules → Hosting Modules, find and activate Dynamic DNS module.
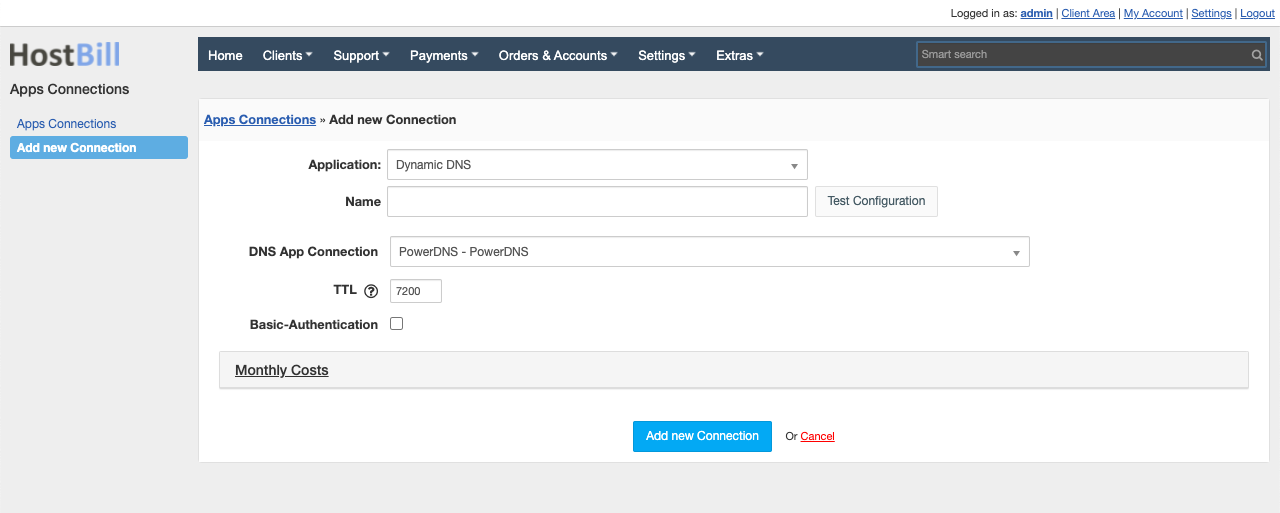
Connecting HostBill with Dynamic DNS
- Proceed to Settings → Apps → Add new App
- From Applications list select Dynamic DNS
- Enter:
- Name - Name of this connection
- DNS APP Connection - select existing connection to DNS module you've configured before
- TTL - select default TTL for A records this module creates in your DNS
- Basic-Authentication - when enabled module will require all requests to be authenticated using Basic-Authentication. Some routers require such auth method
4. Verify entered credentials by clicking Test Connection to check if HostBill can connect
5. Save Changes
Webserver configuration for dyndns2 support
To handle dyndns2:
- Apache users
in nic/update folder located in your main HostBill dir find and rename file template.htaccess to .htaccess Nginx (including HostBill enterprise) users
If you are using SEO URL rewrites described here, modify block @seohburl in /etc/nginx/locations/hostbill.conf to look like:Code Block location @seohburl { rewrite (*UTF8)^/nic/update/(.+)?$ /nic/update/index.php?do=$1 last; rewrite ^/(.+)$ /index.php?/$1 last; }
If you are not using SEO urls, edit your location file (in server section, for HostBill enterprise it is /etc/nginx/locations/hostbill.conf, addCode Block location @dyndns2 { fastcgi_param HTTP_AUTHORIZATION $http_authorization; rewrite (*UTF8)^/nic/update/(.+)?$ /nic/update/index.php?do=$1 last; }
Next, in main location modify try_files line:Code Block try_files $uri $uri/ index.php @dyndns2;
Adding Dynamic DNS product
- In HostBill go to Settings → Products & Services, and Add new order page
- From Order Types select DNS ServicesOther
- After creating order page add new product in it, provide its name & Save changes
- In product configuration section proceed to Connect with App, select Dynamic DNS module and App server created in previous steps.
- Enter:
- Max number of domains your client can add,
- Use this template with each new zone - select DNS Template to be used with each new provisioned zone
- Record types - this option allows you to limit available DNS records to be added by customer
- Hide billing info from DNS product - this option works great when DNS management is free features you offer to your clients Hide ability to add new zones manually - enable if zones are autoprovisioned for this product and client should not add them anually
- Nameservers - provide default set of Nameservers zones should be provisioned with + those nameservers are being used when comparing for dns zone automation Submit changes - your package is ready
For more generic product configuration details including price, automation, emails settings refer to Product Configuration article.
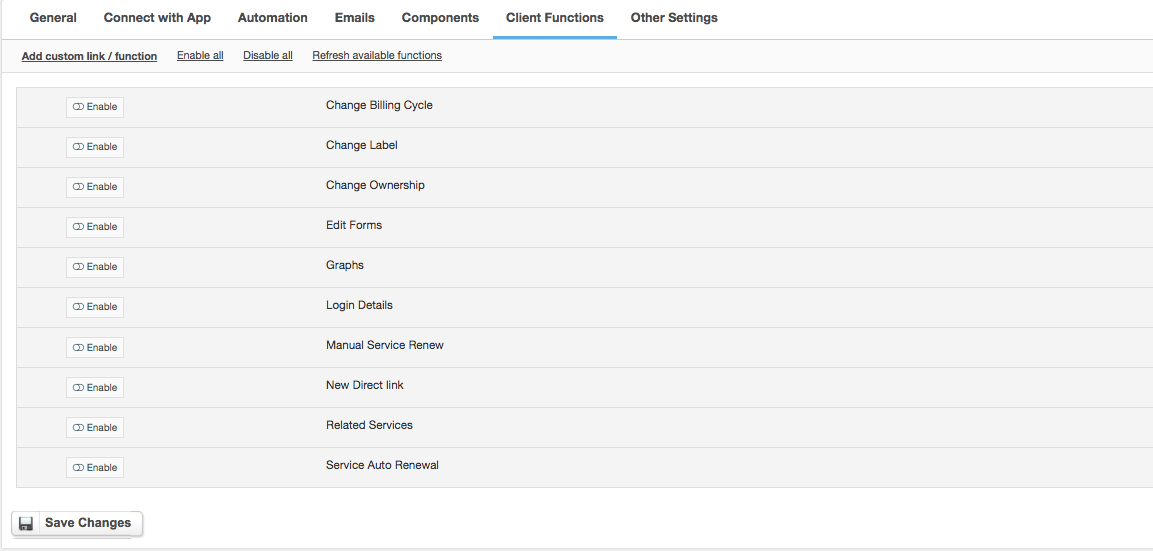
Configuring Client Functions
In Products & Services → Your Order Page → Your Product → Client Functions you can control what features customer will have access to in client portal, by clicking Enable/Disable next to the given option.
Use Edit button to adjust function appearance in the client portal.
For Dynamic DNS you can enable a number of standard client functions:
- Change Billing Cycle
- Change Label
- Change Ownership
- Edit Forms
- Graphs
- Login Details
- Manual Service Renew
- New Direct Link
- Related Services
- Service Auto Renewal