Overview
Virtualizor is a powerful VPS Control Panel that helps you to effortlessly create and manage VPS. Virtualizor module for HostBill gives you the opportunity to sell VPS and Cloud Hosting and apply charges based on network speed, bandwidth, CPU, memory and more, depending on your preferences. Thanks to HostBill integration you can now let your customers perform all the operations on Virtual Machines without having to login into Virtualizor.
Important, before you'll begin configuring connection
Provisioning will not work if in Virtualizor you've enabled Two Factor authentication and Email OTP under Configuration→Master. Please disable it, we're working on making our integration compatible with this setting.
Activating the module
- If the module is included in your HostBill edition you can download it from your client portal.
- If the module is not included in your HostBill edition you can purchase it from our marketplace and then download it from the client area.
- Once you download the module extract it in the main HostBill directory.
- Go to Settings → Modules → Hosting Modules, find and activate Virtualizor module.
Connecting HostBill with Virtualizor
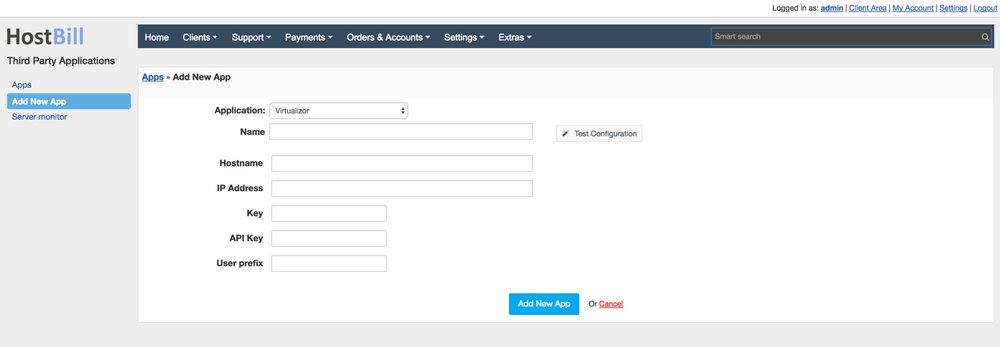
- Proceed to Settings → Apps → Add new App
- From Applications list select Virtualizor
- Enter:
- Name - Name of this connection
- Hostname
- IP Address
- Key
- API Key
- User prefix
4. Verify entered credentials by clicking Test Connection to check if HostBill can connect
5. Save Changes
Adding Virtualizor product
- In HostBill go to Settings → Products & Services, and Add new order page
- Enter your orderpage name, select orderpage template. Save Changes
- Add new product in the new orderpage. Provide product name and setup price and then Save Changes.
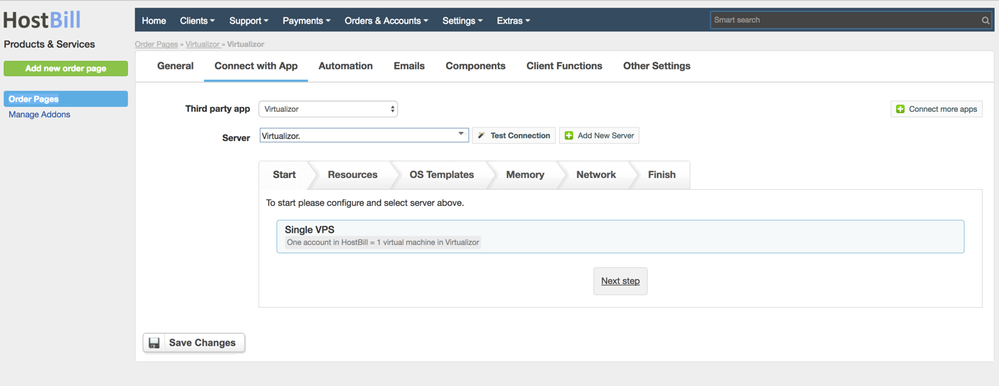
- In product configuration section proceed to Connect with App, select Virtualizor and App server created in previous steps.
- You will be presented with following configuration options:
Single VPS - one account in HostBill = 1 VM in Virtualizor
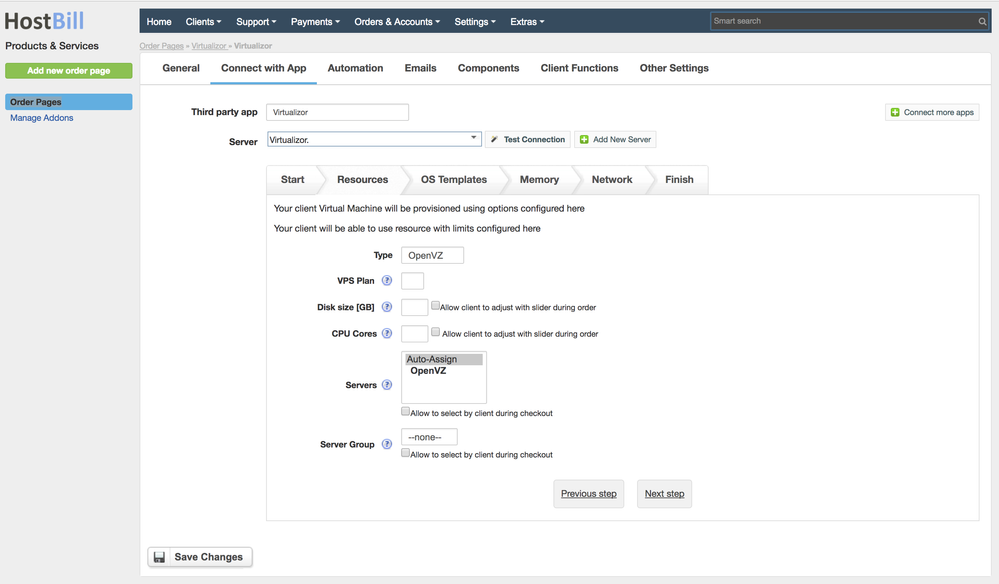
Resources
- Type
- VPS Plan - select plan that will be used while creating new VPS. If you set your own resource limit here it will overwrite plan values.
- Disc size - custom disc size, if left empty, disc space allocated for new VPS will be taken from selected plan.
- CPU Cores - if left empty, number of allocated CPUs for new VPS will be taken from sleected plan
- Servers - if more than one selected, HostBill will choose the least used server
- Server group - if server group is set it will be used instead of servers settings. Selected server group has to be valid for selected VPS type.
OS Template - your client VM will be automatically provisioned with this template

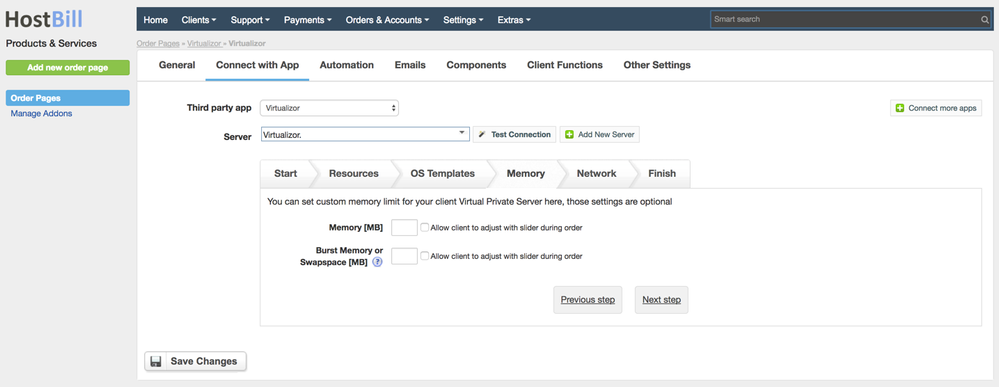
Memory
- Memory
- Burst memory or swap space - burts ram/swap space must be equal or higher than guaranteed ram. If you set it too low the sum of those two will be used.
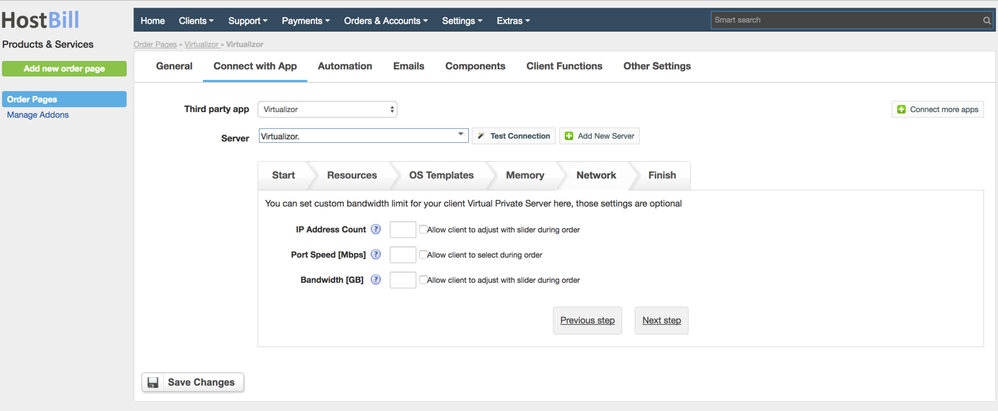
Network
- IP Address Count - number of new IP address that will be delegated for new VPS, minimum is 1.
- Port Speed - leave blank for unlimited.
- Bandwidth - this is a monthly limit for single VPS.
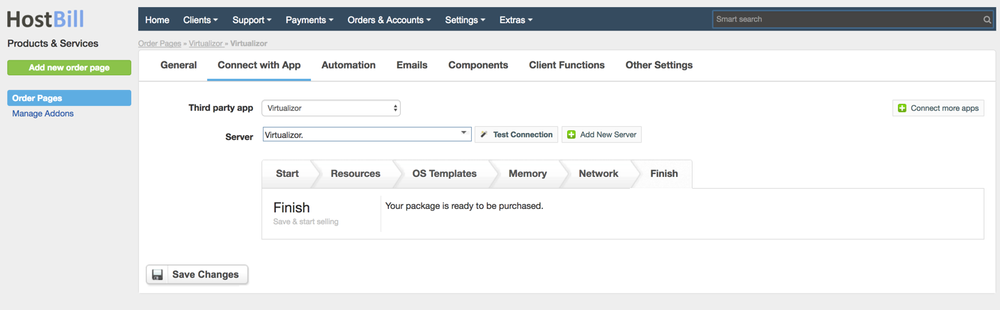
Your package is ready.
For more generic product configuration details including price, automation, emails settings refer to Product Configuration article.
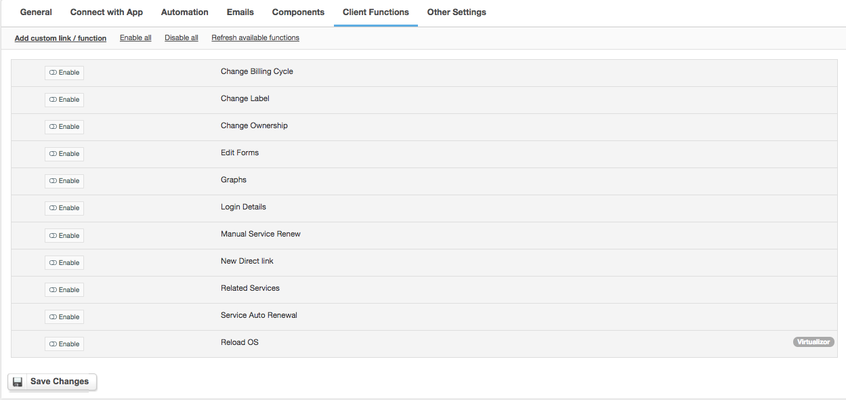
Configuring Client Functions
In Products & Services → Your Order Page → Your Product → Client Functions you can control what features customer will have access to in client portal, by clicking Enable/Disable next to the given option.
Use Edit button to adjust function appearance in the client portal.
For Virtualizor you can enable the following client functions dedicated to this module:
- Reload OS - allow clients to change their OS.
As well as number of standard client functions, such as
- Change Billing Cycle
- Change Label
- Change Ownership
- Edit Forms
- Graphs
- Login Details
- Manual Service Renew
- New Direct Link
- Related Services
- Service Auto Renewal