Activating Module
- Download Module archive from HostBill Licenses Portal
- Extract archive contents in your main HostBill directory
- In your HostBill: Proceed to "Settings -> Modules -> Hosting Modules -> Inactive"
- Click "Activate" next to "Schleifenbauer" module
Connecting HostBill with Schleifenbauer
...
Overview
...
Schleifenbauer provides high-quality customised Power Distribution Units to fit most demanding needs. With HostBill integration you can bill your clients for power consumption directly from HostBill and easily automate outlets state.
Activating the module
...
- If the module is included in your HostBill edition you can download it from your client portal.
- If the module is not included in your HostBill edition you can purchase it from our marketplace and then download it from the client area.
- Once you download the module extract it in the main HostBill directory.
- Go to Settings → Modules → Hosting Modules, find and activate Schleifenbauer module.
Connecting HostBill with Schleifenbauer
...
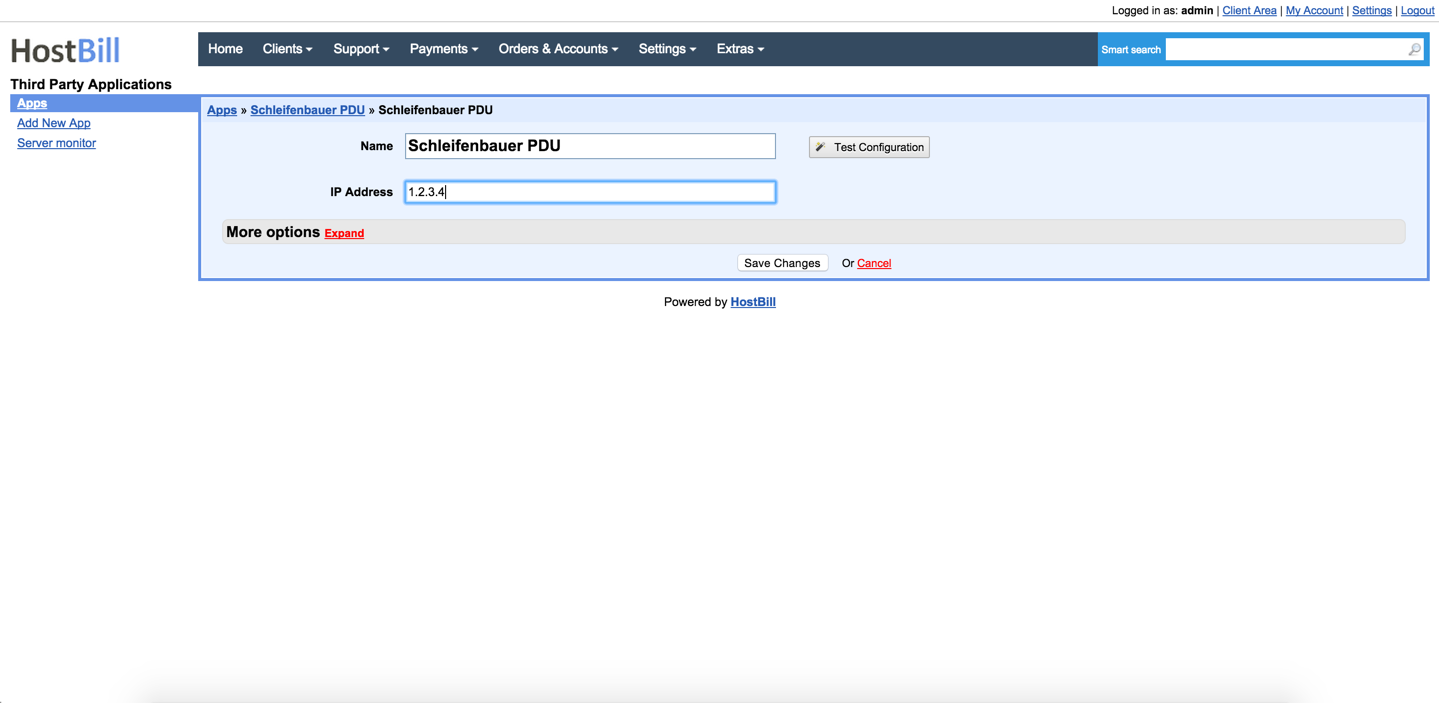
- Proceed to Settings → Apps → Add new App
- From Applications list select Schleifenbauer
- Enter:
- Name - Name of this connection
- IP Address - Your Schleifenbauer Device IP address
4. Verify entered credentials by
...
clicking Test Connection to check if HostBill can connect
5. Save Changes

Adding Schleifembauer Product
...
...
...
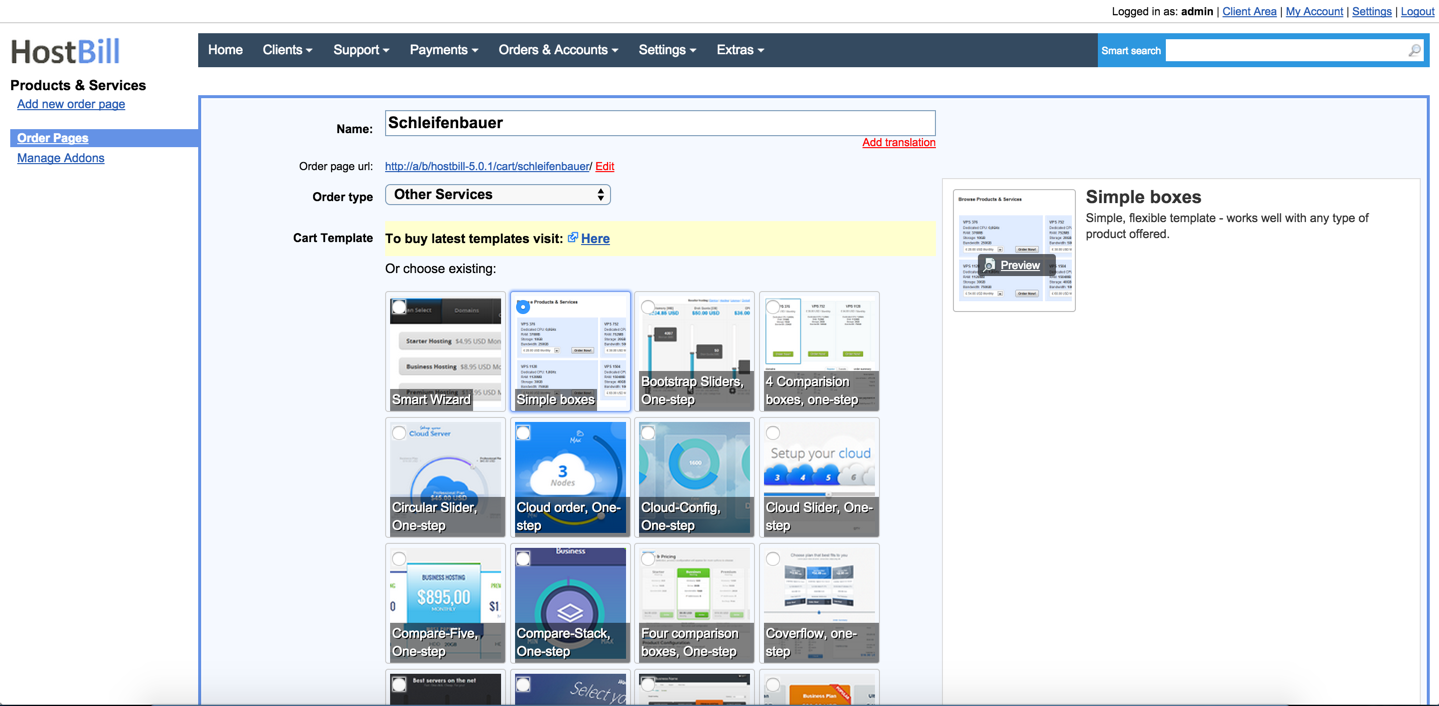
- In HostBill go to Settings
...
- → Products & Services, and Add new order page
...
- From Order Types select
...
- Other Services
...
...
- Enter your orderpage name, select orderpage template. Save Changes
...
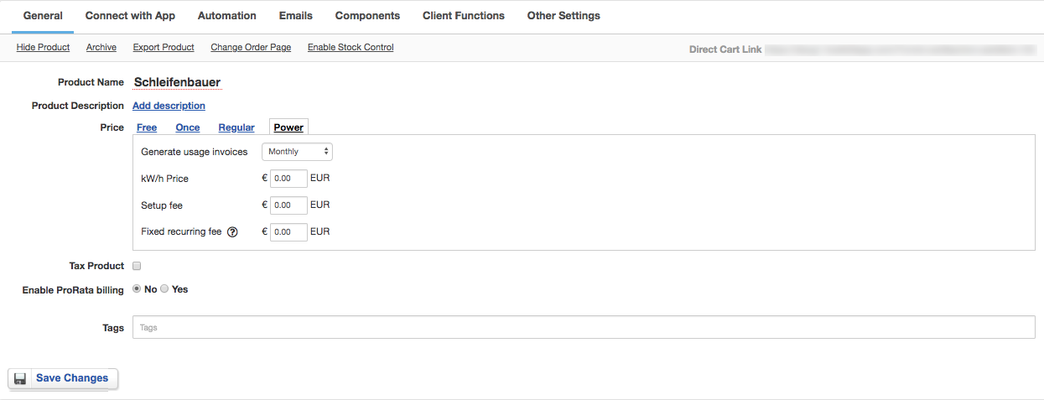
- Add new product in the new orderpage. Provide product name
...
- and setup price
...
- and then Save Changes.
...
- To bill for power consumption select "Power" as billing model.
...
...
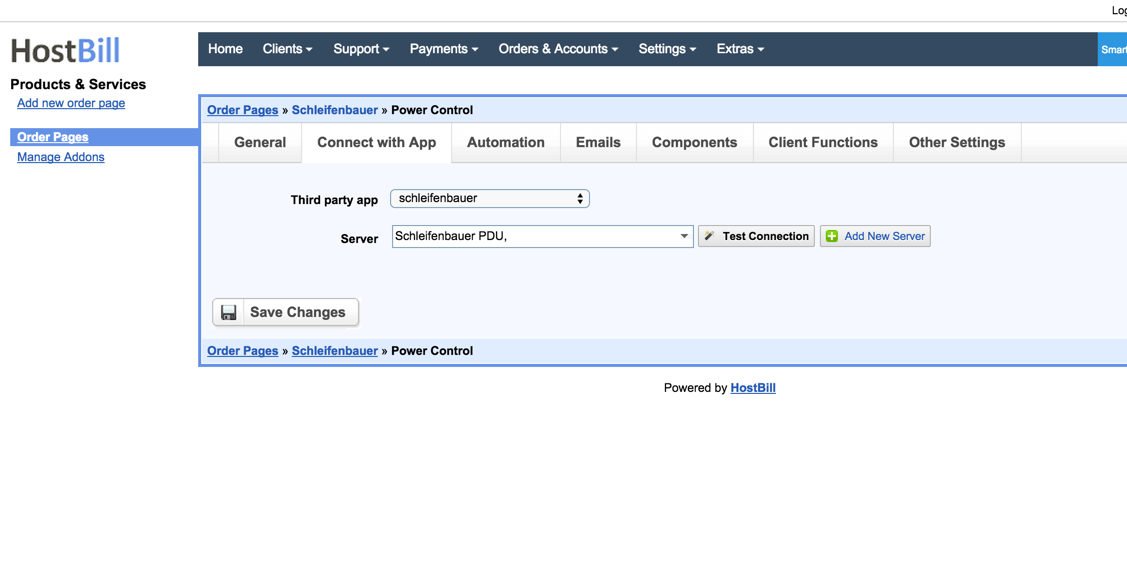
- In product configuration section proceed
...
- to Connect with App
...
- ,
...
- select Schleifenbauer
...
- and App server created in previous steps.
6. Setup Client Functions:
Under Client Functions you 
For more generic product configuration details including price, automation, emails settings refer to Product Configuration article.
Configuring Client Functions
...
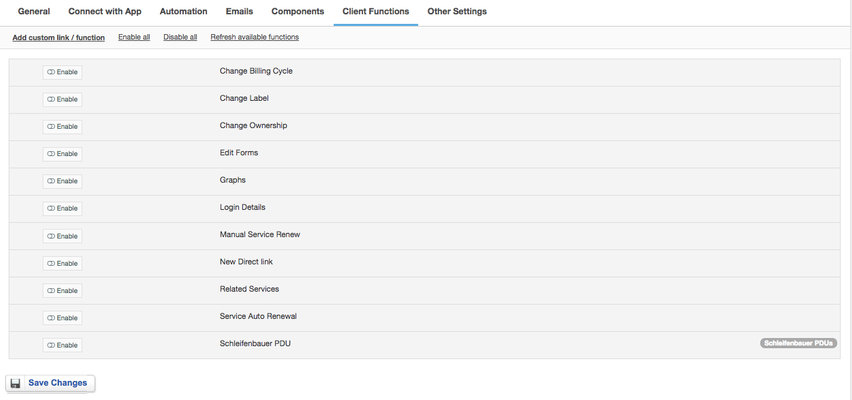
In Products & Services → Your Order Page → Your Product → Client Functions you can control what features customer will have access to in client portal, by
...
clicking Enable/Disable
...
next to the given option.
Use Edit button to adjust function appearance in the client portal.
For Schleifenbauer apart from the
...
standard client functions, such as
- Change Billing Cycle
- Change Label
- Change Ownership
- Edit Forms
- Graphs
- Login Details
- Manual Service Renew
- New Direct Link
- Related Services
- Service Auto Renewal
you can enable the following client functions:
- Schleifenbauer PDU - allow client to reboot his/her server through PDU and view attached PDUs
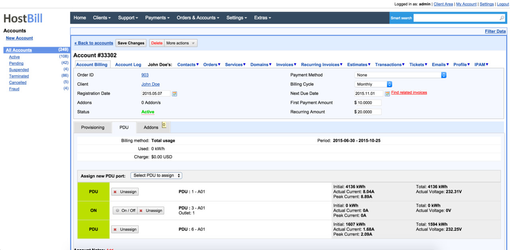
Assigning port to a service
...
Once customer has purchased your power-billing service, you can assign ports from Schleifenbauer device to bill & control its state. To do so:
- Create related account
- Under PDU tab click Connect PDU port to this server
- Pick one or more ports to assign to this account
- Assign PDU/port to account.