Overview
DNS Import is free plugin shipped with most of HostBill DNS modules. It allows you to:
- Import DNS zones you manage remotely into HostBill
- Migrate DNS zones upon import - ie. import from cPanel DNS to PowerDNS
Activating the module
- Module is part of HostBill DNS modules, select one you have access to within your HostBill Editions
- Once you download the DNS module extract it in the main HostBill directory.
- Go to Settings → Modules → Plugins, find and activate DNS Import module.
- Module uses/requires Queue, make sure its enabled under Plugins → HostBIll queue
Using Module - Importing Zones
- Proceed to Extras → DNS Import
- Select DNS App configured in Settings → Apps Connections that you will be importing zones to manage from.
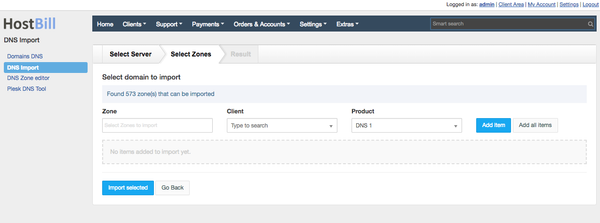
Click Continue for HostBill to fetch available zones - Select zones you wish to import. Module will list only those zones that are not already managed by HostBill.
- From Zone, select one or multiple zones you will be importing for given client / product
- Select Client that zone should be assigned to (type in client name/id to search)
- Select Product that zone should be assigned to.
Important:
If you will select product which uses different App Connection (DNS module) than one youre importing from, a Migration will take place (zone will be added to HostBill + exported to new DNS app).
Note: When zone is migrated existing NS records are not auto-updated, if Product configured in target contains default NS set, those will be added to newly created zone in target DNS app. - Click add Item to add import into queue. Import will not start immediately at this point.
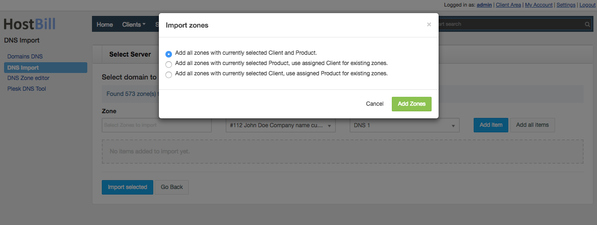
- You can use Add all items to add all available zones at once under current configuration:
- Repeat steps a-d for all zones you wish to import in given run.
- Click on Import selected to start import
- Import starts as background task in HostBill queue. You can track progress on plugin page:


