Activating Module
- Download Module archive from HostBill Licenses Portal
- Extract archive contents in your main HostBill directory
- In your HostBill: Proceed to "Settings -> Modules -> Hosting Modules -> Inactive"
- Click "Activate" next to "Vultr" module
Connecting HostBill with Vultr
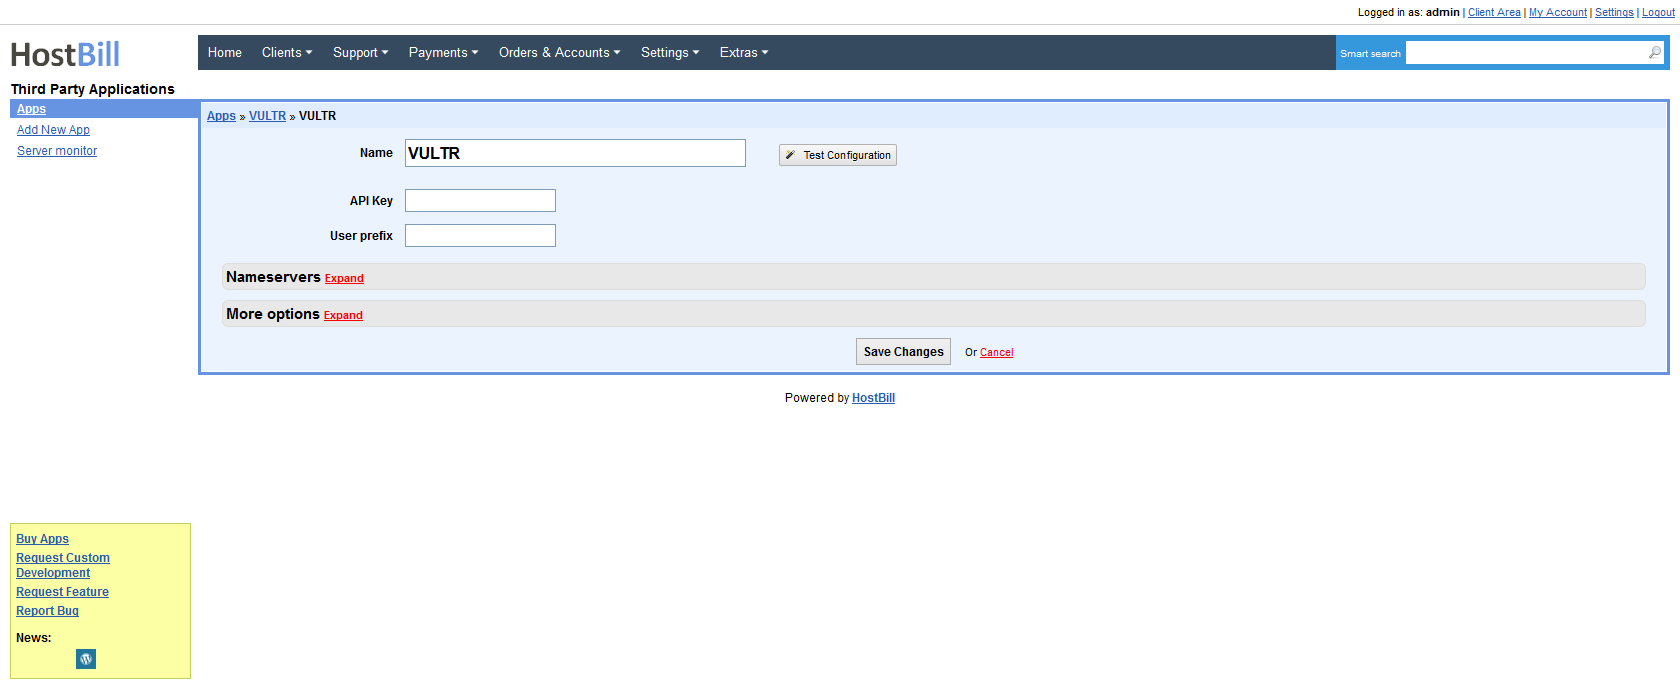
- Proceed to "Settings -> Apps -> Add new App"
- From Applications list select "Vultr"
- Enter:
- Name - Name of this connection
- API Key - Your Vultr api key
- User prefix - prefix that will be used when creating user content under your Vultr account. - Verify entered credentials by clicking "Test Connection"
- Save Changes
Adding Vultr Product
- In HostBill go to Settings > Products & Services, and Add new order page
- From Order Types select "VPS Accounts"
- Enter your orderpage name, select orderpage template. Save Changes
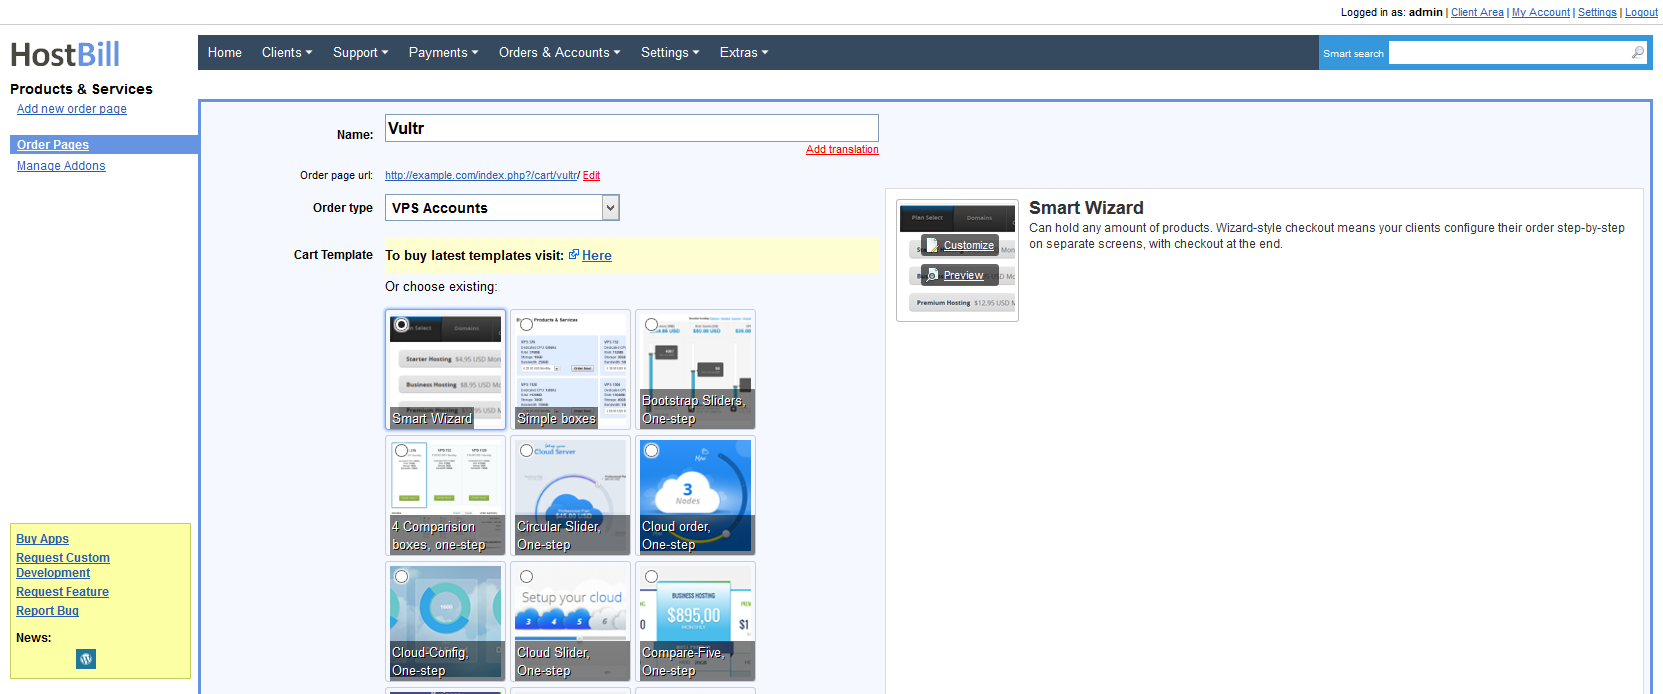
- Add new product in new orderpage. Provide product name, setup price, Save Changes.
- In product configuration section proceed to "Connect with App", select "Vultr" and App server created in previous steps.
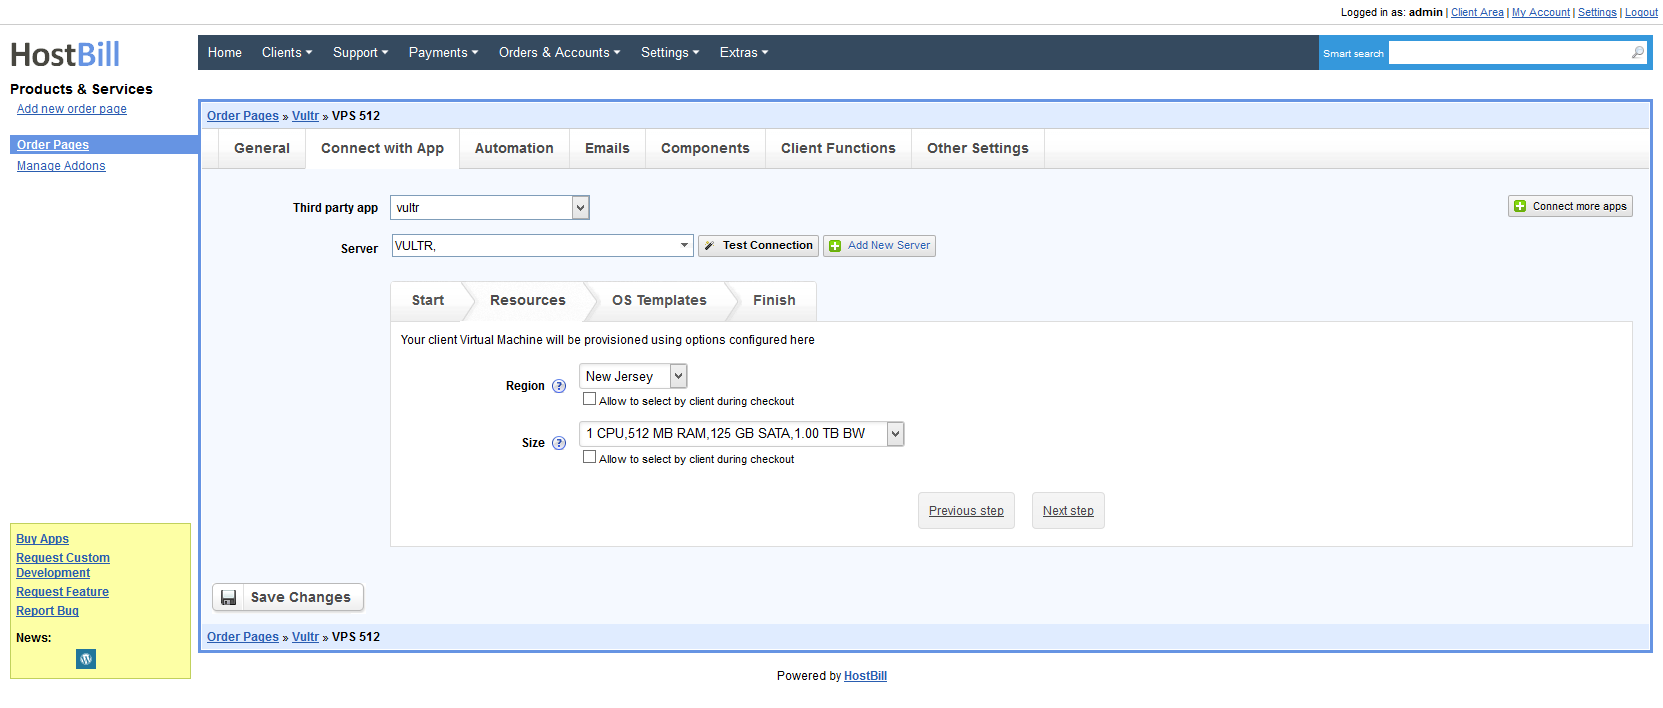
- Setup Package Limits:
- Region - Select region that will be used to deploy client vm
- Size - Select size for client vm, available options depend on selected region.
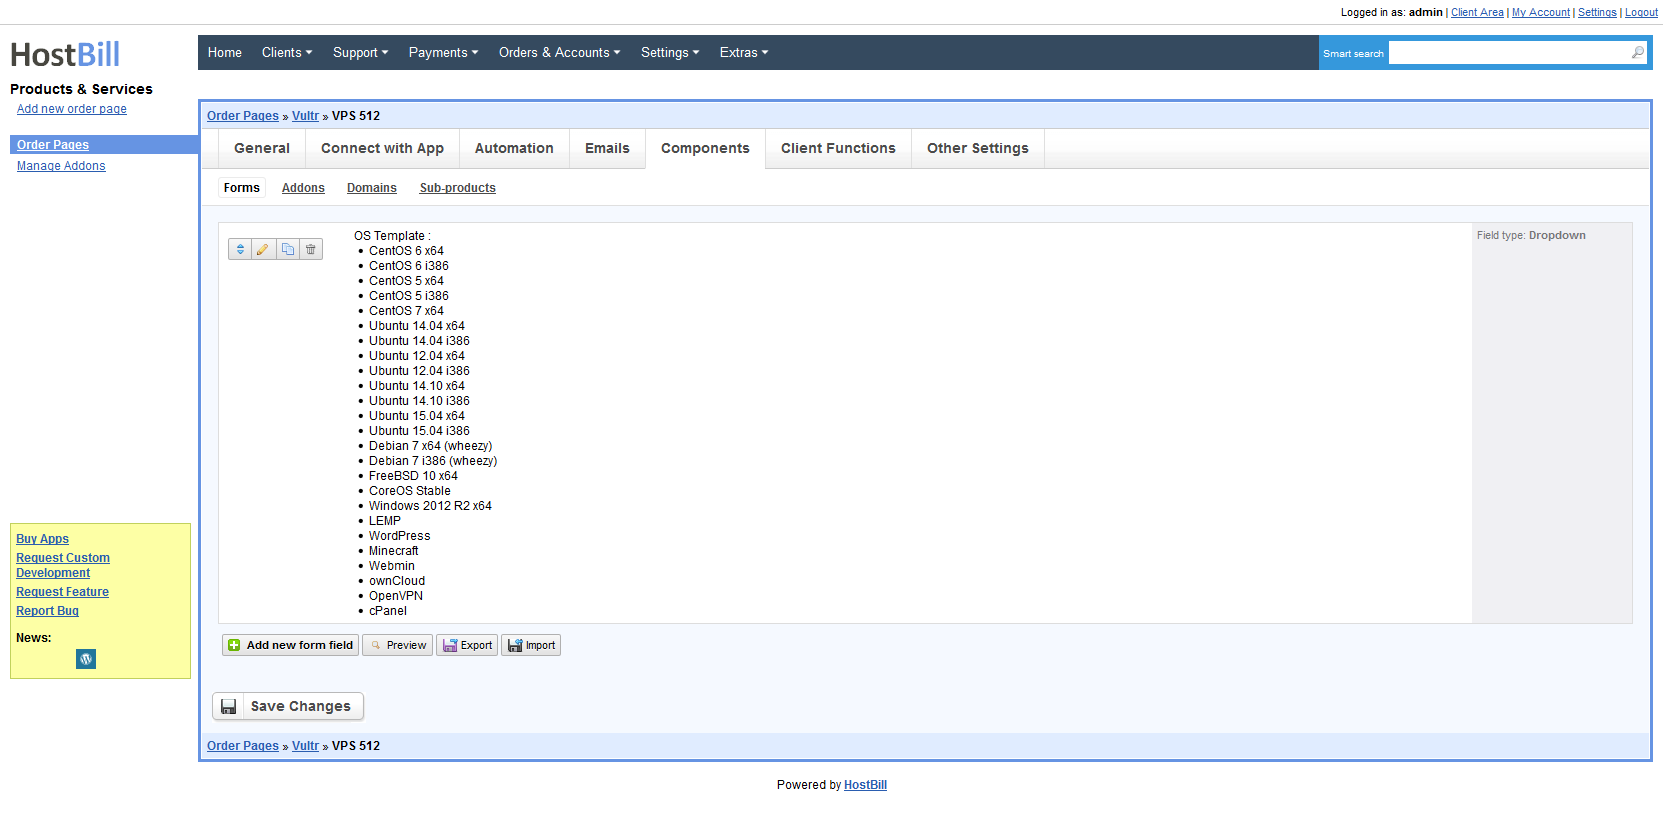
- Os Template - Select os template to be used for vm.
Note:
You can optionally use "Allow to select by client during checkout" checkbox.
This will automatically add new form items under Components->Forms allowing your client to configure server location, size or os template during order.
You can apply additional charges to those items.