Installing HostBill
HostBill installation is fully automated and takes just seconds, more info at Installation
Download & install
- After module purchase visit https://hostbillapp.com/clientarea/, log-in and proceed to "Services->HostBill Plugins-> Inventory/Asset Manager" and from left-hand menu choose Download This Product
- After downloading, unzip archive contents in your main HostBill directory
- Log-in into your HostBill adminarea, proceed to Settings->Modules, locate your Inventory Manager module and choose"Activate"
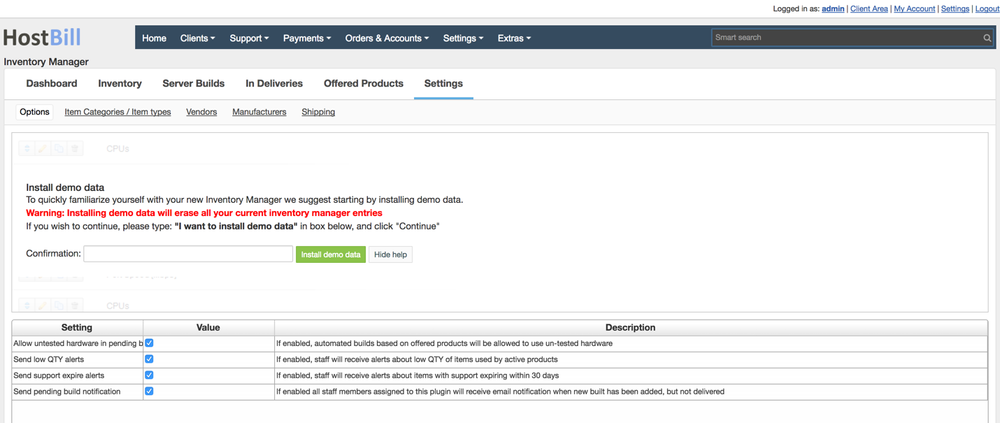
Installing demo data
To understand module concepts its good idea to play with some pre-entered data. You can install demo data set with just one click of a button.
- Proceed to Extras->Inventory Manager->Settings
- Click on Install demo data
- For security purposes you will be prompted to enter sentence in input box
- Confirm by clicking Install demo data button
Adding items/categories/vendors
Check video guide on how to provide basic entries to Inventory Manager
Setting up provisioning module
To connect provisioning module and have your server builds prepared automatically in asset tracker:
- Proceed to Settings->Modules
- Search and activate inventory_manager_provisioning module
- Proceed to Settings->Apps->Add new app
- Select previously activated provisioning module from Application list, provide arbitrary name, save changes
- Proceed to Settings->Products & Services, Add new orderpage, from Order type select: Other or Colocation
- Add new product, setup its pricing, proceed to Connect with app, select activated provisioning module and app
- Select product offering from Inventory manager you wish to bind HostBill product with, save changess