Installing HostBill
HostBill installation is fully automated and takes just seconds, more info at Installation
ResellerClub settup
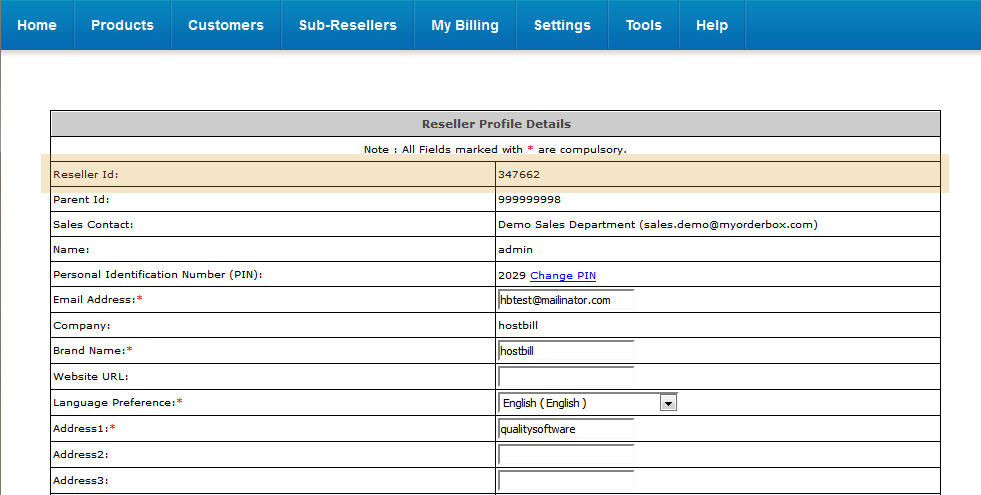
- Login to the ResellerClub Control Panel
- Go to Settings » Personal Information » Primary Profile
Alternatively click on the icon near the language selection and pick Manage Profile - Locate your Reseller ID, copy it for later use.
- Go to Settings » API, scroll down to the bottom of the page and enter the IP address of the server where HostBill is installed
Connecting HostBill with ResellerClub
- In HostBill go to Settings > Modules, find and activate ResellerClub module
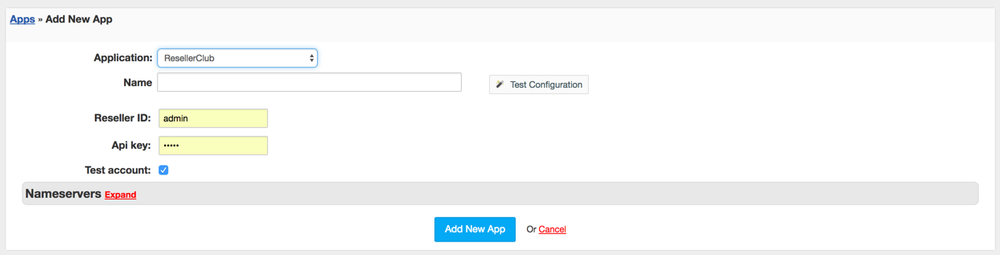
- You will be taken to Settings > Apps to set connection with ResellerClub
- Enter your Reseller Id and Password, use Test Connection to check if HostBill can connect.
- Save Changes
In case of connection problems, make sure your HostBill server can connect with httpapi.com over port 443
Creating your first domain package
- In HostBill go to Settings > Products & Services, and Add new order page
- From Order Types select Domains
- After creating order page add new product, one in it, provide a name
- In product configuration section proceed to Registrar Settings, select ResellerClub module as Third party app.
- Save changes, your package is ready
- Some TLDs will need aditional information provided by clients, in that case HostBill will notify you by highlighing Forms section.