Overview
PowerDNS module for HostBill offers DNSSEC functionality since release 2017-01-06. This article assumes you already have PowerDNS installed with DNSSEC support enabled & working, plus you have basic knowledge of linux user management & ssh.
To learn more about DNSSEC in PowerDNS visit: https://doc.powerdns.com/md/authoritative/dnssec/
Module uses SSH to connect to your PowerDNS master server, with that in mind make sure that:
- You are not using root access details in HostBill module connection
- Your private SSH key used to connect is stored in secure location on your server (not accessible from web)
Preparing connection
On your HostBill server:
- Locate user that HostBill is installed under (its most likely hostbill for enterprise install)
- Locate this user's ssh key (i.e. /home/hostbill/.ssh/id_rsa), or generate new ssh key for this user
- Note private ssh key location, ensure that this key is readable for user that webserver for HostBill is running under (it's hostbill for enterprise install)
- Copy your public ssh key contents for step below (i.e. /home/hostbill/.ssh/id_rsa.pub)
On your PowerDNS master server
- Add new linux user (ie. using command: useradd hostbill)
- In .ssh keys directory (i.e. /home/hostbill/.ssh/ ) locate or add authorized_keys file
- In authorized_keys file add your public key contents from step above (hostbill public key)
- Ensure that this user have ability to call pdnssec (for PowerDNS 3.x) or pdns-util (for PowerDNS 4.x) commands
Connecting HostBill to PowerDNS over SSH
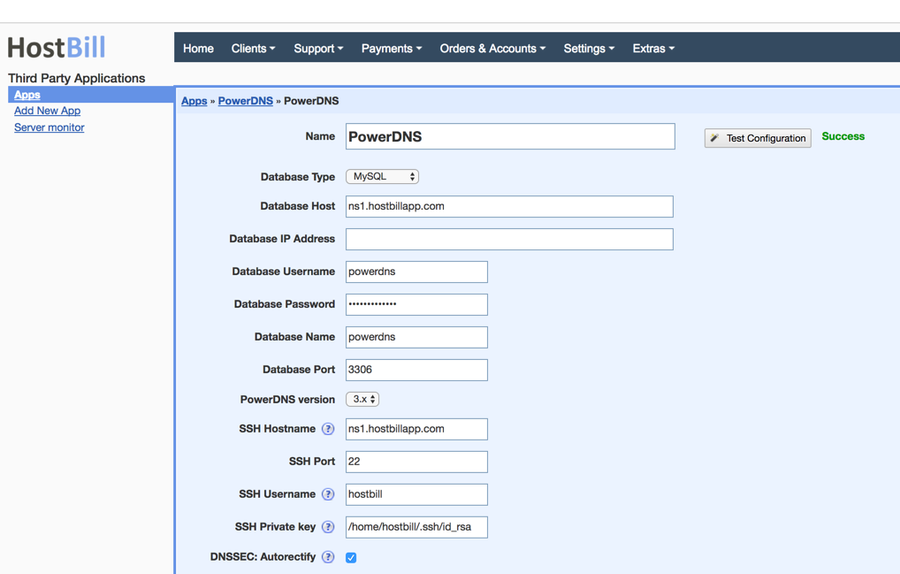
In HostBill go to Settings → Apps and select your PowerDNS connection (defined as per PowerDNS article)

Enter your:
- PowerDNS version
- SSH Hostname to connect to your PowerDNS
- SSH Port (defaults to 22)
- SSH Username - as defined in step "On your PowerDNS master server" above
- SSH Private Key location - as established in "On your HostBill server" section above
- Tick DNSSEC: Autorectify if requred
- This feature required HostBill Queue module to be active
- When enabled, any change in DNS zone (updating/adding/removing records) will automatically rectify related DNS zone. Its required action on most PowerDNS servers, to ensure DNSSEC data is valid.
Enabling DNSSEC feature for clients
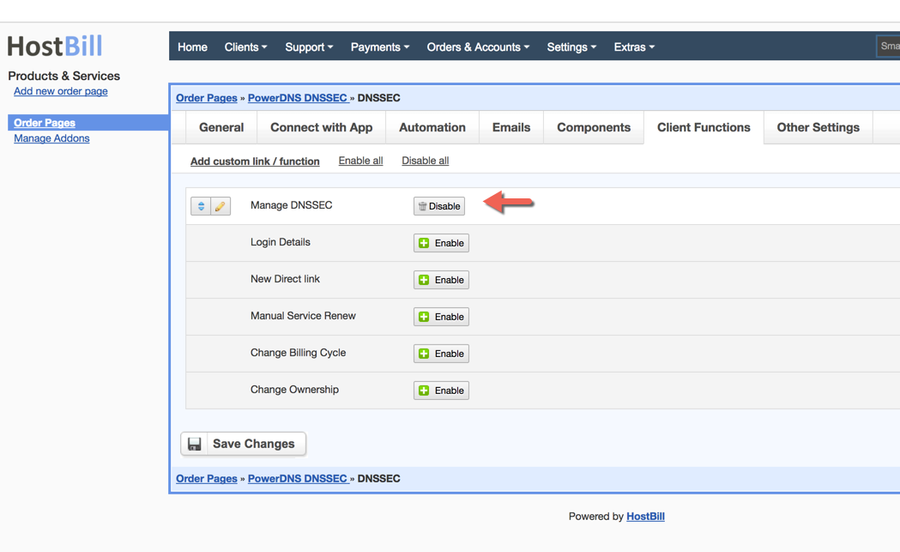
In HostBill, proceed to your PowerDNS product, under Client Functions enable "Manage DNSSEC" function

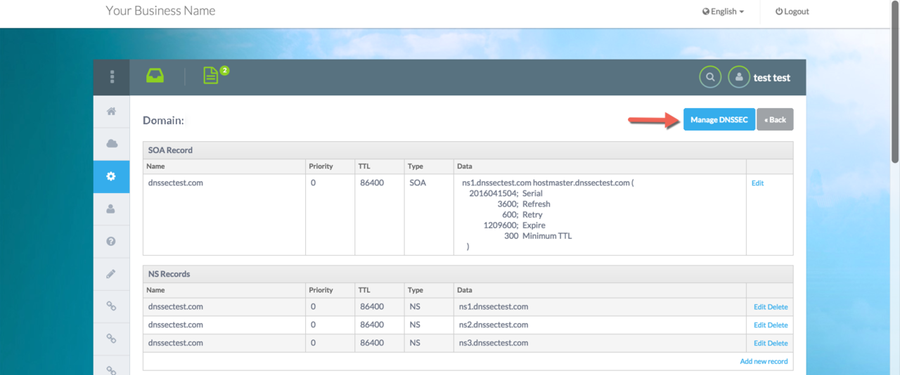
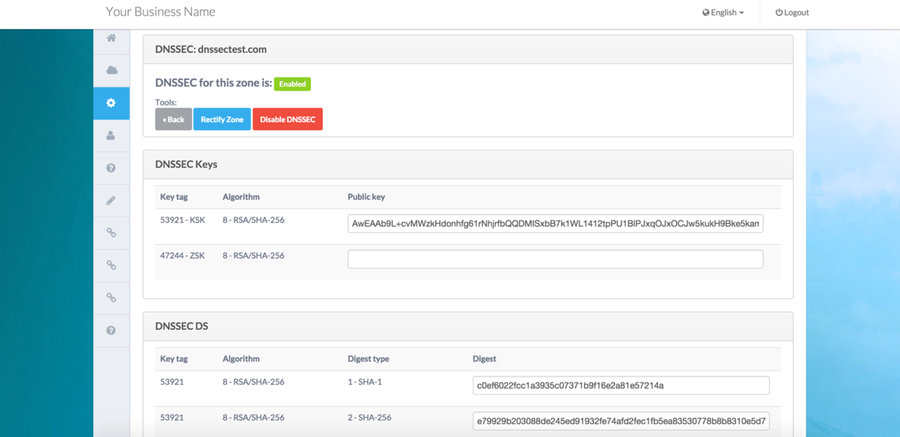
Once enabled your customers will have access to following DNSSEC features:


