How it works
The MailChimp Plugin in HostBill allows you to:
- automatically subscribe new clients to selected MailChimp list
- bulk export existing clients to the MailChimp list
- assign client registration fields values to MailChimp merge fields
- assign a client to configured interest groups in the MailChimp list
- push shopping cart data to MailChimp e-commerce
- reflect client orders from HostBill in the MailChimp e-commerce
For the plugin to work, you must have the HostBill Queue enabled
Installing the module
- Download purchased module from clients.hostbillapp.com
- Upload archive content into main HostBill directory
- Proceed to Settings->Module. Search and activate "MailChimp" module.
- Go to the module configuration in Extras → Plugins.
- Configuration fields:
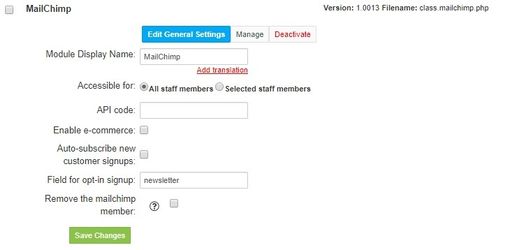
- API code: the API key from the MailChimp dashboard (in the MailChimp account: Profile name → Account → Extras → API Keys → Create a Key)
- Enable e-commerce: turns on the e-commerce service in MailChimp
- Auto-subscribe new customer signups: all new users will be added to the MailChimp list
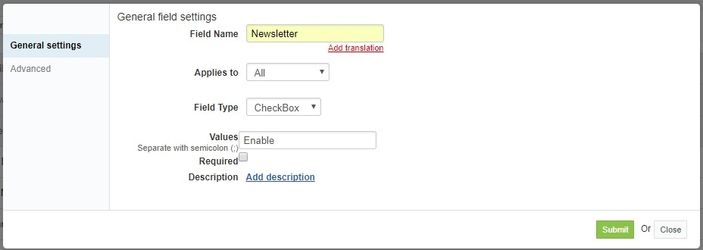
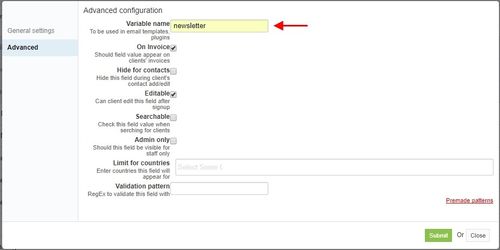
- Field for opt-in signup: name of the registration field with checkbox, which allows the user to choose whether they want to subscribe to the MailChimp list (you must create a registration field in HostBill Clients → Registration Fields → Add new field. The Field for opt-in signup should have the value of the variable name from the created field).
- Remove the MailChimp member: remove the MailChimp member along with the HB profile
Configuring MailChimp
- Proceed to Extras → Plugins → MailChimp to configure your MailChimp plugin.
- Select the default list for new clients
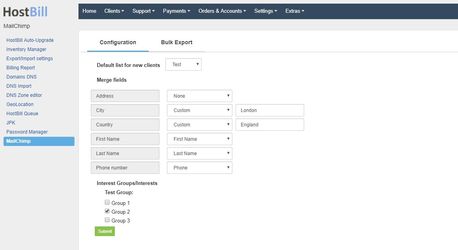
- Set the appropriate merge fields (you can choose one of the registration fields, none or custom one to enter your own value).
- Select to which groups the users should belong.
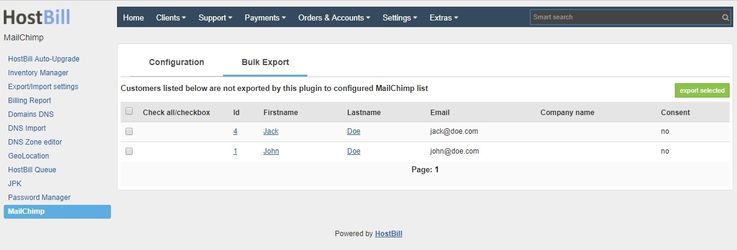
- In the Bulk Export tab a list of users who have not been assigned to any list will be displayed (you can select which users are to be assigned to the list).
User exports are performed in a queue and this may take a moment.
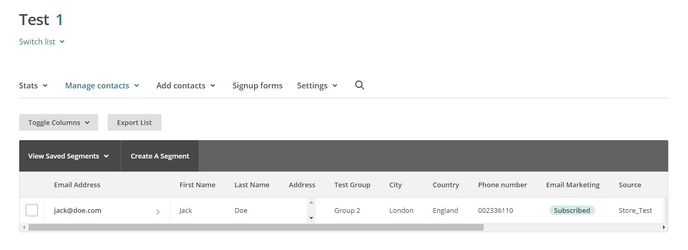
The export result in the MailChimp dashboard.
