Overview
Activating the module
- If the module is included in your HostBill edition you can download it from your client portal.
- If the module is not included in your HostBill edition you can purchase it from our marketplace and then download it from the client area.
- Once you download the module extract it in the main HostBill directory.
- Go to Settings → Modules → Hosting Modules, find and activate DirectAdmin DNS module.
Connecting HostBill with DirectAdmin DNS
- Proceed to Settings → Apps → Add new App
- From Applications list select DirectAdmin DNS
- Enter:
- Name - Name of this connection
- Hostname - hostname of DirectAdmin installation (provide this or IP below)
- IP Address - IP address of DirectAdmin
- Username - DirectAdmin admin username
- Password - DirectAdmin admin password
- Custom port - enter custom port if other than 2222
4. Verify entered credentials by clicking Test Connection to check if HostBill can connect
5. Save Changes

Adding DirectAdmin DNS product
- In HostBill go to Settings → Products & Services, and Add new order page
- From Order Types select DNS Services
- After creating order page add new product in it, provide its name & Save changes
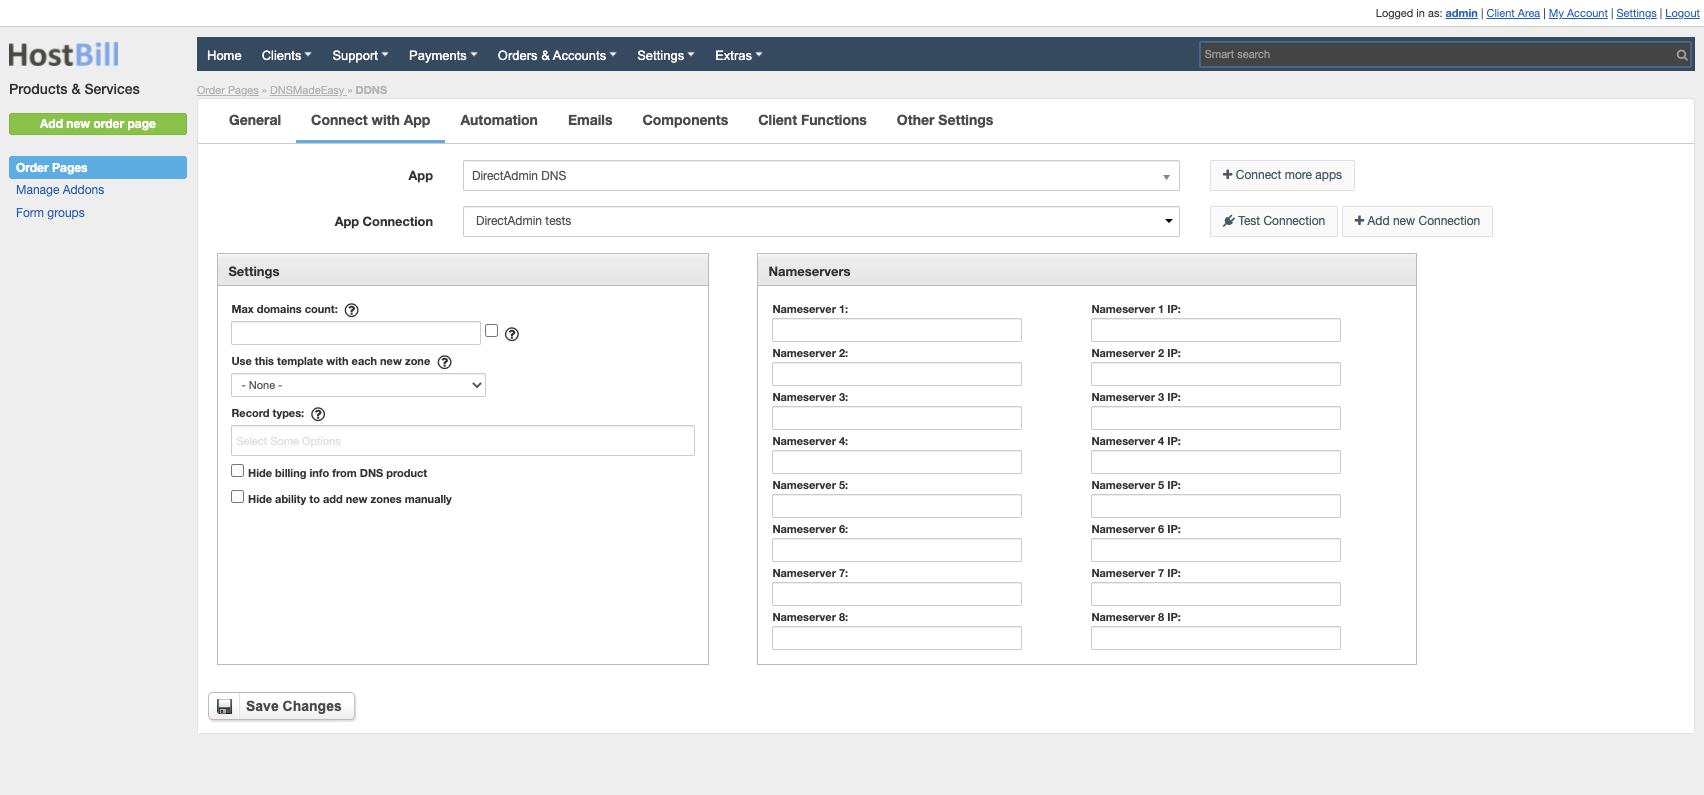
- In product configuration section proceed to Connect with App, select DirectAdmin DNS module and App server created in previous steps.
- Enter:
- Max number of domains your client can add,
- Use this template with each new zone - select DNS Template to be used with each new provisioned zone
- Record types - this option allows you to limit available DNS records to be added by customer
- Hide billing info from DNS product - this option works great when DNS management is free features you offer to your clients
- Hide ability to add new zones manually - enable if zones are autoprovisioned for this product and client should not add them anually
- Nameservers - provide default set of Nameservers zones should be provisioned with + those nameservers are being used when comparing for dns zone automation
- Submit changes - your package is ready
For more generic product configuration details including price, automation, emails settings refer to Product Configuration article.
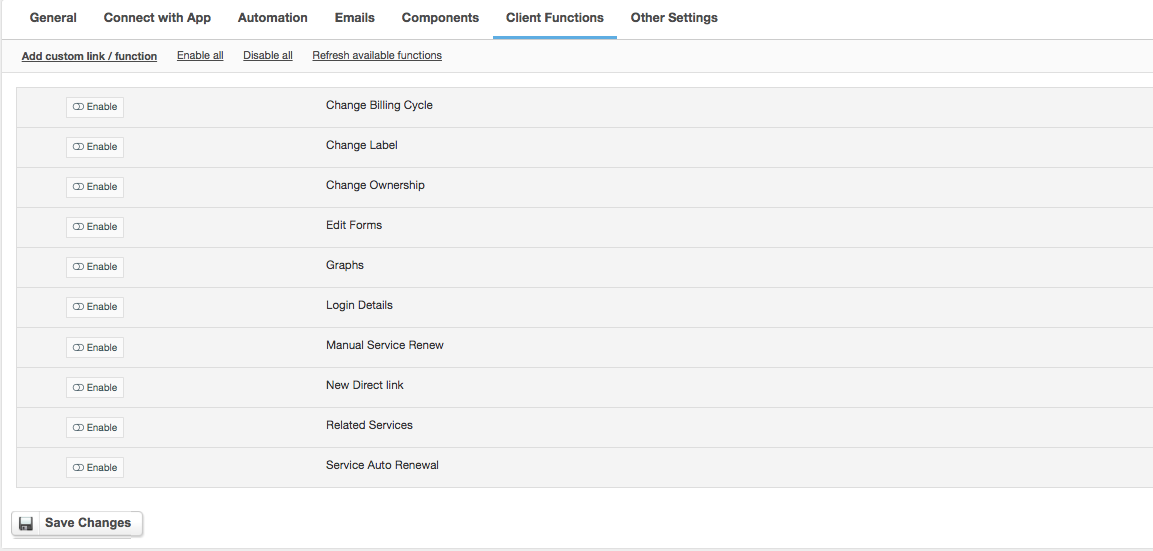
Configuring Client Functions
In Products & Services → Your Order Page → Your Product → Client Functions you can control what features customer will have access to in client portal, by clicking Enable/Disable next to the given option.
Use Edit button to adjust function appearance in the client portal.
For DirectAdmin DNS you can enable a number of standard client functions:
- Change Billing Cycle
- Change Label
- Change Ownership
- Edit Forms
- Graphs
- Login Details
- Manual Service Renew
- New Direct Link
- Related Services
- Service Auto Renewal