...
The plugin is free and available to all HostBill users. In order to activate the plugin go to Settings→ Modules→ Plugins → Inactive, find and activate:
Google Analytics plugin, if you wish to use
- ga.js
- analytics.js
- Google Analytics Gtag plugin, if you wish to use gtag/js
- Once the plugin is activated you will be directed to Settings→ Modules→ Plugins to configure the module.
Module configuration
...
For Google Analytics:
- Choose module display name
- Select if you want the plugin to be accessible for all staff members or only selected staff members.
- For Google Analytics Plugin: Select analytics version:
- Universal Analytics for analytics.js
- classic Google Analytics for ga.js
- Under Tracking ID provide your unique tracking ID (also known as Property ID) taken from Google Analytics website.
- Under Tracked Domain enter domain name you configure your analytics with
- Custom Code - Enter custom javascript code you wish to be entered after page view event.
- Ecommerce tracking - If you've enabled ecommerce tracking in your analytics account, you can enable this and send transaction info
- Cross Domain tracking - When enabled, will add 'allowLinker' argument in create method for 'Universal Analytics'
...
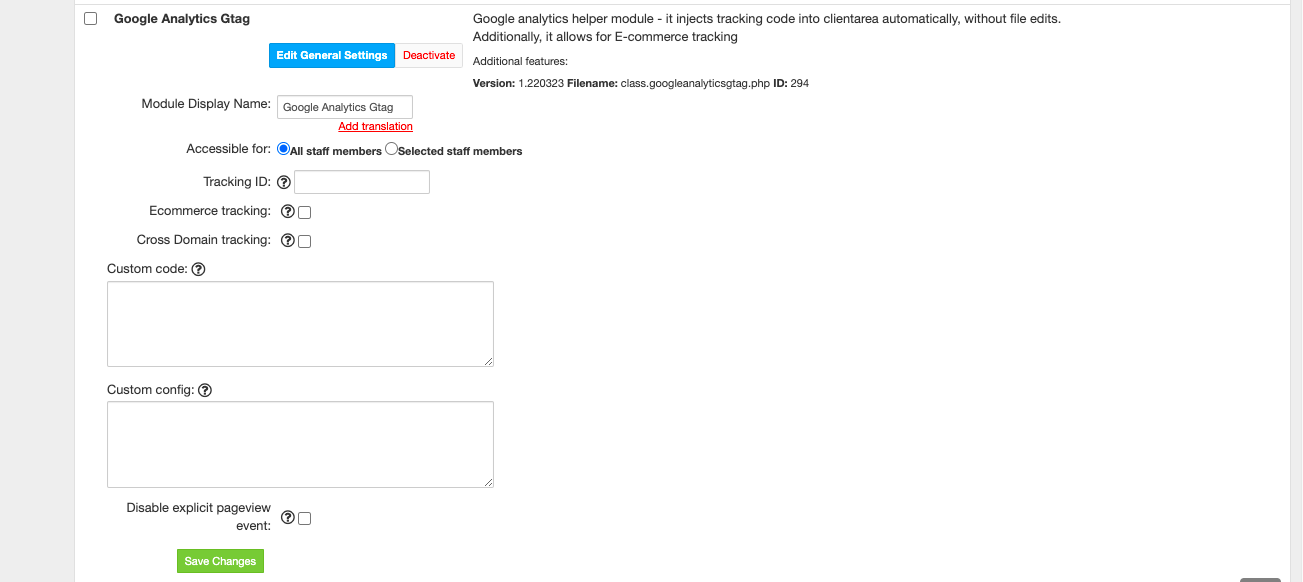
For Google Analytics Gtag Plugin: 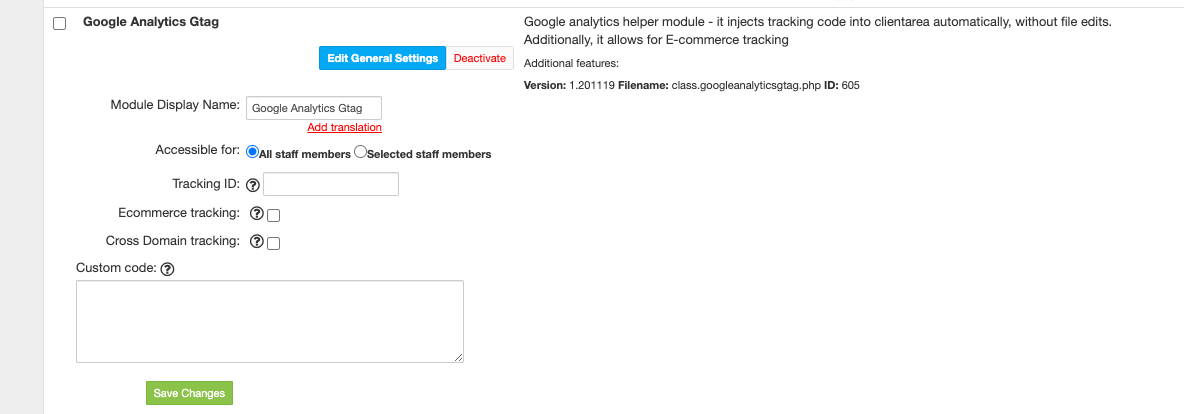
- Choose module display name
- Select if you want the plugin to be accessible for all staff members or only selected staff members.
- Under Tracking ID provide your unique tracking ID (also known as Property ID) taken from Google Analytics website.
- Ecommerce tracking - If you've enabled ecommerce tracking in your analytics account, you can enable this and send transaction info
- Cross Domain tracking - When enabled, will add 'allowLinker' argument in create method for 'Universal Analytics'
- Custom Code - Enter custom javascript code you wish to be entered after page view event.
- Custom Configuration - Enter code which will replace gtag('config',...) line generated by this module
- Disable explicit pageview event - when enabled, the pageview will not be sent explicitly, assuming it's being sent by default
Enable Ecommerce Tracking
...