...
...
...
...
...
...
...
...
...
...
...
...
Create Azure Application
...
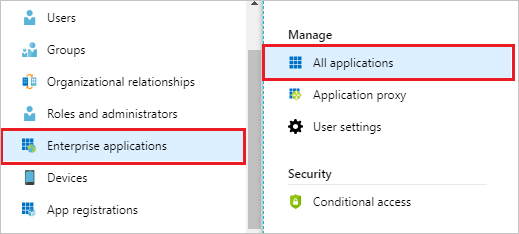
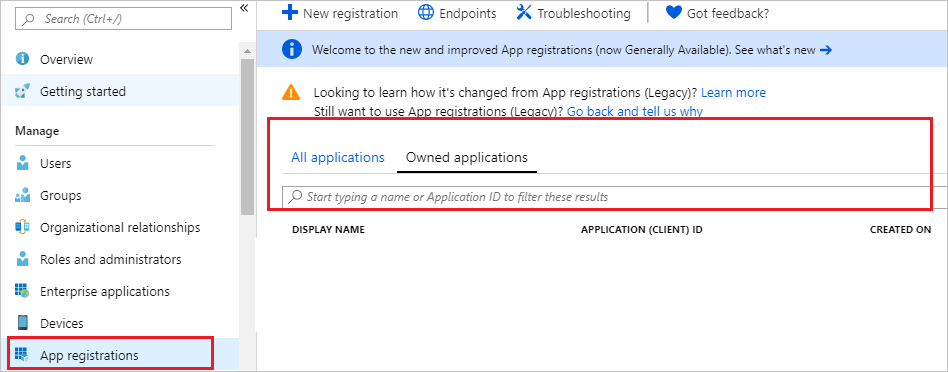
In the Azure portal, select Azure Active Directory and go to App registrations.
Go to Enterprise applications → All applications
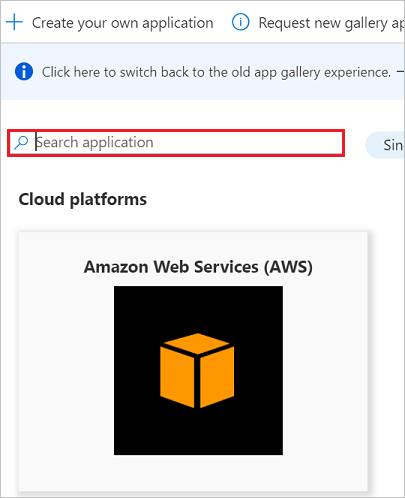
Select New application at the top of the dialog.

Enter the name of the application in the search box. Select the desired application from the results panel and register it.
On the Application Name page, click Sign up for <Application Name>.
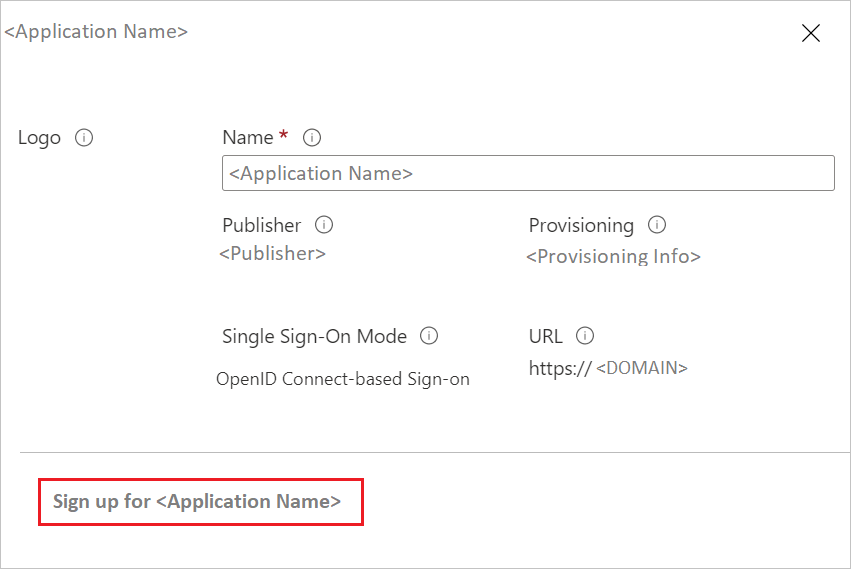
You will be redirected to the application's login page or to the Azure Active Directory (Azure AD) page for login credentials.
After successful authentication, you must accept consent on the consent page. The application will then be displayed on the home page.
Click App registrations on the left side of the menu and open the application by typing the application name in the search box.
Click View API Permissions in Call APIs.

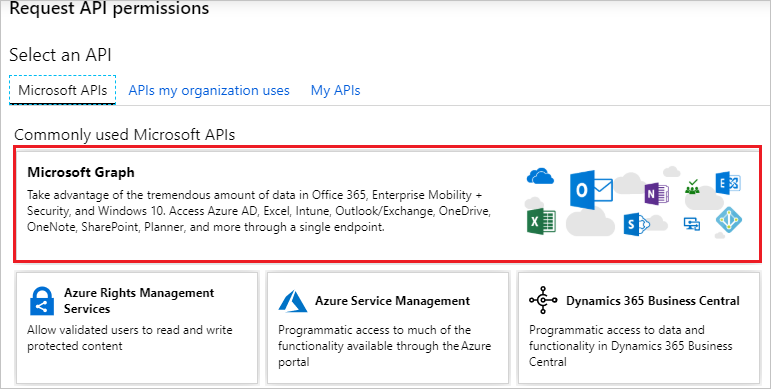
Click Add a permission.

Click on the Microsoft Graph.
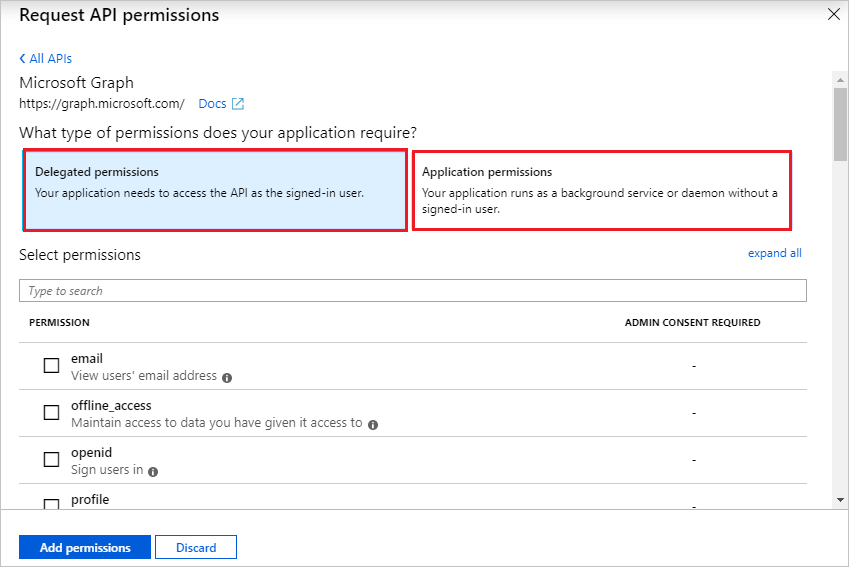
Select the required options under Delegated permissions and Application permissions
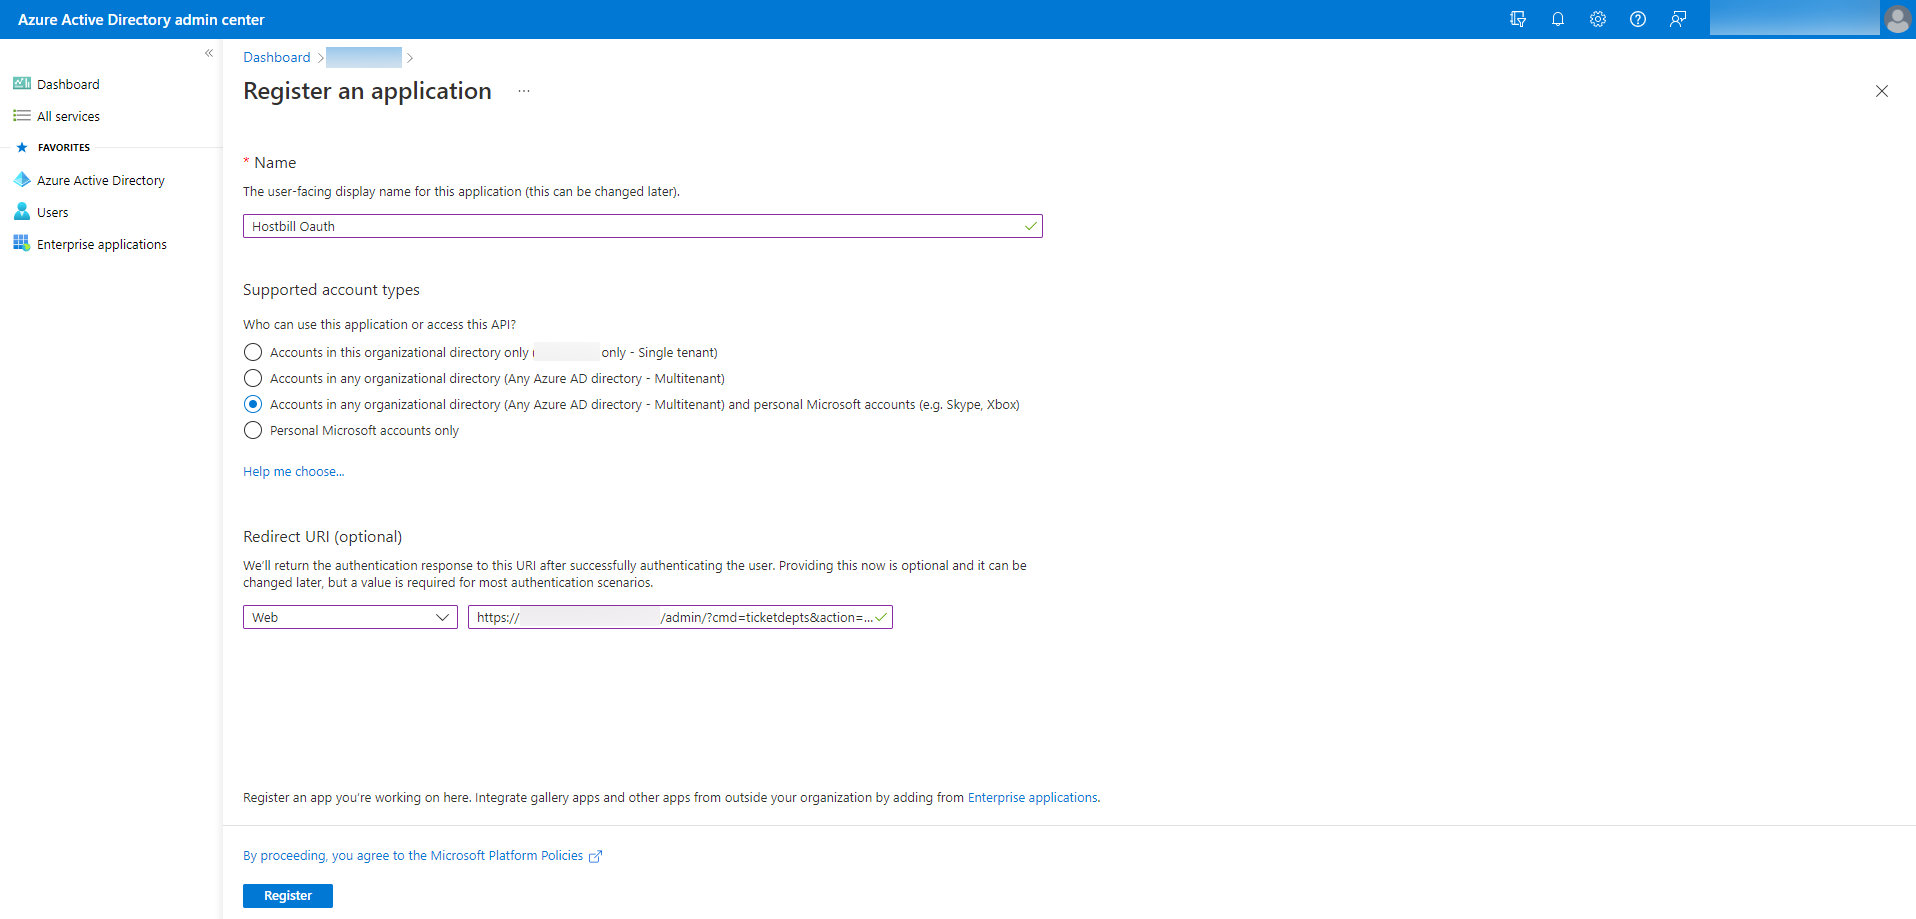
Then click New registration.

Set a Name and select Supported account types. In Redirect URI, select Web and set Redirect URL from HostBill. Press Register. Copy Application (client) ID to Client ID in HostBill.
For the created application go to Certificates & secrets and then press New client secret. Copy Client Secret to HostBill.
.png?version=1&modificationDate=1657723342683&cacheVersion=1&api=v2&height=250)
Go to API permissions and Add a permission.
Add the following Scopes:
- openid
- offline_access
- https://outlook.office365.com/IMAP.AccessAsUser.All
- https://outlook.office365.com/SMTP.Send
- https://outlook.office365.com/mail.read
- https://outlook.office365.com/User.Read
.png?version=1&modificationDate=1657723595209&cacheVersion=1&api=v2&height=250)
Go to the application's Properties and copy the Application ID as Client ID in HostBill.Click All settings → Keys and select Duration. Click Save and copy Secret Value as Client Secret in HostBill. Expose an API and Add a scope and Add a client application.
.png?version=1&modificationDate=1657723766479&cacheVersion=1&api=v2&height=250)
Set up Azure in HostBill
...
Then save the changes and press Connect. During authorization, log in to the account provided in the SMTP Email address. After successful Authorization, the Connection Token should be set.
...
| Info |
|---|
If messaging does not work after receiving an Access Token, make sure you have SmtpClientAuthentication enabled for Tenant. Visit https://aka.ms/smtp_auth_disabled for more information. |
| Warning | ||
|---|---|---|
| ||
Usage of the /common endpoint is not supported for such applications created after '10/15/2018'. Use a tenant-specific endpoint or configure the application to be multi-tenant. Go to Azure Portal → Azure Active Directory → App registrations (preview) → Your App → Authentication → Supported account types, and select Accounts in any organizational directory. |
| Warning | ||
|---|---|---|
| ||
After pressing Connect you should be redirected to the login page and you should log in with your SMTP Email address account. If you are currently logged in to another account, the login page is skipped after pressing Connect. The authorization will succeed and the Connection Token will be generated correctly, but the SMTP will not work because the current account does not have access. Follow these steps:
|