Installing HostBill
HostBill installation is fully automated and takes just seconds, more info at Installation
Download & install
- After module purchase visit https://hostbillapp.com/clientarea/, log-in and proceed to "Services->HostBill Plugins-> Inventory/Asset Manager" and from left-hand menu choose Download This Product
- After downloading, unzip archive contents in your main HostBill directory
- Log-in into your HostBill adminarea, proceed to Settings->Modules, locate your Inventory Manager module and choose"Activate"
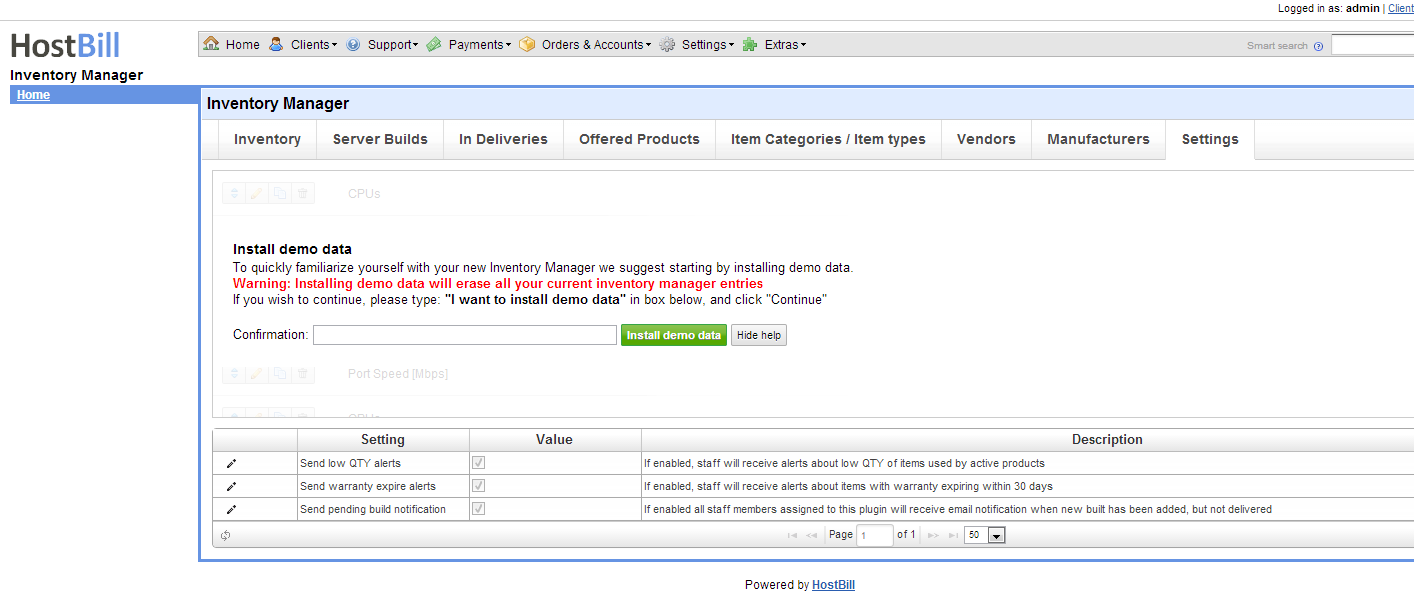
Installing demo data
To understand module concepts its good idea to play with some pre-entered data. You can install demo data set with just one click of a button.
- Proceed to Extras->Inventory Manager->Settings
- Click on Install demo data
- For security purposes you will be prompted to enter sentence in input box
- Confirm by clicking Install demo data button
Adding items/categories/vendors
Check video guide on how to provide basic entries to Inventory Manager
| Widget Connector | ||||||
|---|---|---|---|---|---|---|
|
Setting up provisioning module
To connect provisioning module and have your server builds prepared automatically in asset tracker:
- Proceed to Settings->Modules
- Search and activate inventory_manager_provisioning module
- Proceed to Settings->Apps->Add new app
- Select previously activated provisioning module from Application list, provide arbitrary name, save changes
- Proceed to Settings->Products & Services, Add new orderpage, from Order type select: Other or Colocation
- Add new product, setup its pricing, proceed to Connect with app, select activated provisioning module and app
- Select product offering from Inventory manager you wish to bind HostBill product with, save changess
| Widget Connector | ||||||
|---|---|---|---|---|---|---|
|