Overview
Citrix XenServer is a server virtualization platform that allows IT administrators to host, deploy and manage virtual machines. With it’s flexible architecture Citrix XenServer module for HostBill allows to deploy services faster on any cloud.
Activating the module
- If the module is included in your HostBill edition you can download it from your client portal.
- If the module is not included in your HostBill edition you can purchase it from our marketplace and then download it from the client area.
- Once you download the module extract it in the main HostBill directory.
- Go to Settings → Modules → Hosting Modules, find and activate XenServer module.
Connecting HostBill with XenServer
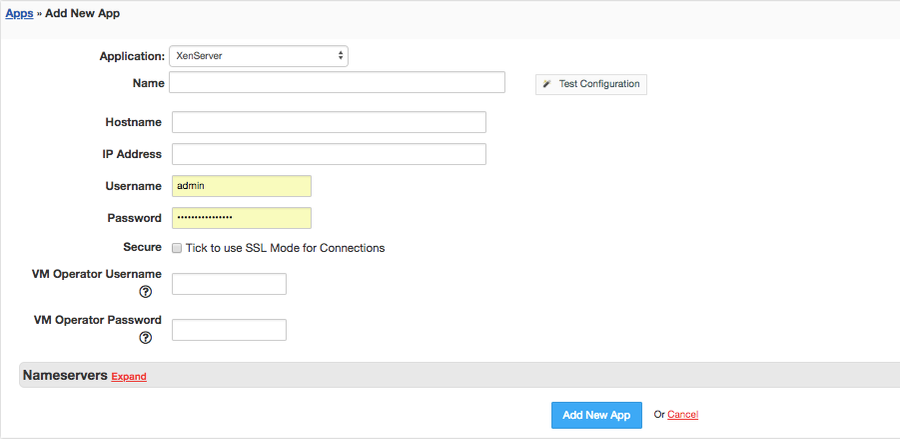
- Proceed to Settings → Apps → Add new App
- From Applications list select XenServer
- Enter:
- Name - Name of this connection
- Hostname
- IP Address
- Username
- Password
- Optionally you can enter VM Operator Username and Password
4. Verify entered credentials by clicking Test Connection to check if HostBill can connect
5. Save Changes
Creating pre-installed os templates
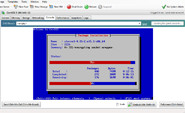
- Download and install latest XenCenter
- Connect to your server and start the creator by clicking on New VM
- Using the creator select an OS template and click next
- Specify a name for your new template
- Choose an installation media, ex:
for Centos 5 set Install from URL: //mirror.centos.org/centos/5/os/x86_64/ - Select the host where this VM will be created, number of CPUs and Memory limits
- Configure storage, those settings apply as minimum for the new VMs created from this template, regardless of HostBill Disk space settings
- Configure network settings, click next and then Finish.
- Start the VM and instal your OS.
- Install XenTools on that VM, see Installing XenTools
- Shut down your VM, right click it and select Convert to Template...
- You can now use this Template to create new VM
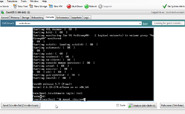
Installing XenServer Tools on Linux VMs
- Select the VM in the Resources panel, right-click and then click Install XenServer Tools on the shortcut menu. Alternatively, on the VM menu, click Install XenServer Tools Click Install XenServer Tools on the message dialog to go to the VM's console.
As the root user, mount the image into the VM:
Code Block language text mount /dev/xvdd /mnt
Execute the installation script as the root user:
Code Block language text /mnt/Linux/install.sh
- If the kernel has been upgraded, or the VM was upgraded from a previous version, reboot the VM now.
Installing XenServer Tools on Windows VMs
- Select the VM in the Resources panel, right-click, and then click Install XenServer Tools on the shortcut menu. Alternatively, on the VM menu, click Install XenServer Tools
- Click Install XenServer Tools on the message dialog to go to the VM's console and begin the installation.
- If Autoplay is enabled for the VM's CD drive, installation will be started automatically after few moments. If Autoplay is not enabled, double-click on the CD drive to begin installing XenServer Tools.
- Follow the on-screen instructions, and reboot the VM when prompted.
Adding XenServer product
- In HostBill go to Settings → Products & Services, and Add new order page
- From Order Types select XenServer
- After creating order page add new product and provide its name
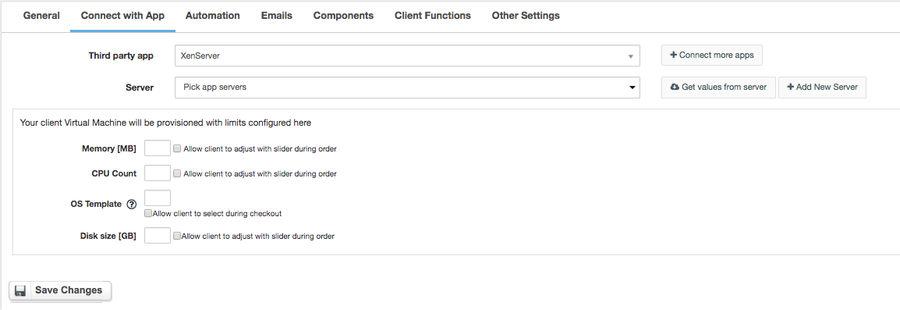
- In product configuration section proceed to Connect with App, select XenServer module and App server created in previous steps.
- Click Get values from server and select desired OS template and package settings for this setup. Remember that Disk size setting will be applied only on the templates with less space than this value.
- Save changes - your package is ready
For more generic product configuration details including price, automation, emails settings refer to Product Configuration article.
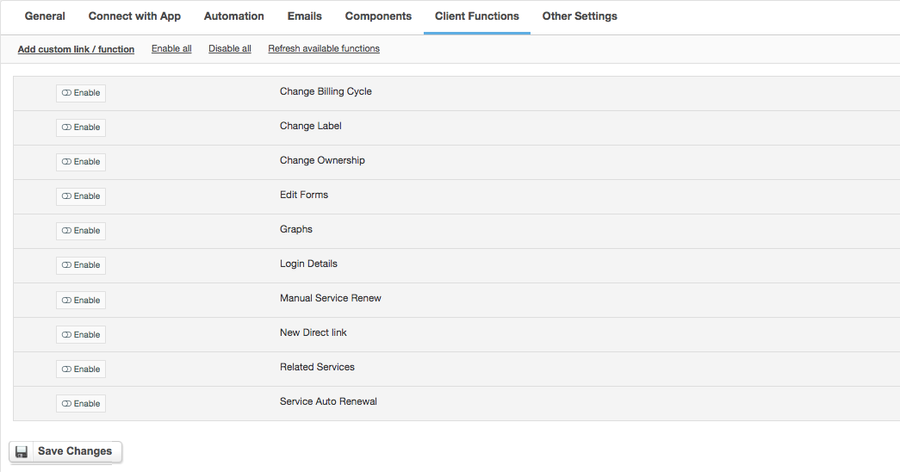
Configuring Client Functions
In Products & Services → Your Order Page → Your Product → Client Functions you can control what features customer will have access to in client portal, by clicking Enable/Disable next to the given option.
Use Edit button to adjust function appearance in the client portal. For Citrix XenServer you can enable a number of standard client functions:
- Change Billing Cycle
- Change Label
- Change Ownership
- Edit Forms
- Graphs
- Login Details
- Manual Service Renew
- New Direct Link
- Related Services
- Service Auto Renewal
Adding console support
To enable VNC console for your clients in the client portal:
- In your XenCenter setup a user with role "VM Operator". This user will be used for creating console sessions
- In HostBill, update connection details you've defined for XenServer in Settings→Apps, and provide VM console operator user/password:
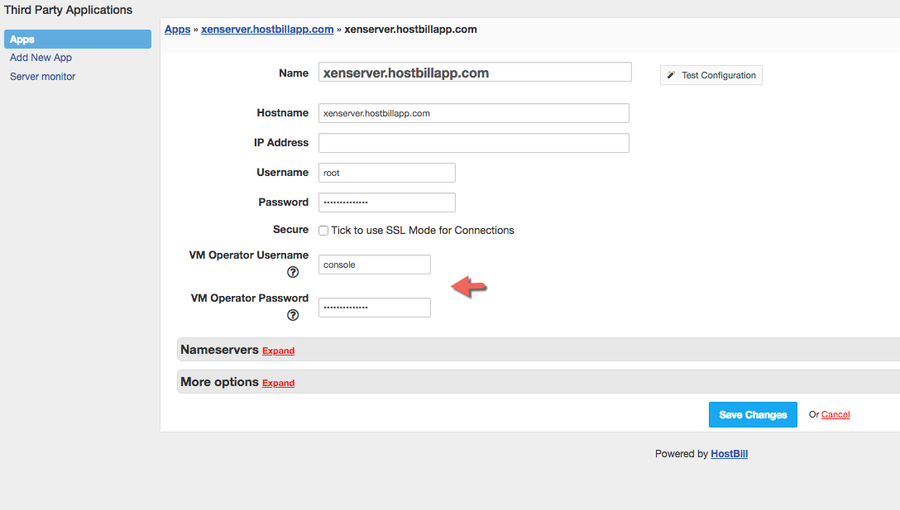
- Save changes. Your clients will now have access to console in the client portal.