Create Azure Application
...
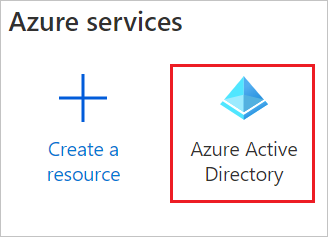
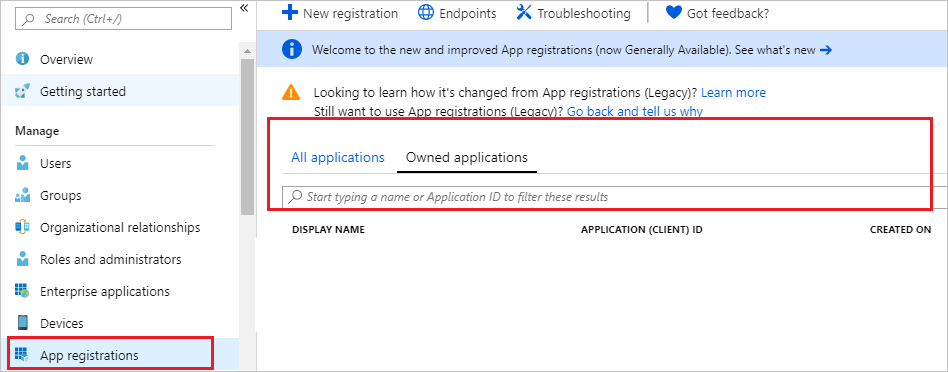
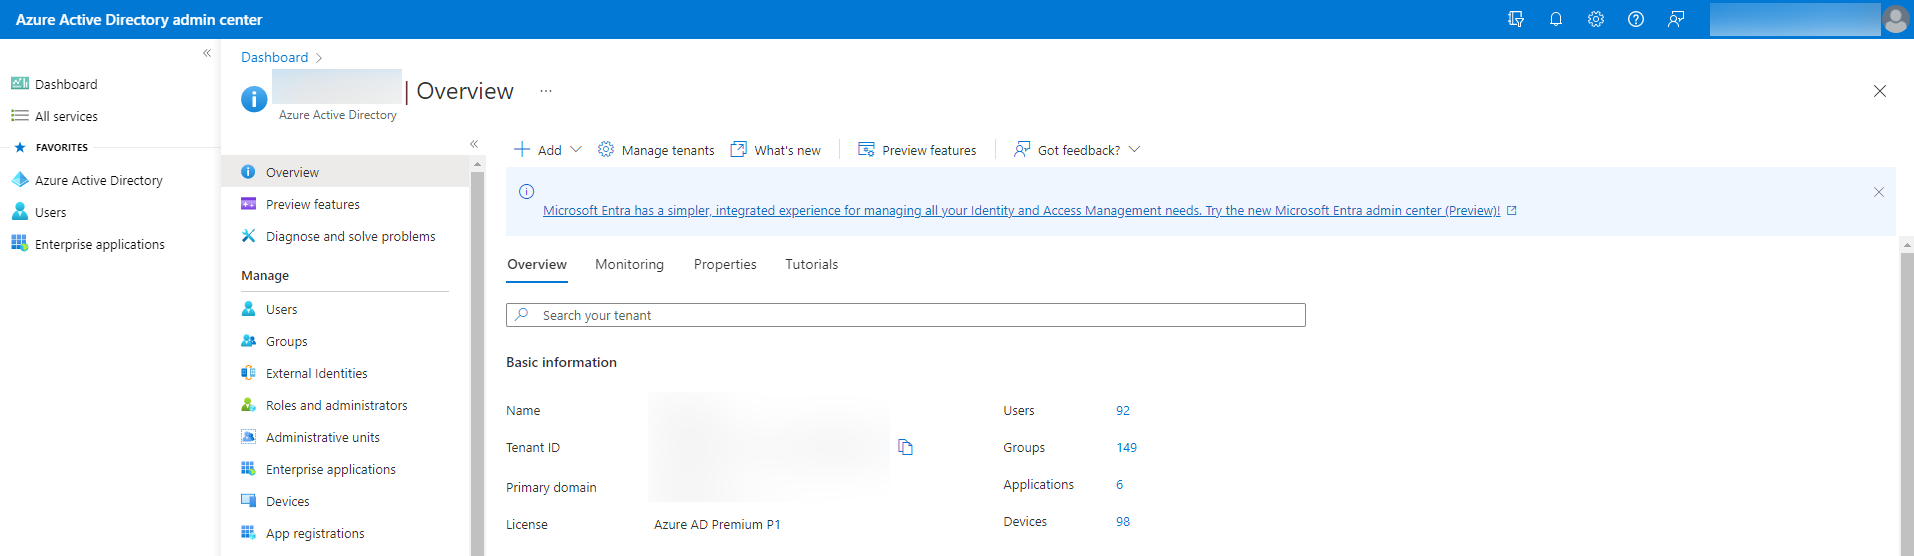
In the Azure portal, select Azure Active Directory and go to App registrations.
Go to Enterprise applications → All applications
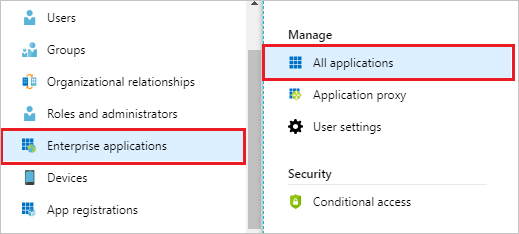
Select New application at the top of the dialog.

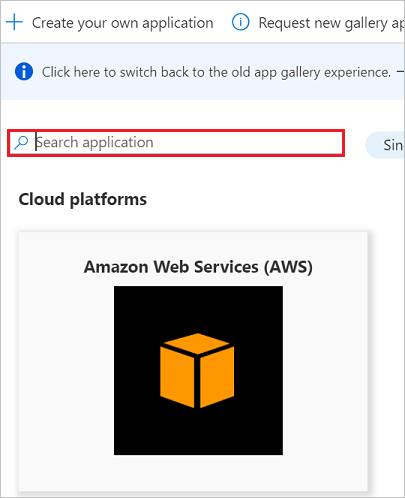
Enter the name of the application in the search box. Select the desired application from the results panel and register it.
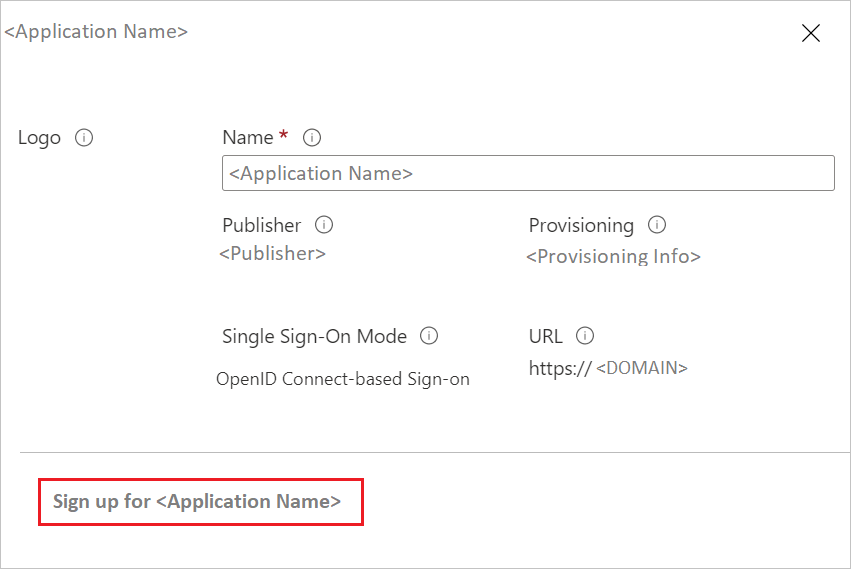
On the Application Name page, click Sign up for <Application Name>.
You will be redirected to the application's login page or to the Azure Active Directory (Azure AD) page for login credentials.
After successful authentication, you must accept consent on the consent page. The application will then be displayed on the home page.
Click App registrations on the left side of the menu and open the application by typing the application name in the search box.
Click View API Permissions in Call APIs.

Click Add a permission.

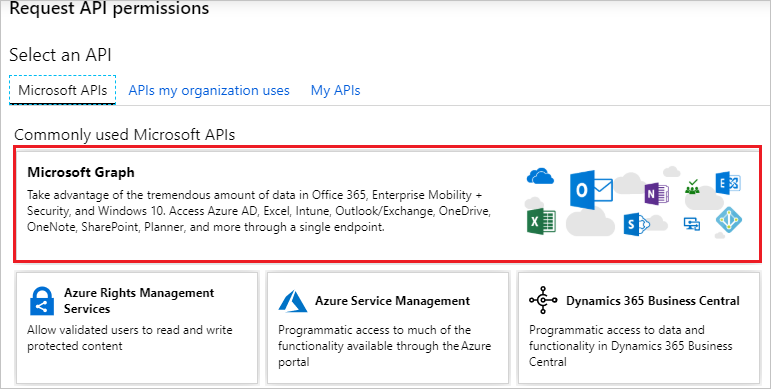
Click on the Microsoft Graph.
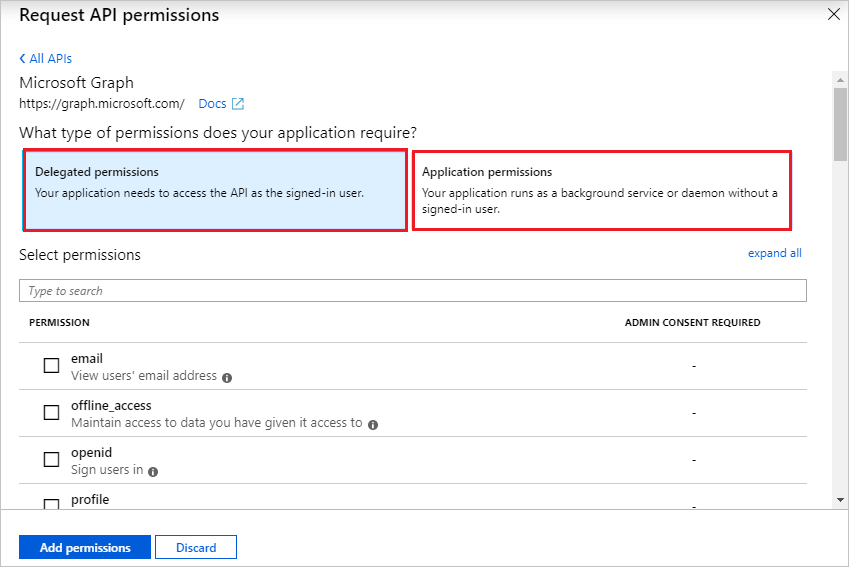
Select the required options under Delegated permissions and Application permissions
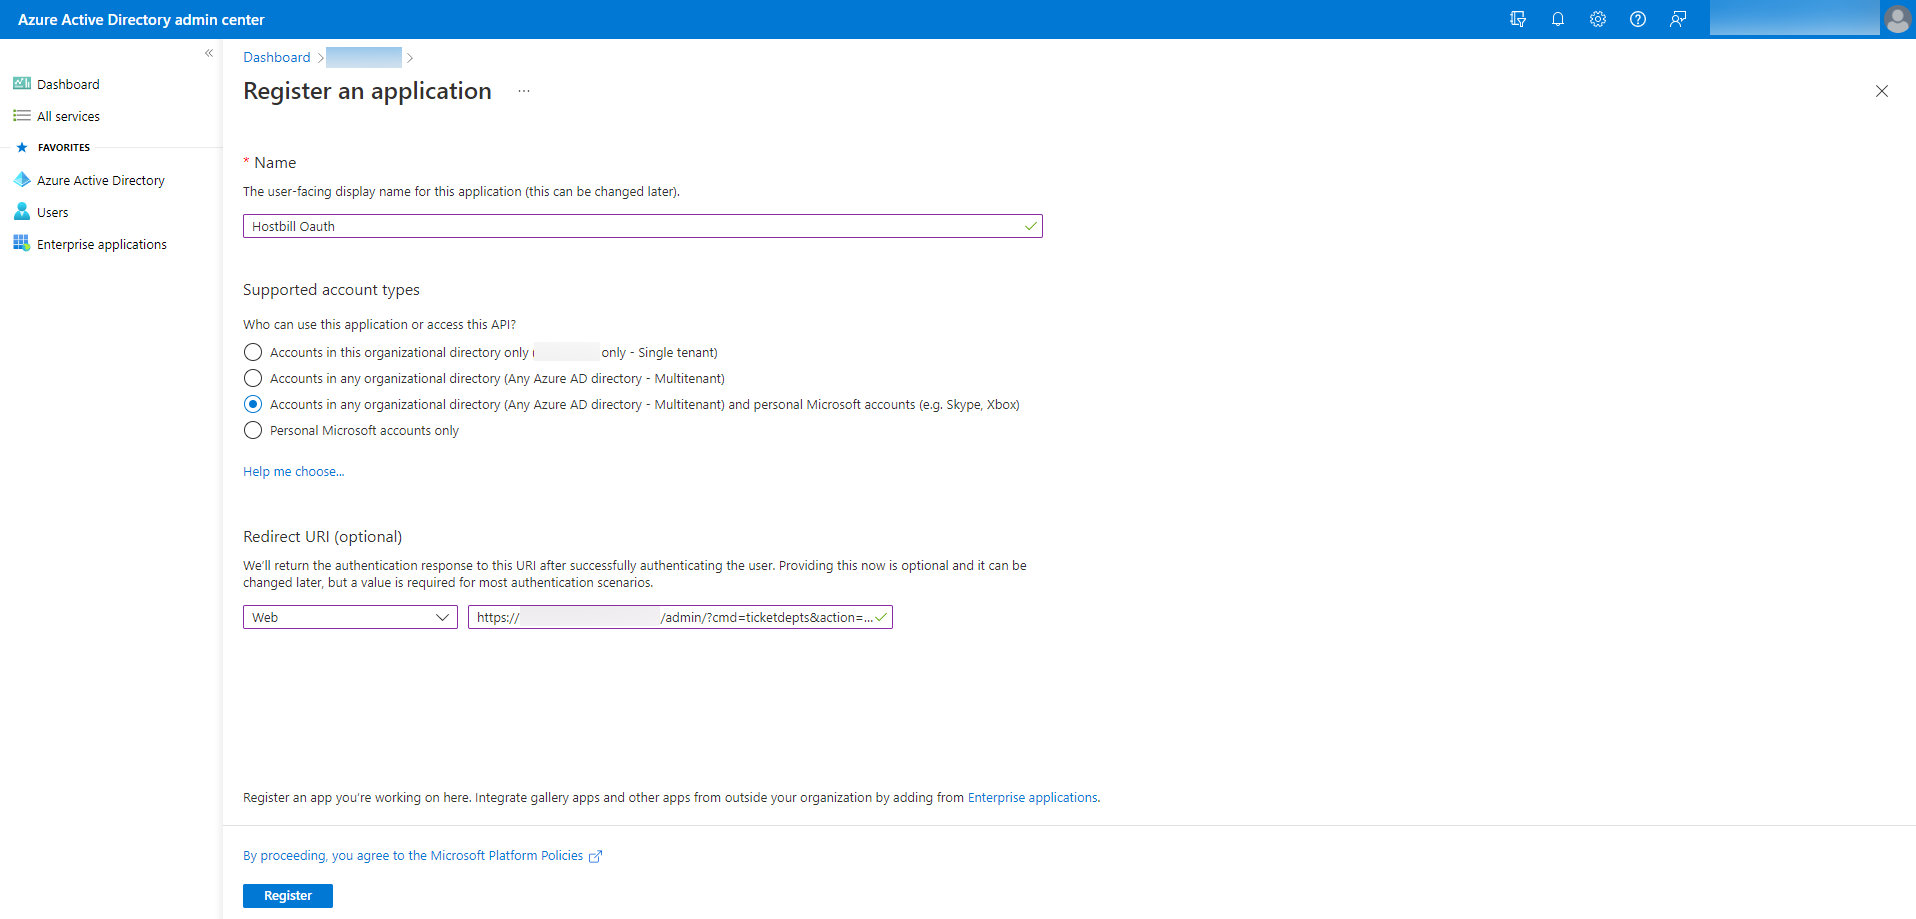
Then click New registration.

Set a Name and select Supported account types. In Redirect URI, select Web and set Redirect URL from HostBill. Press Register.
For the created application go to Certificates & secrets and then press New client secret. Copy Client ID and Client Secret to HostBill.
.png?version=1&modificationDate=1657723342683&cacheVersion=1&api=v2&height=250)
Go to API permissions and Add a permission.
Add the following Scopes:
- openid
- offline_access
- https://outlook.office365.com/IMAP.AccessAsUser.All
- https://outlook.office365.com/SMTP.Send
- https://outlook.office365.com/mail.read
- https://outlook.office365.com/User.Read
.png?version=1&modificationDate=1657723595209&cacheVersion=1&api=v2&height=250)
Go to the application's Properties and copy the Application ID as Client ID in HostBill.Click All settings → Keys and select Duration. Click Save and copy Secret Value as Client Secret in HostBill. Expose an API and Add a scope and Add a client application.
.png?version=1&modificationDate=1657723766479&cacheVersion=1&api=v2&height=250)
Set up Azure in HostBill
...