Installing HostBill
HostBill installation is fully automated and takes just seconds, more info at Installation
Connecting HostBill with Comodo
Overview
Comodo SSL is a global provider of computer software and SSL digital certificates. Comodo module for HostBill allows to download and sell SSL certificates from Comodo.
Activating the module
- If the plugin is included in your HostBill edition you can download it from your client portal.
- If the plugin is not included in your HostBill edition you can purchase it from our marketplace and then download it from the client area.
- Once you download the plugin extract it in the main HostBill directory.
- Go to Settings → Modules → Hosting Modules, find and activate Comodo SSL module.
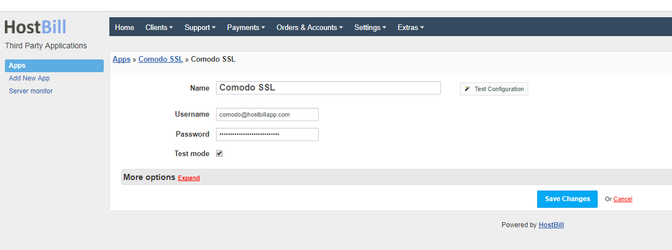
Connecting HostBill with Comodo
- Proceed to Settings → Apps → Add new App
- From Applications list select Ahsay Backup
- Enter your Username and Password that was provided to you by
- Comodo, use the same details you use to access reseller panel.
- If you want to create test orders, tick "Test mode"
- Verify entered credentials by clicking Test Connection to check if HostBill can connect
- Save Changes
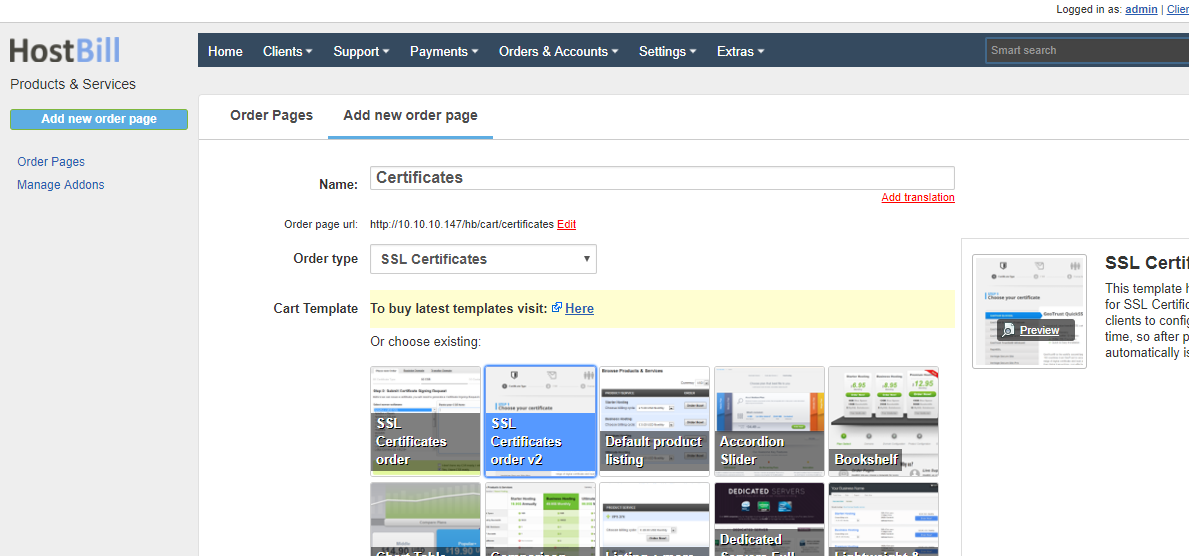
Creating your first SSL package
- In HostBill go to Settings
- → Products & Services, and Add new order page
- Enter your order page Name.
- From Order Types select SSL Certificates.
- Select Cart template and Save Changes.
- Add new product if you do not have one already.
- Setup your Product Name and Price, Save Changes.
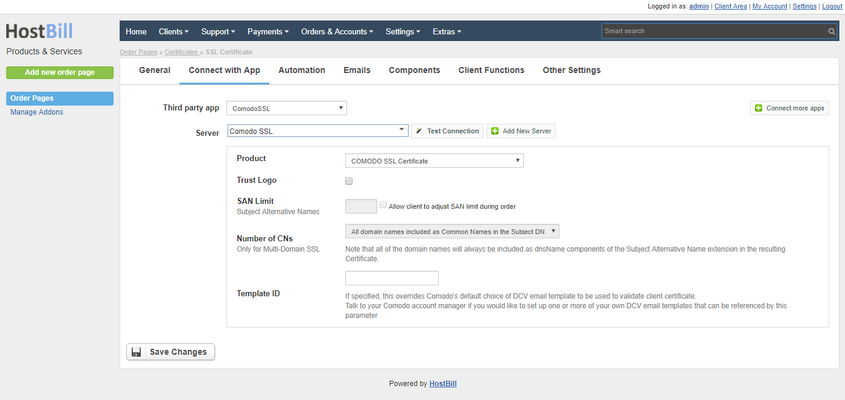
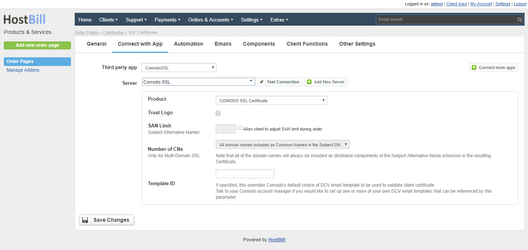
- In product configuration section proceed to Connect with App, select Comodo SSL and app Server created in previous steps.
- Select Comodo Product and setup related setting, Save changes when done.
Comodo specific product options:
- Product - identifies which product from
FAQ / Issues
- Comodo will be ordered when this service is provisioned.
- Trust Logo - if enabled orders will also include requests for trust logo. This option is not available for all products.
- San limit - number of additional domains that clients can include in their order. Only available for Multi-domain Certificates.
- You can use Allow client to adjust SAN limit during order option to add a form component that allows you to define pricing for additional domains.
- Number of CNs - controls what will be included in Subject DN for resulting certificate. Only available for Multi-domain Certificates.
- Template ID - reference to Domain Validation Email template that is sent by Comodo. Leave empty for default.

For more generic product configuration details including price, automation, emails settings refer to Product Configuration article.
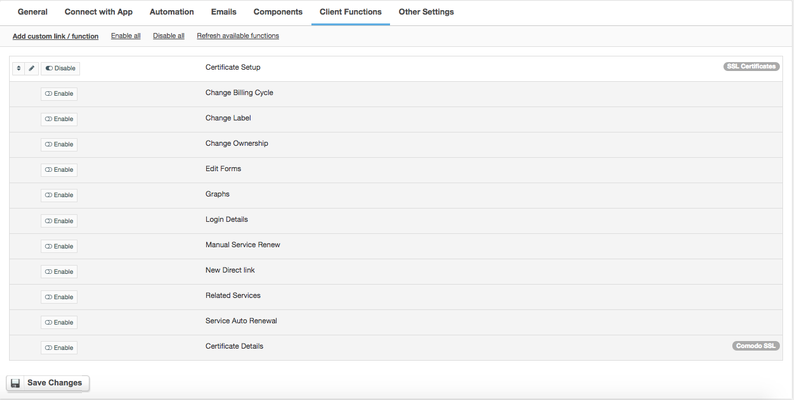
Configuring Client Functions
In Products & Services → Your Order Page → Your Product → Client Functions you can control what features customer will have access to in client portal, by clicking Enable/Disable next to the given option.
Use Edit button to adjust function appearance in the client portal.
For Acronis Baas you can enable following client functions:
- Certificate setup
- Change billing cycle
- Change label
- Change ownership
- Edit forms
- Graphs
- Login details
- Manual service renew
- New direct link
- Related services
- Service auto renewal
- Certificate details
FAQ
Question: Certificate Setup client function is not visible in the client area.
Answer: This option is only available for Pending accounts, when certificate order is created this option is removed from the client area.
It also may be that your template does not display widgets for Pending accounts, if you are using one of our client area templates make sure that it is updated.