Using Azure Oauth in HostBill for importing tickets
Create Azure Application
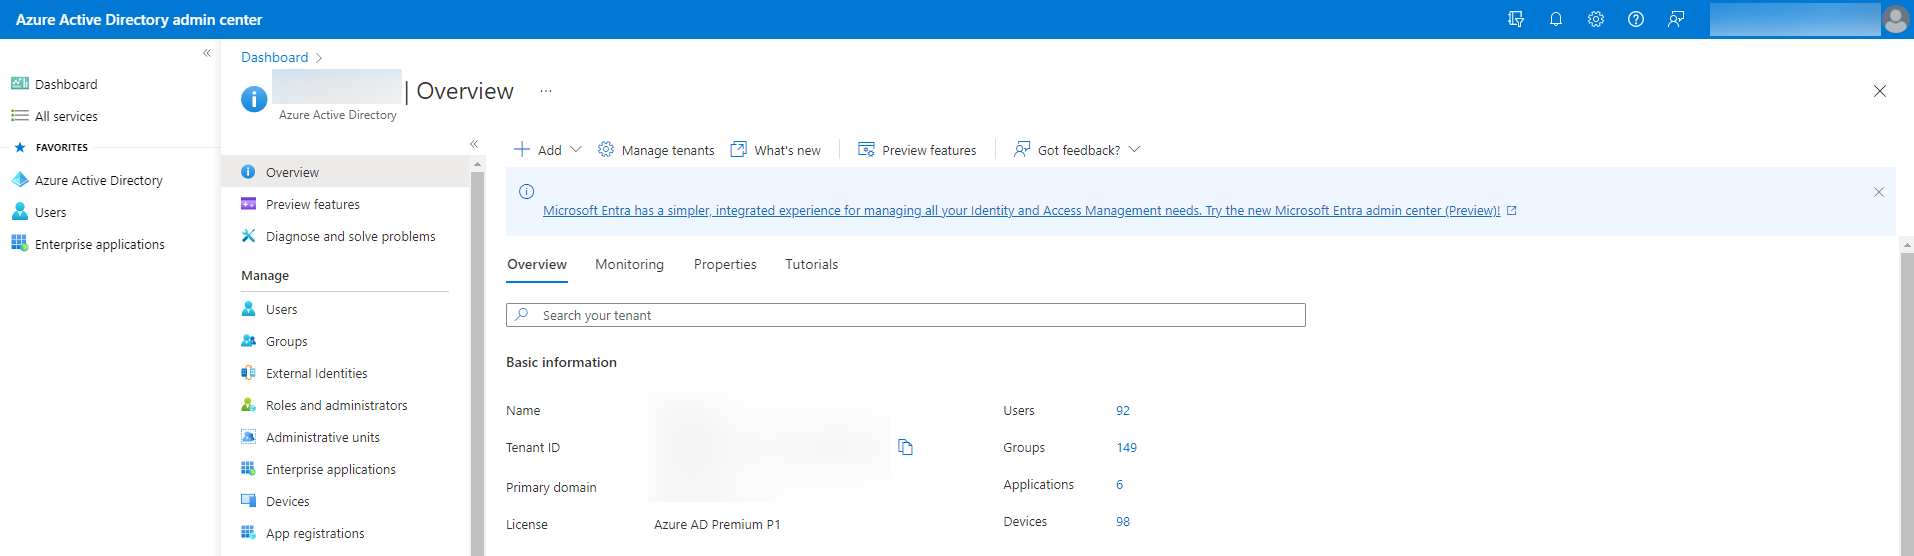
In the Azure portal, select Azure Active Directory and go to App registrations.
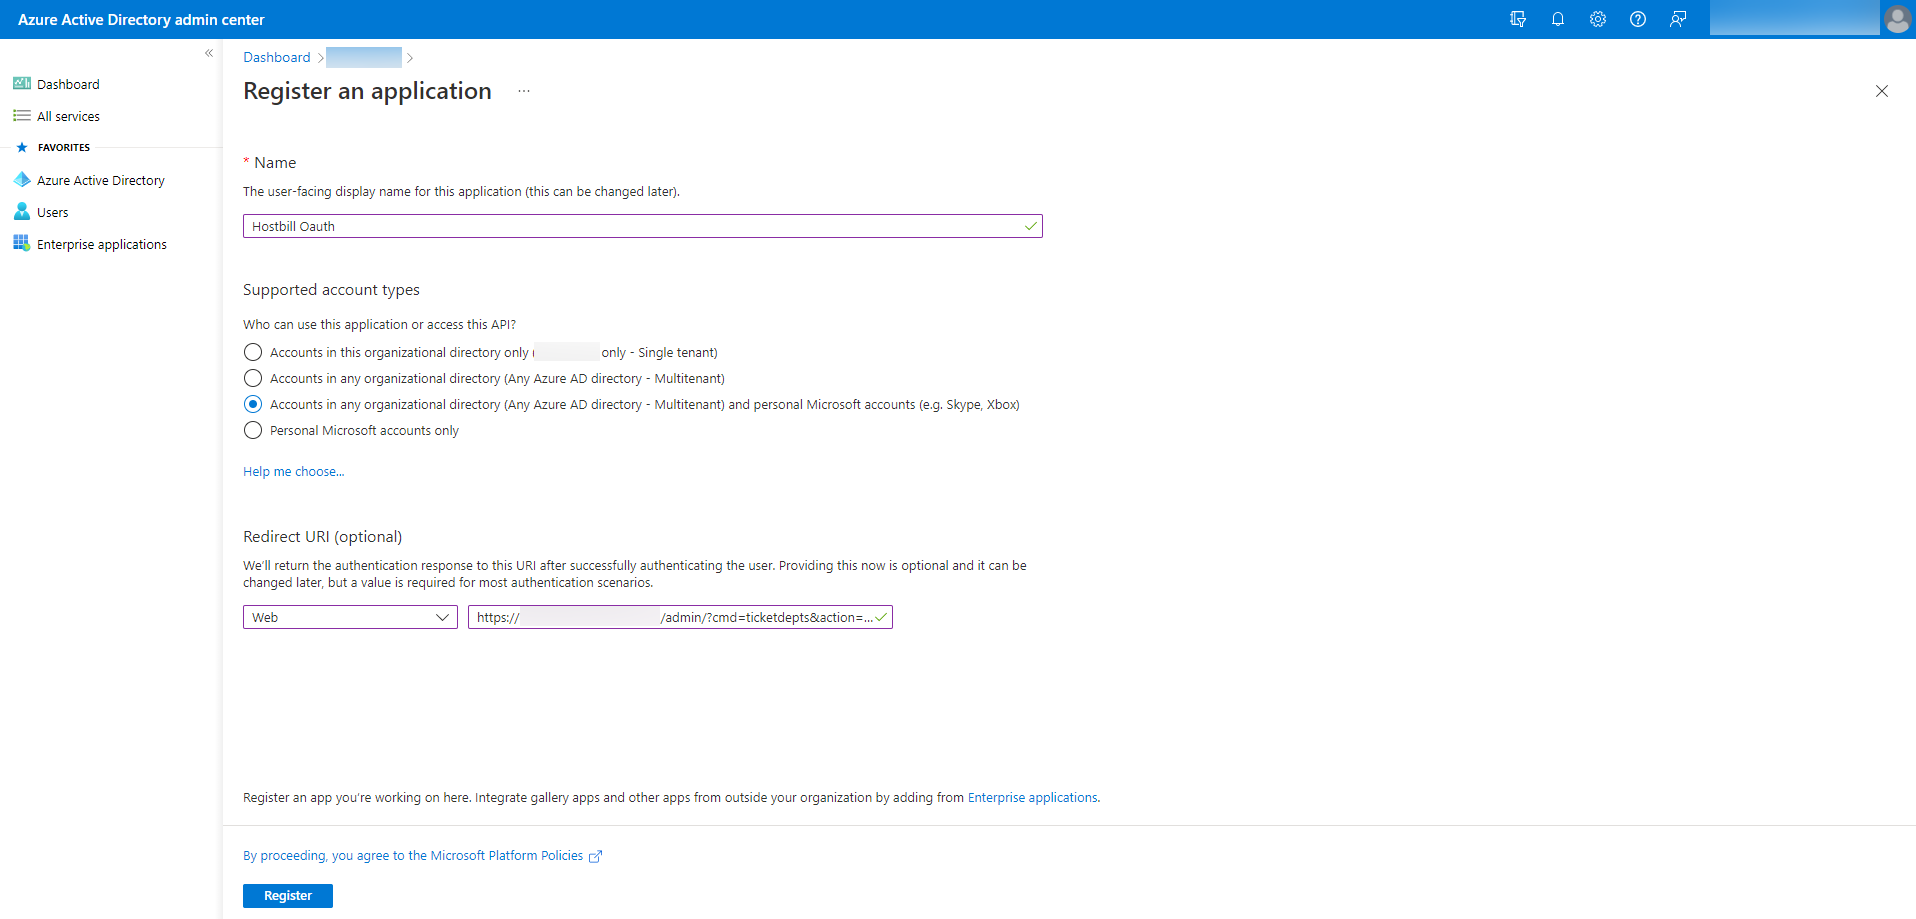
Then click New registration.

Set a Name and select Supported account types. In Redirect URI, select Web and set Redirect URL from HostBill (after adding a new import method, a Redirect URL will be generated). Press Register. Copy Application (client) ID to Client ID in HostBill.
For the created application go to Certificates & secrets and then press New client secret. Copy Client Secret to HostBill.
.png?version=1&modificationDate=1667465214223&cacheVersion=1&api=v2&width=607&height=250)
Go to API permissions and Add a permission.
Add the following Scopes:
- openid
- offline_access
- https://outlook.office365.com/IMAP.AccessAsUser.All
- https://outlook.office365.com/SMTP.Send
- https://outlook.office365.com/mail.read
- https://outlook.office365.com/User.Read
.png?version=1&modificationDate=1667465214032&cacheVersion=1&api=v2&width=543&height=250)
Go to Expose an API and Add a scope and Add a client application.
.png?version=1&modificationDate=1667465213827&cacheVersion=1&api=v2&width=628&height=250)
Set up Azure in HostBill
After creating Credentials, Client ID and Client Secret will be returned. These values must be set in HostBill in Import method.
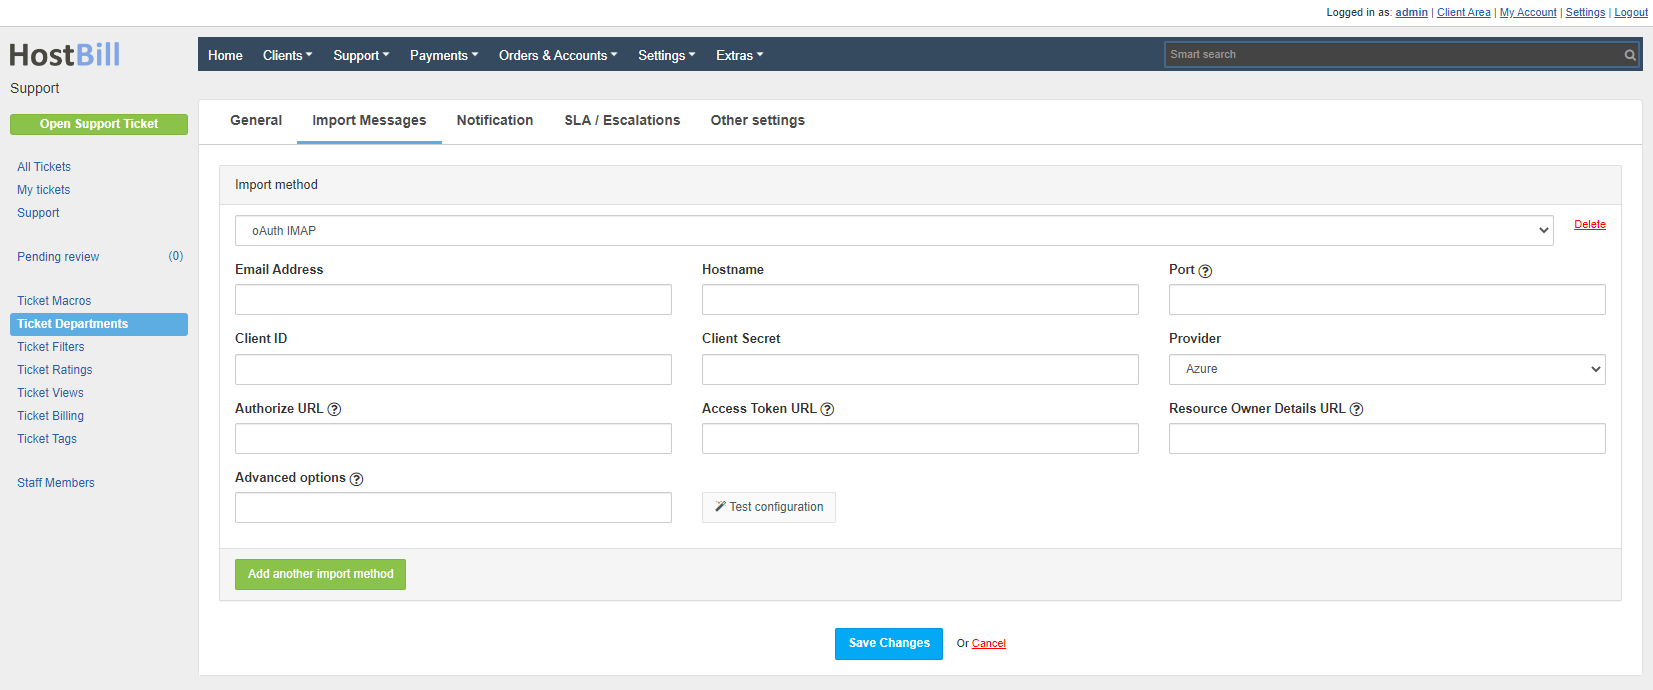
Set:
- Email Address
- Hostname
- Port
- Provider to Azure
Save the changes to generate the Redirect URL. Set the generated URL in Azure (App registrations). Then set the generated Client ID and Client Secret and save the changes. Then save the changes and press Connect. During authorization, log in to the account provided in the Email Address. After successful Authorization, the Connection Token should be set.
Hostname should contain ssl:// or tls://
The Authorize URL, Access Token URL and Resource Owner Details URL fields are required only if the Provider is Custom.
Advanced options:
- /tls - to force use of start-TLS
- /ssl - use the Secure Socket Layer
- /validate-cert - to validate certificates from TLS/SSL server
- /utf-8 - uses imap_utf8($string) to decode a string
- /iconv - uses iconv_mime_decode($string) to decode a string
- /mimeheader - uses mb_decode_mimeheader($string) to decode a string
- /purge - delete message after import from mailbox
To add shared mailboxes follow the documentation: Shared mailboxes in Exchange Online.
Error: Application is not configured as a multi-tenant application
Usage of the /common endpoint is not supported for such applications created after '10/15/2018'. Use a tenant-specific endpoint or configure the application to be multi-tenant.
Go to Azure Portal → Azure Active Directory → App registrations (preview) → Your App → Authentication → Supported account types, and select Accounts in any organizational directory.
Exchange Online Kiosk, Microsoft 365 F3 & Office 365 F3 plans do not support IMAP.
Error: URL may not contain a query string
If the URL may not contain a query string error occurs when creating an application or adding a Redirect URI, please follow these steps:
- When creating the application, for Supported account types select Accounts in this organizational directory only.
- After creating the application, go to Authentication tab and in Supported account types set Accounts in any organizational directory (Any Azure AD directory - Multitenant)
The cron job returns the information "The folder is empty"
Typically, this error occurs when IMAP is disabled or your plan does not support IMAP because the account does not have access to folders. If IMAP is enabled and the plan supports IMAP, then most likely the connection was made from a different account than the one specified in the Email Address. After pressing Connect you should be redirected to the login page and you should log in with your Email Address account. If you are currently logged in to another account, the login page is skipped after pressing Connect. The authorization will succeed and the connection will be made correctly, but the import will not work because the current account does not have access to the messages.
Follow these steps:
- Sign out of Azure/Microsoft.
- Go to the import method configuration in ticket departments.
- Press Disconnect.
- Then press Connect.
- You will be redirected to the login page, here you must log in to the account which is specified in Email Address